
Hi crafters! Today I have a tag to share using inks to create a lot of texture and layers.
Please note: this post has affiliate links, for which I receive a small percentage of sales generated by the link, at no extra cost to you.

Simon Says Stamp has a brand new release called Just For You and this tag was made with products from that release. I wanted to create something of a magical mushroom forest using the new Mushroom Stems die set.


I started by white embossing one of the pretty Simon Says Stamp Leaf Edges stamps on a tag.

Smear Distress Inks on a non-stick craft sheet, mist with water and press the tag into the ink. Let dry.

Repeat to get deeper colors and more texture. I added one more layer of Distress Ink after this photo and then finished with a tiny bit of Distress Oxide ink. I missed taking a photo of that step unfortunately.

Die cut the Simon Says Stamp Mushroom Stems twice from heavystock paper.

Press Lost Shadow and Frayed Burlap on a non-stick craft sheet, mist with water and press the mushroom parts into the ink. I used mainly Lost Shadow.

Color the hats in the same way using various colors.

Let dry and then repeat the process once or twice with Distress Ink. If you only touch the paper to the ink you get a splotchy appearance. As with the background, I did a final layer using Distress Oxide inks, but only in a few areas of the images.

Shape the mushrooms with Tim Holtz Shaping kit and adhere the colorful hats with Simon Says Stamp Pawsitively Perfect Foam Tape.

Dye May Arts Wrinkled Faux Silk Ribbon with Distress Ink, mist with water and crinkle.

I adhered the mushrooms to the tag with more foam tape.

The sentiments were stamped with Simon Says Stamp Forest Scenery, which wasn't a part of the new release. Here you can see the effect of the opaque Distress Oxide inks.

I also used Simon Says Stamp Pretty Pastel sequins.

You can make these mushrooms in any color imaginable.

I dyed cheese cloth to form soil or undergrowth for the mushrooms.


We had lovely sunny weather today, even though there is still some snow left. I am looking forward to spring-time in the forest.


Happy stamping!
Anna-Karin
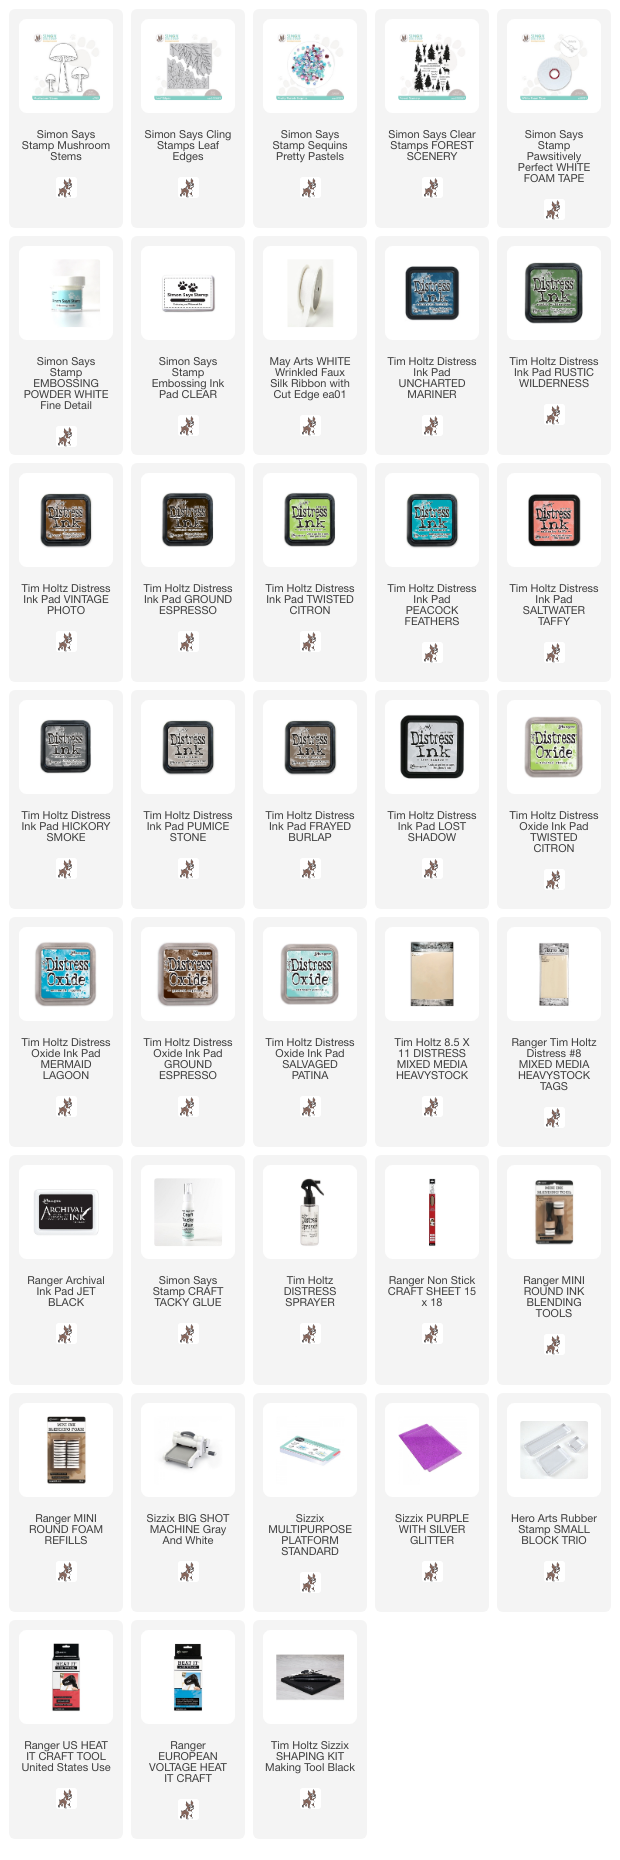
Supplies:
* Please note: the links are affiliate links, for which I receive a small percentage of sales generated by the link, at no extra cost to you.
A gorgeous tag!!!!
ReplyDeleteThis is very nice!
ReplyDeleteI LOVE your tag!!! My favorite entry in the entire two-day blog hop!
ReplyDeleteThis looks stunning! Absolutely love it!
ReplyDeleteSpectacular!
ReplyDeleteThe colors you created on the mushroom tags are really stunning!
ReplyDelete