Tuesday, March 28, 2023

Message in a Bottle

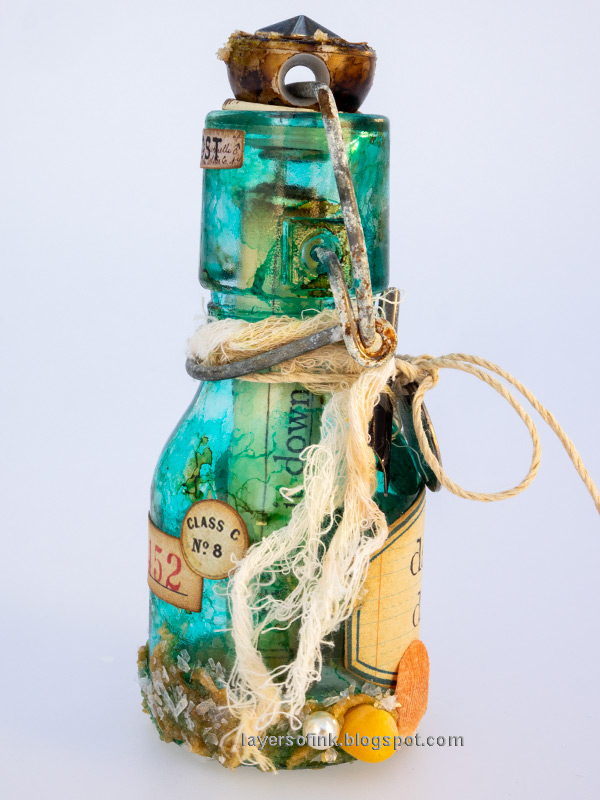
Hi crafters! When I am at second hand stores I often look for interesting little bottles to alter. They usually cost next to nothing and are such a joy to work with. Today I am sharing an altered bottle, inspired by messages sent out into the sea inside bottles.

Please note: this post has affiliate links, for which I receive a small percentage of sales generated by the link, at no extra cost to you.


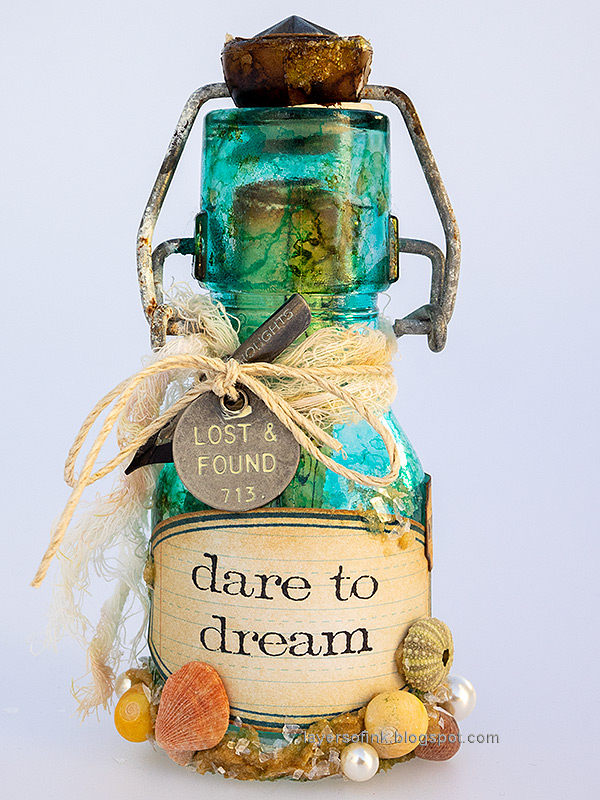
Layers of ink - Altered Bottle Message in a bottle tutorial by Anna-Karin Evaldsson.

This bottle is about 4.5 in tall and had an interesting shape and closure mechanism. I was inspired by sending messages out to sea in bottles, which always fascinated me. There is a message inside this bottle and the bottle has clearly been in the sea for a long time since sand, shells and pearls are clinging to it. 


Layers of ink - Altered Bottle Message in a bottle tutorial by Anna-Karin Evaldsson.

Start by coloring the bottle with alcohol ink using an ink-blending tool with a felt applicator. I also colored the cap, which used to be cream. Continue until you are happy with the look.

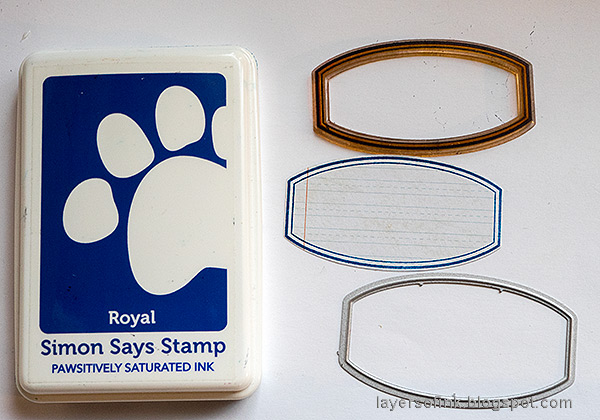
Layers of ink - Altered Bottle Message in a bottle tutorial by Anna-Karin Evaldsson. Stamp with Simon Says Stamp Mixed Labels.

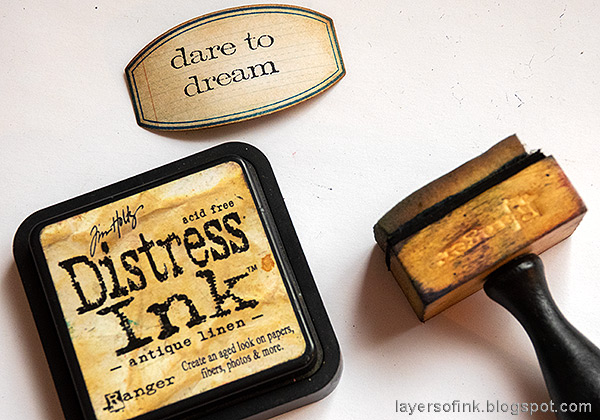
Stamp the sentiment on a Tim Holtz Journal Card using Simon Says Stamp Mixed Labels stamp set and die cut with the coordinating die.

Layers of ink - Altered Bottle Message in a bottle tutorial by Anna-Karin Evaldsson.

Ink the label with Antique Linen and Vintage Photo. The sentiment comes from Tim Holtz Simple Sayings.

Layers of ink - Altered Bottle Message in a bottle tutorial by Anna-Karin Evaldsson.

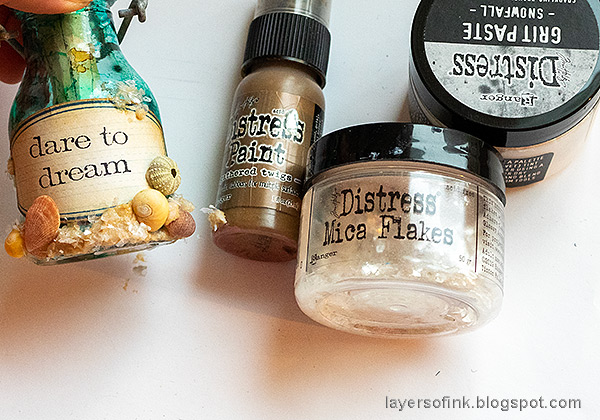
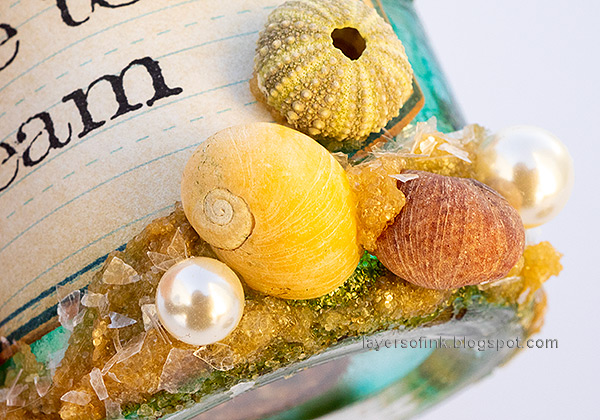
Adhere the label to the bottle. Mix a little brown paint into Snowfall Grit Paste to create the look of sand and apply along the bottom of the bottle. Press tiny shells and Tim Holtz Baubles into the paste. Sprinkle Mica Flakes on top.

Layers of ink - Altered Bottle Message in a bottle tutorial by Anna-Karin Evaldsson.

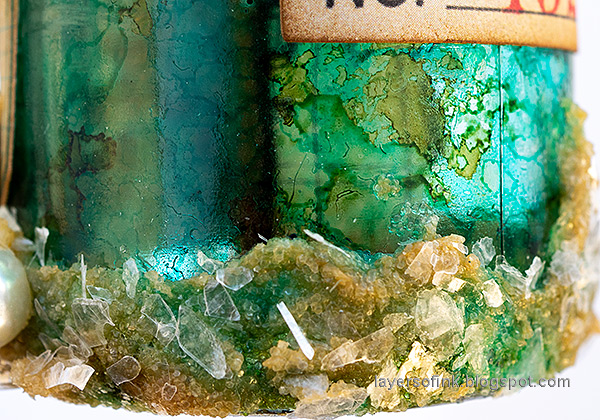
The grit-paste has a translucent quality which comes through even with the addition of the paint.

Layers of ink - Altered Bottle Message in a bottle tutorial by Anna-Karin Evaldsson.

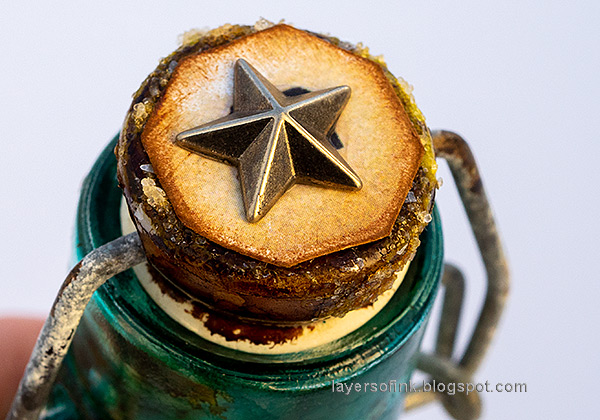
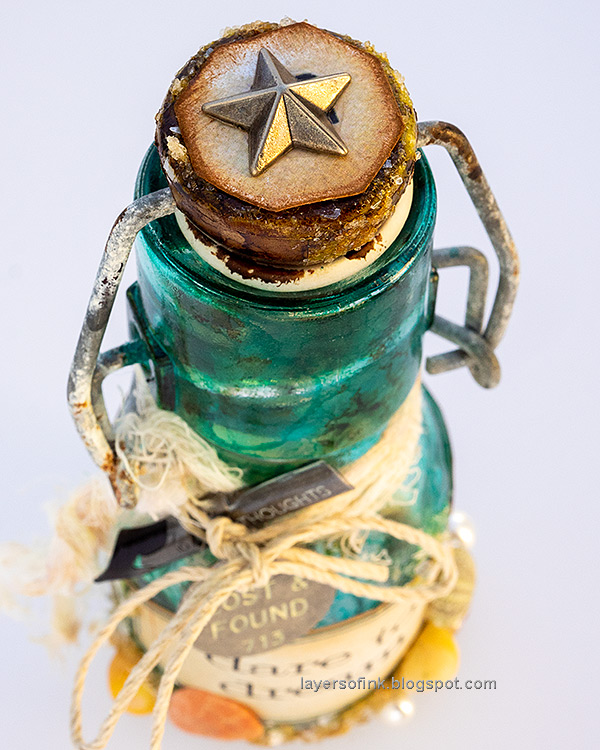
I added a little grit paste around the cap too and finished it with a piece of Tim Holtz ephemera and an idea-ology Adornment Star.

Layers of ink - Altered Bottle Message in a bottle tutorial by Anna-Karin Evaldsson.

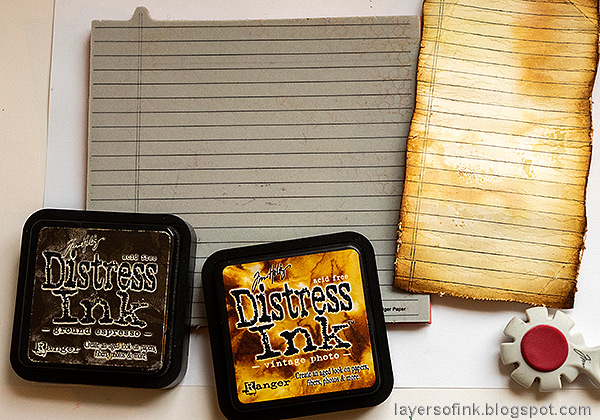
Apply brown Distress Inks to a non-stick craft sheet. Mist with water and press heavystock paper into the ink. Repeat on both sides. 

Layers of ink - Altered Bottle Message in a bottle tutorial by Anna-Karin Evaldsson.

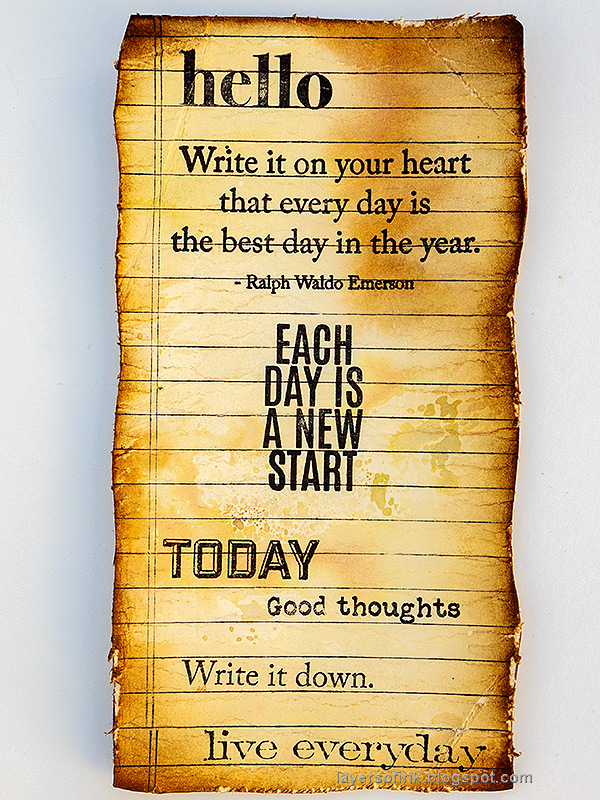
Stamp with Simon Says Stamp Ledger Paper Background to get lines to write on. Cut the edges with scissors, making sure not to cut too straight. Fold some of the corners. Add more ink to the edges and distress to give them a rough look. 

Layers of ink - Altered Bottle Message in a bottle tutorial by Anna-Karin Evaldsson. Stamp sentiment on paper.

I rolled the paper up quite a few times to condition it and then stamped a whole bunch of sentiments on both sides, using stamps by Simon Says Stamp and Tim Holtz.

Layers of ink - Altered Bottle Message in a bottle tutorial by Anna-Karin Evaldsson.

Instead of stamping messages, you can of course write your own message.

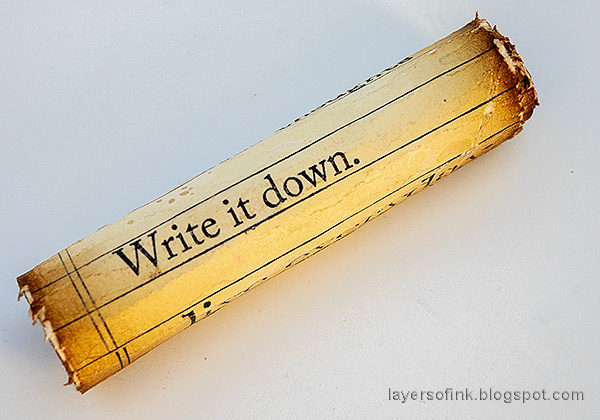
Layers of ink - Altered Bottle Message in a bottle tutorial by Anna-Karin Evaldsson. Distress paper and ink.

Roll the paper up.

Layers of ink - Altered Bottle Message in a bottle tutorial by Anna-Karin Evaldsson.

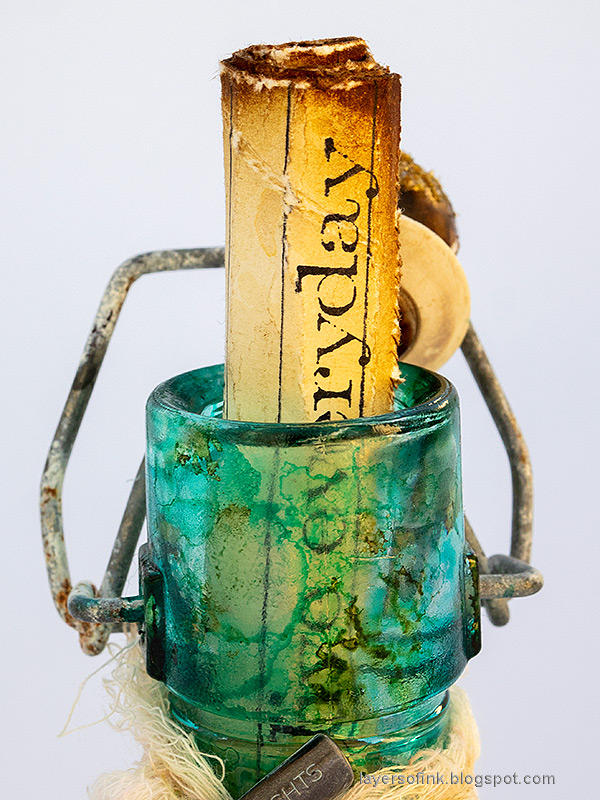
Place the rolled up message into the bottle.

Layers of ink - Altered Bottle Message in a bottle tutorial by Anna-Karin Evaldsson. Add labels and ephemera.

On the other side of the bottle I added Tim Holtz ephemera pieces.

Layers of ink - Altered Bottle Message in a bottle tutorial by Anna-Karin Evaldsson.

I dyed some mummy cloth / cheese cloth and tied around the bottle together with a piece of twine. In idea-ology Thought Token was tied to the twine. I tucked.

Layers of ink - Altered Bottle Message in a bottle tutorial by Anna-Karin Evaldsson.

I colored the tip of the pen nib with black alcohol ink and rubbed Antique Linen Distress Paint into the letters. 

Layers of ink - Altered Bottle Message in a bottle tutorial by Anna-Karin Evaldsson. Attach Tim Holtz idea-ology pen nib and word.

I like that you get a peek of the rolled up message through the colored bottle.

Layers of ink - Altered Bottle Message in a bottle tutorial by Anna-Karin Evaldsson.

The baubles are meant to look like real pearls.

Layers of ink - Altered Bottle Message in a bottle tutorial by Anna-Karin Evaldsson.

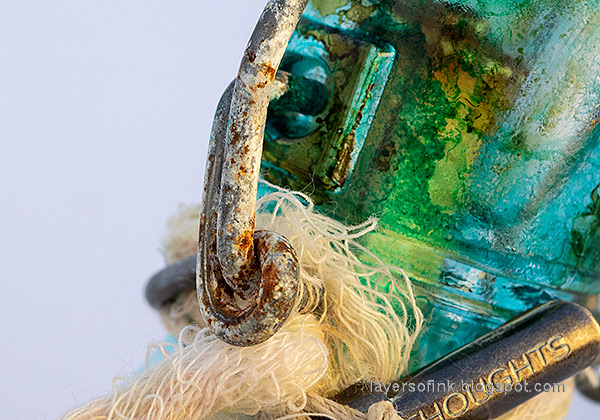
There was already patina on the metallic parts of the bottle, but you can also add the effect with paint.

Layers of ink - Altered Bottle Message in a bottle tutorial by Anna-Karin Evaldsson.

Instead of adding a message to the bottle, you can also use it for storage of small items, such as sequins or beads.

Layers of ink - Altered Bottle Message in a bottle tutorial by Anna-Karin Evaldsson.


I hope you enjoyed this tutorial and that it inspired you to alter some bottles. For another example check out my Altered Vintage Bottle tutorial.


Thank you for taking the time to visit my blog today!

Happy stamping!

Anna-Karin


Supplies:

* Please note: the links are affiliate links, for which I receive a small percentage of sales generated by the link, at no extra cost to you.
1 comment:

  1. This is amazing!! Found your picture on Twitter. So glad you shared!! I've wanted to do an altered bottle forever.

    ReplyDelete

Thank you so much for leaving a comment! Happy Crafting!