
Hello friends! I hope your weekend was good! We celebrated my youngest 8th birthday, which was a lot of fun.
Please note: this post has affiliate links, for which I receive a small percentage of sales generated by the link, at no extra cost to you.

This week we have a Things With Wings theme at the Simon Says Stamp Monday Challenge Blog. I hope you will join us!! Don't miss the last project by our February guest designer Laura Cassina.

There is just something about butterflies which makes me happy and you can also create butterflies in many different ways. One of my favorite techniques for butterflies is to use acetate and to create them in more than one layer, giving the impression of fluttering wings. I used Simon Says Stamp..

Start by die cutting the Simon Says Stamp Graceful Butterfly from Simon Says Stamp Clear Acetate Sheets and then emboss in the coordinating embossing folder. The Clear Acetate Sheets are from the new Be Creative release.


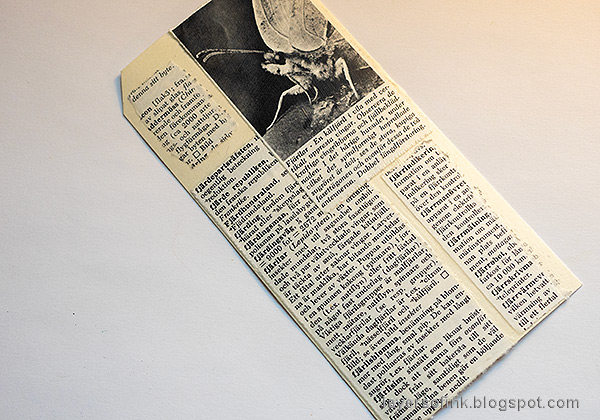
The background also has a butterfly theme. I used an old Swedish word book and picked the page with the word 'butterfly' ('fjäril'). I also used an image from the book of a cabbage butterfly. Adhere to a tag with matte medium.

Coat with gesso, but only very lightly on the parts that you want to remain visible.

Paint with watered-down Distress Paint in beige and brown shades. I forgot to take a photo of that step. When dry, add some color with Distress Watercolor Pencils.

Stamp here and there with Simon Says Stamp Stained Glass.

Finally, add a little Nebula Stickles Glitter Gel around the edges. The gel has small gold star sequins and glitter of various sizes.


The sentiment was die cut from Simon Says Stamp Teal Glitter Cardstock using Tim Holtz Friendship Words Script.

The black and white image of the butterfly stood out too starkly on the tag, so I gave it a little color with the Distress Watercolor Pencils and added a few scribbles with a black pen to make it blend in better.

I had already stapled the butterflies once when adding them to the tag, which meant I had to use a second staple. To avoid that, staple them to the background when the parts aren't adhere, or glue them together in the center.

The stickles gives a great shine to the background. I also used Studio Katia Iridescent Bubbles. The May Arts Wrinkled Faux Silk Ribbon was dyed with Distress Ink.


The stamped sentiment comes from Tim Holtz Tiny Text.
I hope you will join us this week in our Things With Wings challenge. You have a chance to win a $25 gift voucher to do some fun shopping at Simon Says Stamp. You have until Monday 8am Ohio time. 1pm UK time, 2 pm CET to join in.


Thank you so much for stopping by here today!
* Please note: the links are affiliate links, for which I receive a small percentage of sales generated by the link, at no extra cost to you.

I was linked here for the SSS Just For You Release Blog Hop, but I don't see your entry. I do like your other submissions for other entries, like the Monday Challenge, so all is not lost!
ReplyDelete