Hello friends! I hope you had a good weekend! We now have a teenager in the house and had a fun weekend with celebrations.
Please note: this post has affiliate links, for which I receive a small percentage of sales generated by the link, at no extra cost to you.
Things With Wheels is our theme this week at the Simon Says Stamp Monday Challenge Blog. I hope you will join us and don't miss the very creative project by our February guest designer February guest designer Laura Cassina.
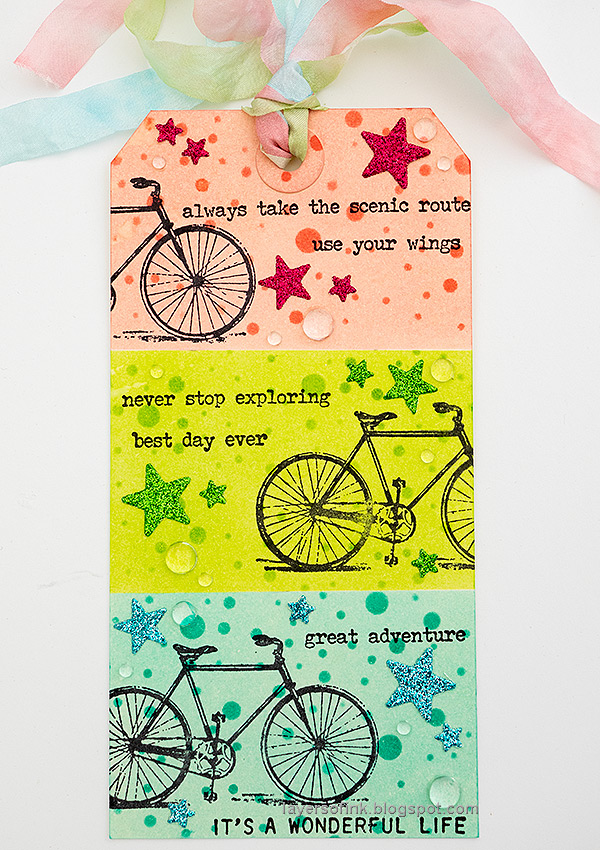
After having had almost spring-time weather yesterday, the snow is falling again today. I am looking forward to spring and long bike rides. My pastel tag is about the joy of bike rides. When I looked at the bike stamp from
Tim Holtz Purely Random, I got the idea of dividing the tag into three equal parts and stamping parts of the bike on each block.
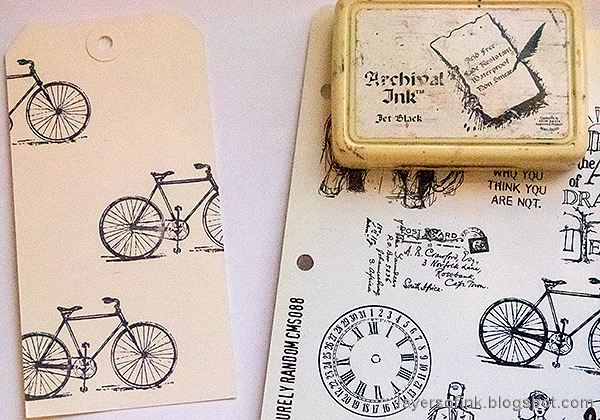
Start by measuring the tag and adding faint marks with a pencil. Stamp the bike with Jet Black Ink. Sorry about the graininess of this photo, I had forgotten to change the ISO on my camera.
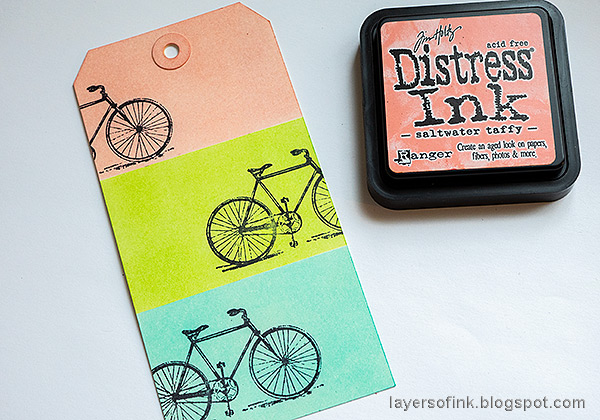
Use Simon Says Stamp Masking Paper to mask off the blocks and ink with Distress Ink.
For the middle block, you need two pieces of masking paper.
And the top block is the lovely shade of Saltwater Taffy.
Continue until you have added dots to all the blocks.
The blocks were stamped with two sentiments from
Tim Holtz Tiny Text, using one longer and one shorter sentiment on each block.
Since the drops are clear they will pick up the color of the background.
Place the last sentiment at the bottom of the tag.
I hope you will join us this week in our Things With Wheels challenge. You have a chance to win a $25 gift voucher to do some fun shopping at Simon Says Stamp. You have until Monday 8am Ohio time. 1pm UK time, 2 pm CET to join in.
Do you use Instagram? If so please add #sssmchallenge so we can see your entries there too.
Thank you so much for stopping by here today!
Happy crafting!
Anna-Karin
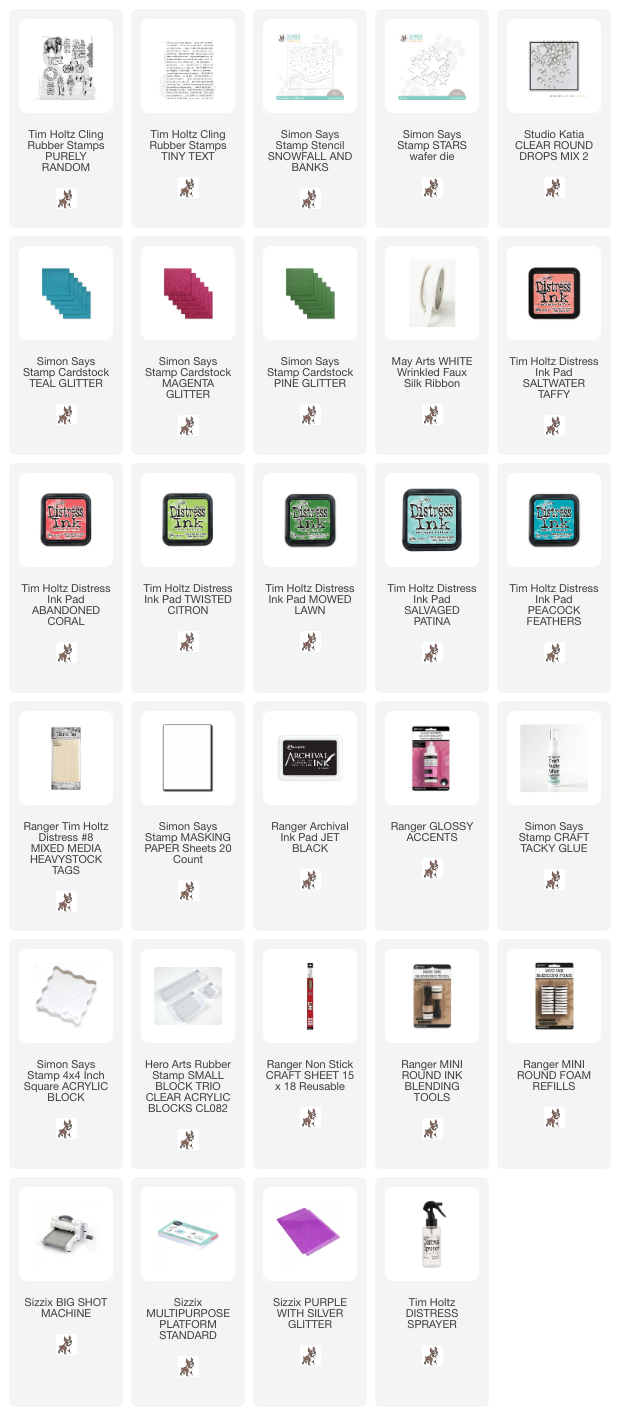
Supplies:
* Please note: the links are affiliate links, for which I receive a small percentage of sales generated by the link, at no extra cost to you.


Gorgeous tag Anna-Karin! I love this simple, but very gorgeous design!! :-)
ReplyDeleteHope you have a great week!
luv
Lols x x x