
Hi friends! Today I have an altered tin tutorial to share. I love to create little scenes in tins. They are also great gifts.
Please note: this post has affiliate links, for which I receive a small percentage of sales generated by the link, at no extra cost to you.

I wanted to create an Easter scene, as the home for a little rabbit and filled with a garden of happy colors, flowers, carrots and eggs. This is the inside of the tin. I used a mix of Tim Holtz idea-ology embellishments and dies by both Tim Holtz and Simon Says Stamp.

Here's the tin when it is closed. The scene starts on the outside with lots of leaves, glittery eggs, flowers and a carrot.

I started by painting the idea-ology Salvaged Rabbit with Matte Medium.

When dry, paint the rabbit with Distress Paints. Don't worry about getting a perfect result.

Mix water into a little Ground Espresso paint and paint the entire rabbit with it. Remove the paint from some of the areas before it is completely dry.

The background piece in the scenes is meant to be the sky. I cut cards and rounded the corners. Smear blue Distress Inks on a non-stick craft sheet, mist with water and press the paper into the ink. Immediately emboss in the Tim Holtz Mosaic embossing folder, or in a different embossing folder.

When dry, apply Moon Dust Stickles to the backgrounds.

The idea-ology Tiny Eggs were colored with alcohol ink. Place the eggs in a plastic bag and add a few drops of ink. Move around to color.

Next, I painted the eggs with matte medium and covered them with Clear Rock Candy Glitter.

For the greenery, I applied green and yellow Distress Inks to a non-stick craft sheet and misted with water. Press watercolor paper into the ink. I made more than I needed since I had run out of green papers to use.

Die cut Simon Says Stamp Tattered Leaves and Fine Textured Leaves from the green and yellow paper.

I colored another piece of paper orange in the same way and die cut carrots from Tim Holtz Bunny Stitch.

The Bouquet Findings Flowers were misted with Distress Spray Stains.


I rubbed some brown paint around the edge of the lid. Add Butterfly Design Tape around the bottom of the tin.

The leaves were added into the tin first. I stamped various sentiments on scrap paper, which I think had been colored with Pumice Stone Distress Ink. Cut into strips. Some of them were adhered with foam tape.

The flowers were disassembled and arranged so that there are different colors everywhere you look.

The rabbit is sitting in the middle of all the greenery, flowers and eggs.

At the bottom of the tin there are a whole bunch of glittery pastel eggs.

Inside the lid, I added a simpler scene. The heart comes from Bunny Stitch.The pretty pink pearls are Studio Katia. the longer sentiment comes from Simon Says Stamp Forest Scenery.

Two carrots and a bunch of leaves.


And even more eggs.

I hope you enjoyed this tutorial and that it inspired you to alter some tins.

Happy stamping!
Anna-Karin
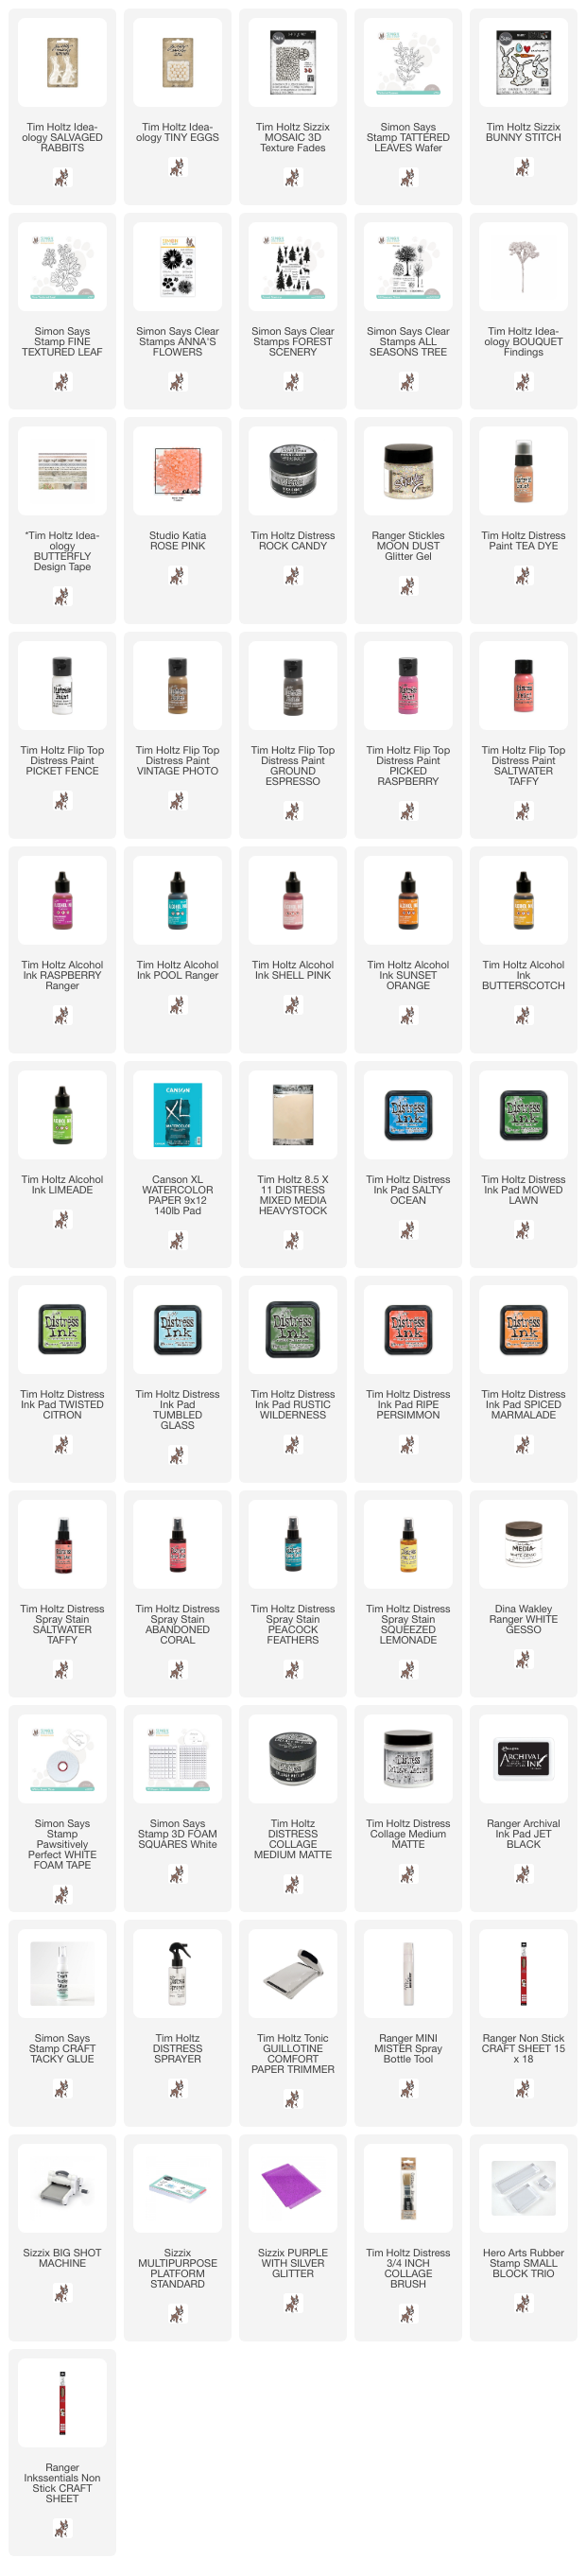
Supplies:
* Please note: the links are affiliate links, for which I receive a small percentage of sales generated by the link, at no extra cost to you.
Wow....
ReplyDelete