Hello crafters! There is a new Simon Says Stamp release called Holiday Sparkle out today. I made two easy Christmas Trees, which you can make for yourself or as a gift for someone.
Please note: this post has affiliate links, for which I receive a small percentage of sales generated by the link, at no extra cost to you.
These little trees are a great way to use up scraps of paper and you can make them in any color. A bit of glitter cardstock really makes them sparkle. I used the new
Pawsitively Velvet sheets for the base and various inky papers for the pine needles as well as Simon Says Stamp glitter cardstock. My trees are about 3.8 and 3 inches tall.
The
Holiday Sparkle release is full of wonderful holiday products and many of them work perfeclty for other themes too.
I made my own template in Illustrator and then reduced it in size to make the second tree. You can also cut a circle, cut a wedge from the circle and leave a small flap for the closure. It doesn't have to be perfect. I cut the trees from Simon Says Stamp Pawsitively Velvet paper and from kraft and white cardstock.
Glue them together for stability.
Use a Red Line Tape along the flap to turn them into cones.
Glue the branches to the tree. I cut some of them in two, to place shorter branches on the inside on the base of the tree. You can make the trees denser than mine if you'd like to. I wanted some of the velvet paper to show through.
Adding glitter papers and shimmery papers to the trees makes them sparkle and looks nice when light shines on them. Here you can also see the difference between the new
Luxe Glitter Cardstock and the
normal Glitter Cardstock. I love both and the possibility to get the effect of glitter without any of the mess.
You could add a star to the top of the tree too. I might do that later.
The green tree has more traditional Christmas colors, but you can make these trees in any color combo. Pink or red trees would look great too, or completely gold or silver.
There are different shades of inky green papers here and the only glitter paper I used for the green tree was gold.
The color of the inside cardstock doesn't really matter since you don't see it.
I hope you enjoyed this post and that it inspired you to start crafting some Christmas ornaments.
Thank you so much for stopping by here today!
Happy stamping!
Anna-Karin
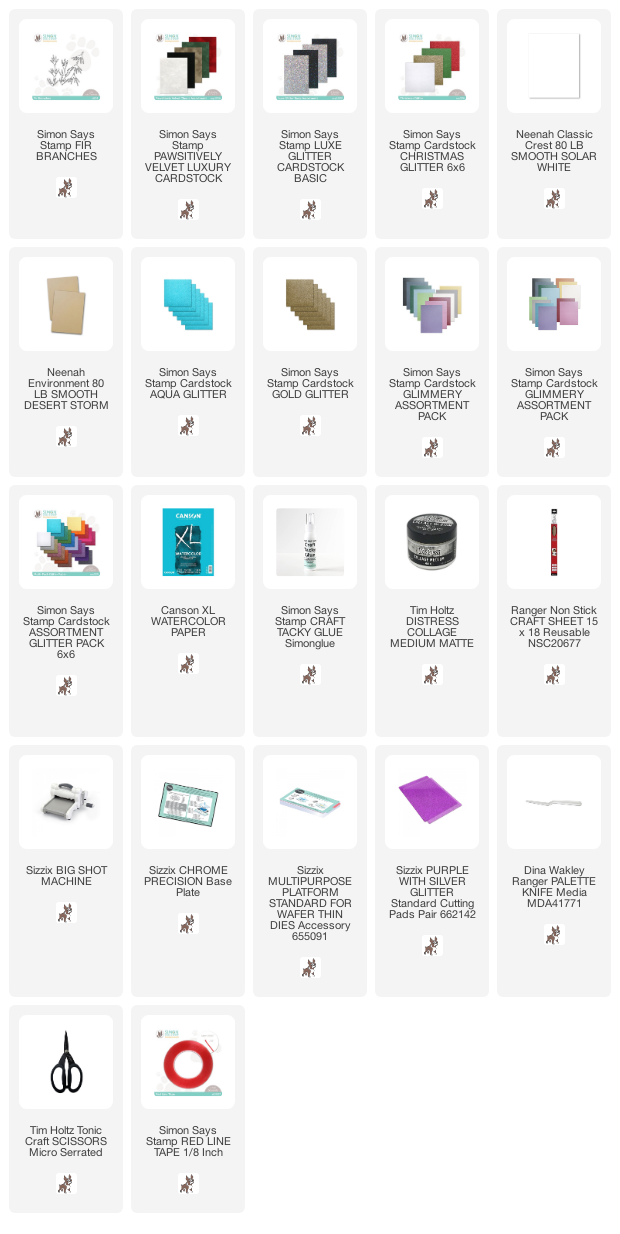
Supplies:
* Please note: the links are affiliate links, for which I receive a small percentage of sales generated by the link, at no extra cost to you.


No comments:
Post a Comment
Thank you so much for leaving a comment! Happy Crafting!