Sunday, November 27, 2022

Christmas Sweater Tag and Card Tutorial

Hi friends! Today I have a tag and a card to share with a warm and textured sweater background, looking almost like a real knitted sweater. 

Please note: this post has affiliate links, for which I receive a small percentage of sales generated by the link, at no extra cost to you.


Layers of ink - Christmas Sweater Tag and Card Tutorial by Anna-Karin Evaldsson.

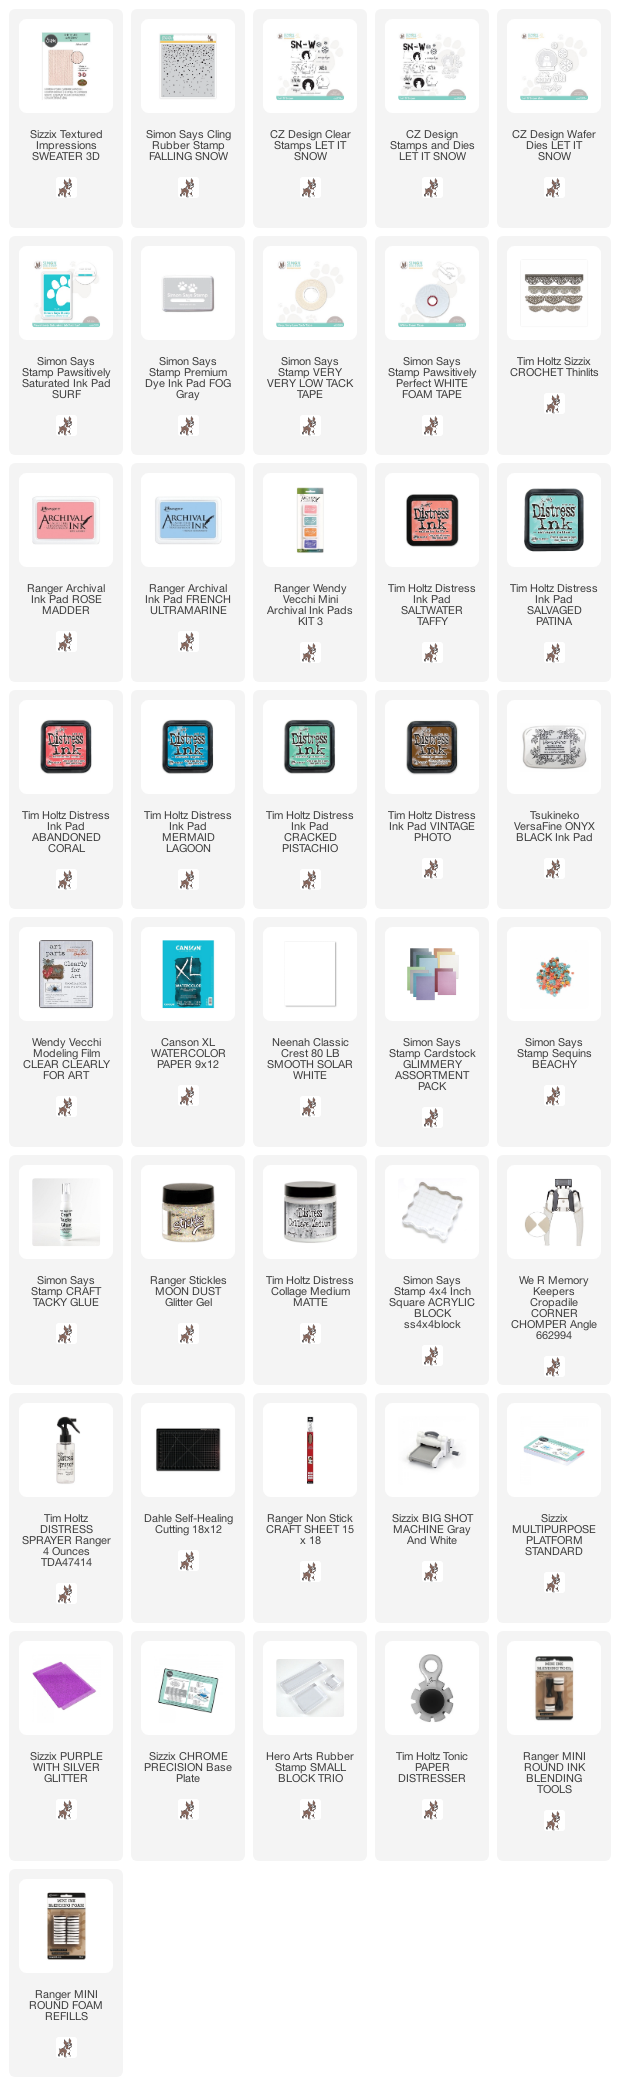
I wanted to make winter/Christmas cards with different color combos and using the lovely Sizzix Sweater 3-D Embossing Folder designed by Eileen Hull. Lately, I have used embossing folders a lot and there are more tutorials coming with fun dry embossing techniques. The stamping was done with the cute Simon Says Stamp Let It Snow set and I used Clearly For Art Modeling Film for the dimensional snowglobe.

Layers of ink - Christmas Sweater Tag and Card Tutorial by Anna-Karin Evaldsson.

Start by stamping Simon Says Stamp Falling Snow on a watercolor card and a tag cut from watercolor paper. Use permanent inks for this step.

Layers of ink - Christmas Sweater Tag and Card Tutorial by Anna-Karin Evaldsson. Emboss in Sizzix Eileen Hull Sweater Texture.

Ink the inside of the Sweater 3-D embossing folder with two shades of Distress Ink. Mist with water and emboss the paper. Look at that amazing sweater texture.

Layers of ink - Christmas Sweater Tag and Card Tutorial by Anna-Karin Evaldsson.

When dry, I inked the tag and the paper with more Distress Ink to bring out the texture. If you want a lighter look, leave as they were after the previous step.

Layers of ink - Christmas Sweater Tag and Card Tutorial by Anna-Karin Evaldsson.

The cute snowman was stamped with Simon Says Stamp Let It Snow from the Cozy Hugs release. Start by stamping on white paper with Rose Madder Archival Ink and Simon Says Stamp Pawsitively Saturated Surf ink.

Layers of ink - Christmas Sweater Tag and Card Tutorial by Anna-Karin Evaldsson. Stamp with Simon Says Stamp Let It Snow.

Continue by stamping the scarf, facial features and snowglobe.

Layers of ink - Christmas Sweater Tag and Card Tutorial by Anna-Karin Evaldsson.

Die cut with the coordinating die.

Layers of ink - Christmas Sweater Tag and Card Tutorial by Anna-Karin Evaldsson.

Die cut the snowglobe from Wendy Vecchi's Clearly For Art Modeling Film

Layers of ink - Christmas Sweater Tag and Card Tutorial by Anna-Karin Evaldsson.

Heat the modeling film with a heat tool and shape it into half-globes. Be careful not to burn yourself. Add Moon Dust Stickles at the base.

Layers of ink - Christmas Sweater Tag and Card Tutorial by Anna-Karin Evaldsson.

Stamp snowflakes and sentiments with Simon Says Stamp Let It Snow and die cut with the coordinating dies.

Layers of ink - Christmas Sweater Tag Tutorial by Anna-Karin Evaldsson.

The pink tag uses coral combined with stronger shades of pink and just a bit of turquoise. You can of course turn this into a card too instead. I stitched around the edges of both the tag and the card with my sewing machine, to add to the fabric theme.

Layers of ink - Christmas Sweater Tag Tutorial by Anna-Karin Evaldsson.

Most of the snowflakes were adhered with foam tape. Add a sprinkle of Simon Says Stamp Beachy sequins to the background.

Layers of ink - Christmas Sweater Tag Tutorial by Anna-Karin Evaldsson.

I die cut lace from Simon Says Stamp White Diamond Glimmer Cardstock using Tim Holtz Crochet set and also used cheese cloth and a real piece of lace trim. 

Layers of ink - Christmas Sweater Tag Tutorial by Anna-Karin Evaldsson.

Attach the modeling film snowglobe to the paper one with staples and adhere to the background.

Layers of ink - Christmas Sweater Tag Tutorial by Anna-Karin Evaldsson.

Here you can see the dimensional globe better. Clearly for Art Modeling Film will keep its shape perfectly.

Layers of ink - Christmas Sweater Card Tutorial by Anna-Karin Evaldsson.

The card turns the color combo around, with turquoise and teal being the main colors, and peach being the accent color. 

Layers of ink - Christmas Sweater Card Tutorial by Anna-Karin Evaldsson.

Adhere some of the snowflakes with glue and some with foam tape.

Layers of ink - Christmas Sweater Card Tutorial by Anna-Karin Evaldsson.

Since the dots were stamped before the dry embossing, they look like they are a part of the pattern of the sweater.

Layers of ink - Christmas Sweater Card Tutorial by Anna-Karin Evaldsson.

The hat and the base of the snowglobe were colored with Tombow pens. 

Layers of ink - Christmas Sweater Card Tutorial by Anna-Karin Evaldsson.

Again, I added a die cut lace trim and a real one, combined with cheese cloth.

Layers of ink - Christmas Sweater Card Tutorial by Anna-Karin Evaldsson.

I hope you enjoyed this project and that it inspired you to do some textured cards or tags.


Thank you so much for stopping by here today!

Happy stamping!

Anna-Karin


Supplies:

* Please note: the links are affiliate links, for which I receive a small percentage of sales generated by the link, at no extra cost to you.

1 comment:

Thank you so much for leaving a comment! Happy Crafting!