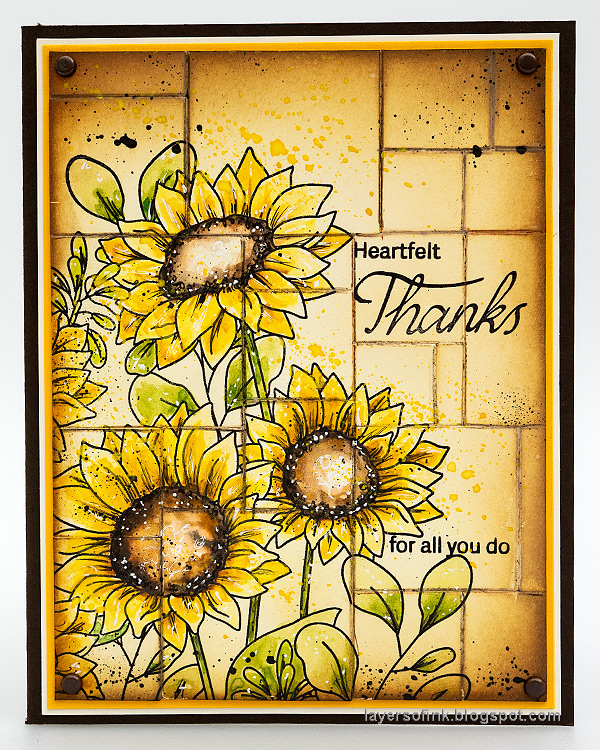
Hi friends! Today I have fun tutorial for a blocked background for stamping, which gives a great effect and is easy to do.
Please note: this post has affiliate links, for which I receive a small percentage of sales generated by the link, at no extra cost to you.
We have had quite a few beautiful sunflowers in the garden and a few of the smaller ones are still flowering and were the inspiration for this card. But you can of course use other types of images on the blocked background too. I was also happy to use the new
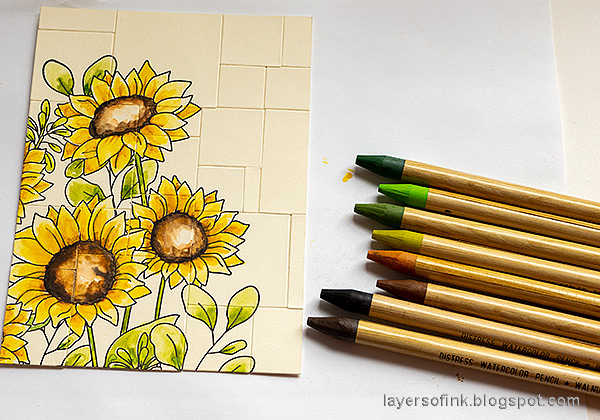
Distress Watercolor Pencils for the first time. I love pencils of any kind and am happy to now have watercolor pencils in the colors of the Distress line.
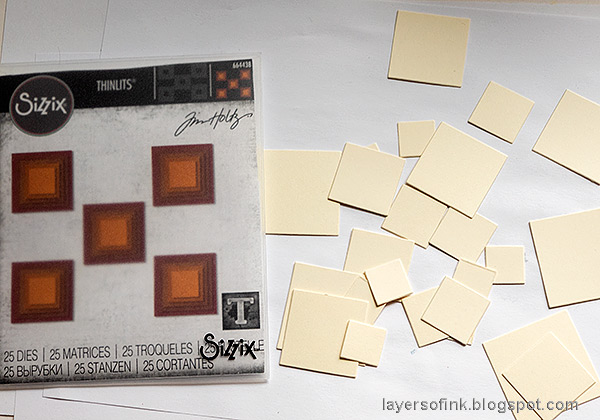
Start by die cutting Tim's Stacked Squares from heavystock paper.
First place the squares out on another piece of heavystock paper, moving them around until you are happy with the look. Take a photo and then remove the squares. Use the photo to place the squares where you planned them to be. Glue them down with matte medium. I had to cut a few of the squares into smaller pieces to fill in gaps.
Cut off the squares which went over the edge.
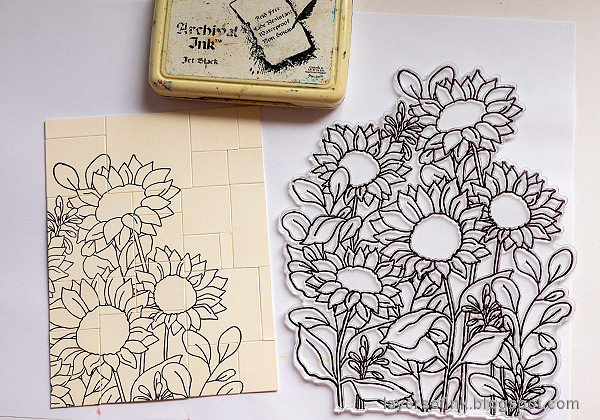
Stamp a part of the design of the large sunflower stamp from
Simon Says Stamp Sunflower Garden on the card. I used a Misti for the stamping, particularly since the stamp is so large.
Color the fun flowers with Distress Watercolor Pencils and dissolve with water and a paint brush. Add more color until you are happy with the look.
Continue with the rest of the flowers. You can also pick up paint with a paint brush directly from the pencils. I did that for the detailed areas, since I have not sharpened the pencils yet.
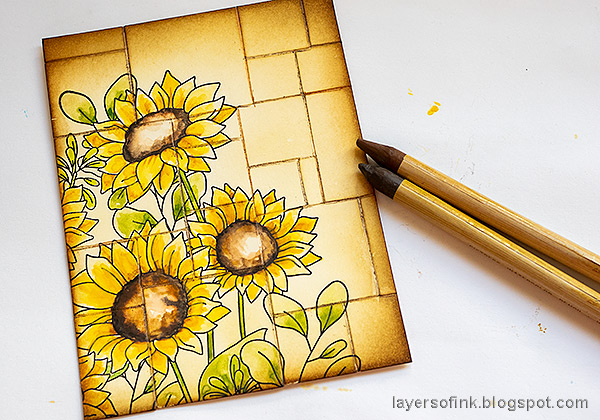
Ink the card with shades of brown Distress Inks.
Use two brown pencils to add lines to the edges between the squares, making them stand out more. Disolve with water.
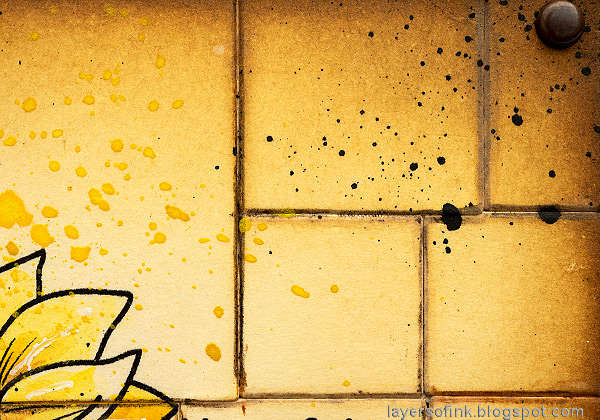
Stamp sentiments on the background. These comes from Simon Says Stamp Real Leaves. Dip the pencil in water and flick a paint brush against the tip to create splatters. Add highlights with a white gel pen and some marks with a black pen.
This is a mess-free way of adding splatters and adds texture.
It is easy to stamp across the lines, but I tried to keep the shorter words on the same square.
I took a photo of the sunflowers in my garden as inspiration for the coloring.
Finish the card by matting it on yellow and cream cardstock and then on folded brown cardstock. I also added brads in the corners.
Thank you so much for stopping by here today and don't miss the STAMPtember® fun at Simon Says Stamp.
Happy stamping!
Anna-Karin
Supplies:
* Please note: the links are affiliate links, for which I receive a small percentage of sales generated by the link, at no extra cost to you.










Love it. Love my new distress pencils. Got a 52 slot 1/2 pan pallet to put the shavings in. Add a little water to keep them together. Optimistic with 52 pans
ReplyDeleteBeautiful
ReplyDelete