Monday, August 15, 2022

At The Sea Tag Tutorial

Hi friends! I hope you are well and had a good weekend. We have had lovely summer weather. 

Please note: this post has affiliate links, for which I receive a small percentage of sales generated by the link, at no extra cost to you.


This week our theme at the Simon Says Stamp Monday Challenge Blog is Fun with stencils. Stencils are so versatile and can be used for many different techniques. And also take very little space to store. Don't miss the project by our August guest designer Estelle Palumbo, with her blog Atouscrap.

Layers of ink - At the sea tag tutorial by Anna-Karin Evaldsson.

I combined a stencil with heat embossing, for a completely embossed and very glossy background. I always like this look, almost like glass or resin. My tag was inspired by a day on a little island in the sea with my family. The children had fun discovering the life in the sea. I used some shells that we collected on the tag.

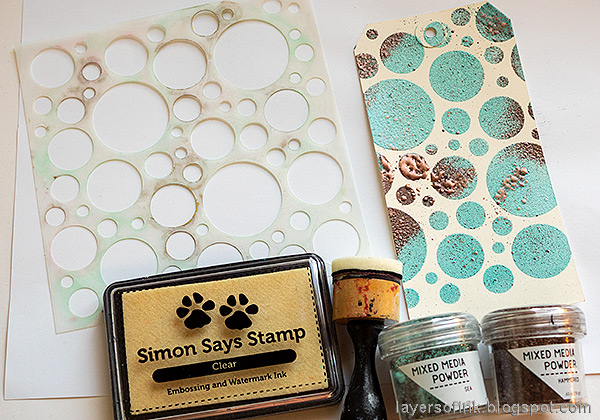
Layers of ink - At the sea tag tutorial by Anna-Karin Evaldsson. Ink through Simon Says Stamp MIx and Match Circles stencil.

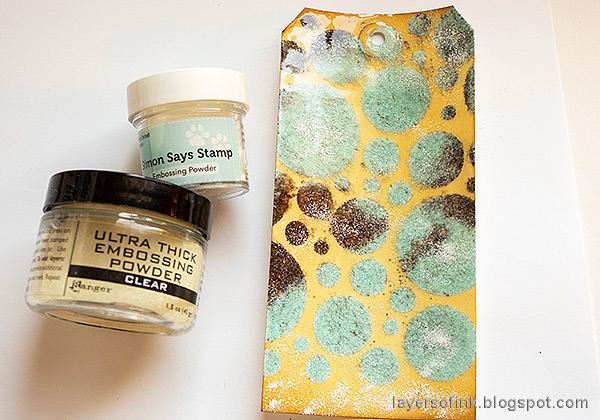
Start by applying embossing ink through the Simon Says Stamp Mix and Match Circles stencils. Sprinkle first with Ranger's Sea Mixed Media Powder and then with a little Hammered powder. Emboss. Always be very careful when using a heat tool and do not touch the melted powder until it has cooled down completely. Don't worry about stray embossing powder. It just adds to the effect.

Layers of ink - At the sea tag tutorial by Anna-Karin Evaldsson. Emboss with Ranger UTEE.

Ink the tag with Antique Linen and cover with Ranger UTEE - Ultra Thick Embossing Enamel.

Layers of ink - At the sea tag tutorial by Anna-Karin Evaldsson.

Apply embossing ink to the tag and continue adding layers of UTEE until you are happy with the thickness. I sprinkled a little bit of white embossing powder into the last layer. Be very careful not to burn yourself.

Layers of ink - At the sea tag tutorial by Anna-Karin Evaldsson.

Leave the tag to cool down and then careful bend it so that you get some crackles.

Layers of ink - At the sea tag tutorial by Anna-Karin Evaldsson.

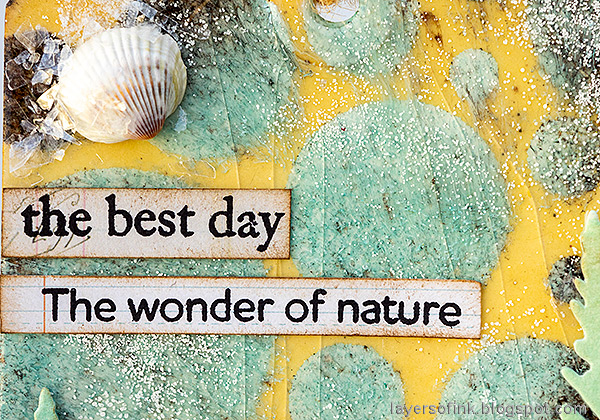
'This is the best day' is a favorite expression of my youngest, which is why it is included here. The sentiments come from Simon Says Stamp Document It and Forest Scenery and were stamped on Tim Holtz Journal Cards.

Layers of ink - At the sea tag tutorial by Anna-Karin Evaldsson.

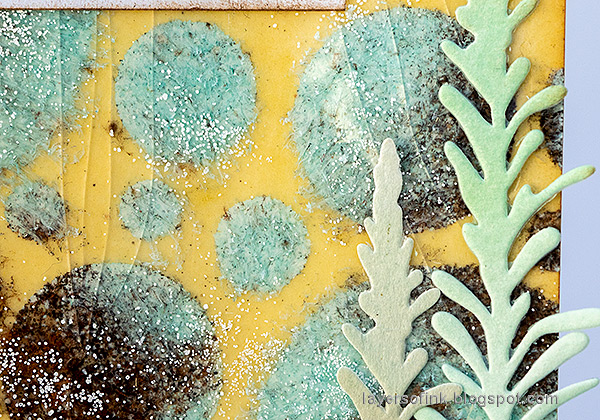
The thick embossed surface has a very cool look and the layers of UTEE has given a feathery look to some of the circles.

Layers of ink - At the sea tag tutorial by Anna-Karin Evaldsson.

Kelp was die cut with Tim Holtz Wildflower Stems 2. The paper had been colored with Distress Inks previously.

Layers of ink - At the sea tag tutorial by Anna-Karin Evaldsson. Stamp the crab with Tim Holtz Sea Life.

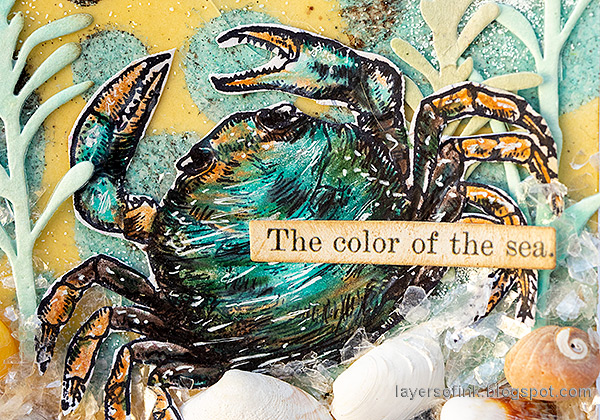
The crab was stamped with Tim Holtz Sea Life set and colored with Prismacolor pencils. I added details with a white gel pen and a black pen. The colors are inspired by a crab we saw on that particular outing.

Layers of ink - At the sea tag tutorial by Anna-Karin Evaldsson. Add shells and mica flakes.

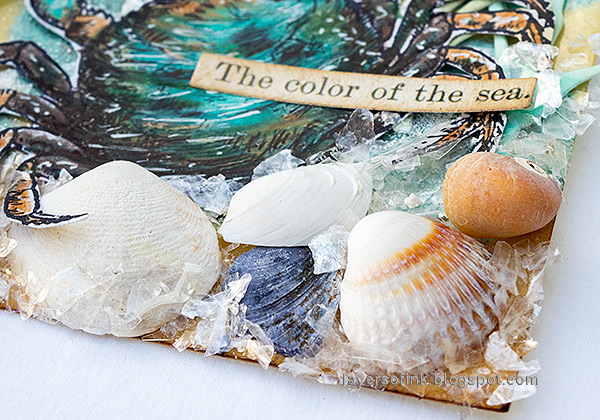
I added matte medium to the bottom of the tag and place the shells into the medium. Then everything was sprinkled with Tim Holtz Mica Flakes. 

Layers of ink - At the sea tag tutorial by Anna-Karin Evaldsson.

More shells and mica. 

I hope you will join us this week in our Fun with stencils challenge. You have a chance to win a $25 gift voucher to do some fun shopping at Simon Says Stamp. You have until Monday 8am Ohio time. 1pm UK time, 2 pm CET to join in.


Do you use Instagram? If so please add #sssmchallenge so we can see your entries there too.


Thank you so much for visiting my blog today! 

Happy crafting!

Anna-Karin

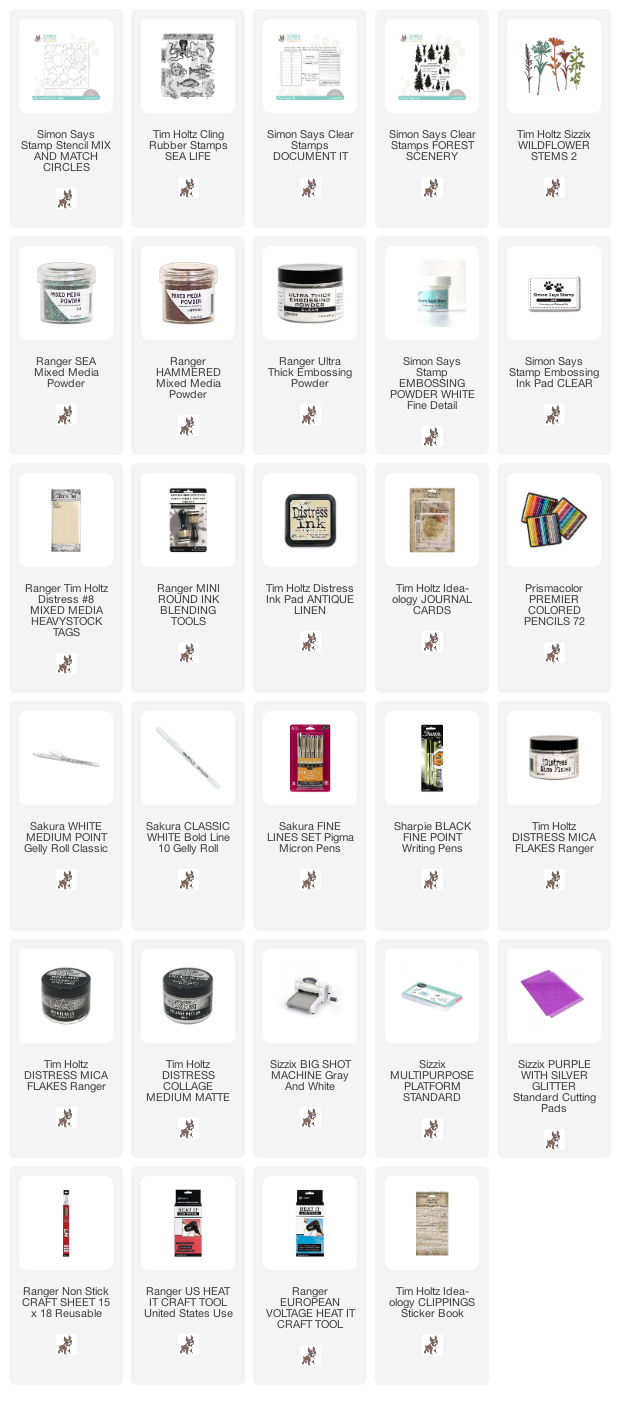
Supplies:

* Please note: the links are affiliate links, for which I receive a small percentage of sales generated by the link, at no extra cost to you.

No comments:

Post a Comment

Thank you so much for leaving a comment! Happy Crafting!