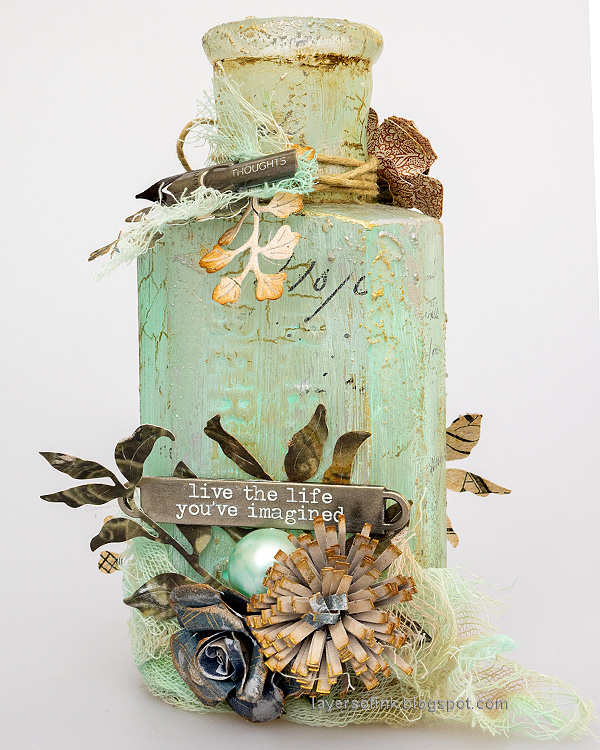
Hi friends! Today I have a fun vintage altered bottle tutorial to share, using a bottle that I found in a second-hand store.
Please note: this post has affiliate links, for which I receive a small percentage of sales generated by the link, at no extra cost to you.
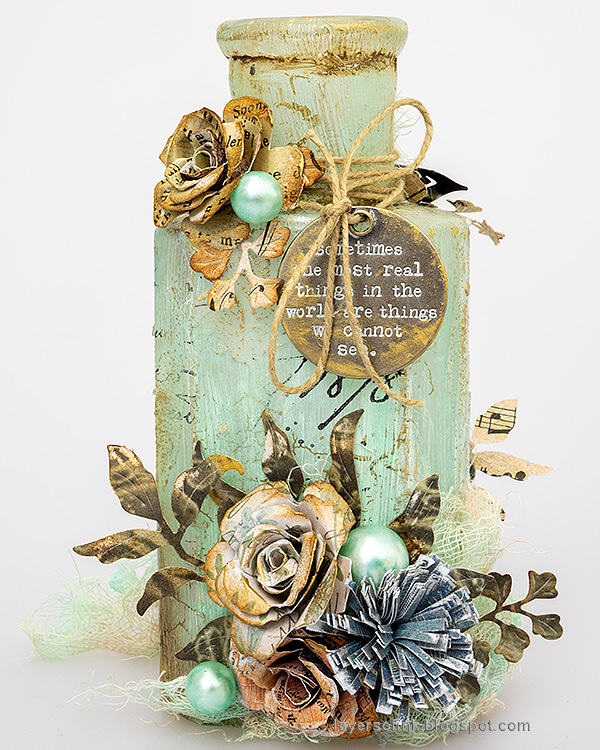
I haven't altered a bottle in quite many years, which made this project extra fun to do. The bottle is about 5.5 in tall. You can use any kind of glass bottle or glass jar instead. Sea glass was one of my inspirations for this piece, but with added texture. I wanted the bottle to be translucent, although not everywhere. It was decorated with paper flowers, pearls and some Tim Holtz idea-ology metal pieces.
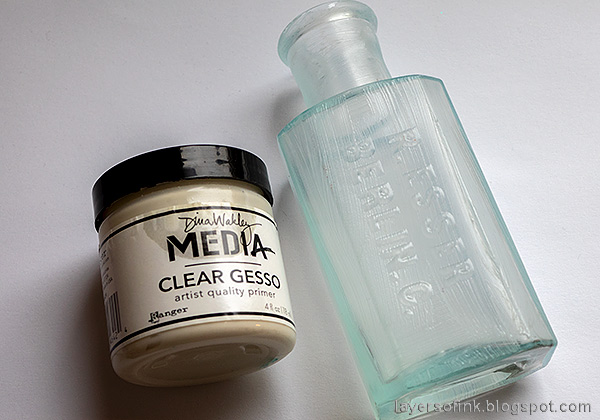
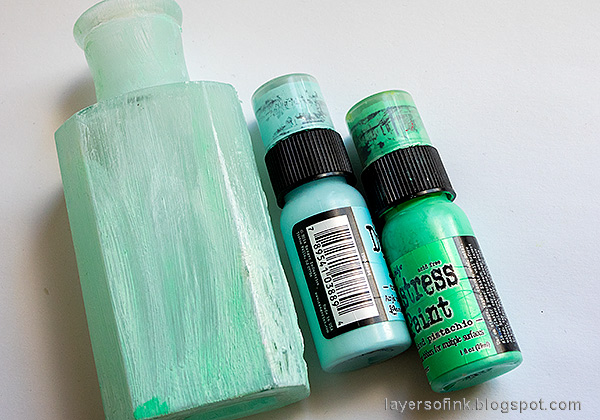
I started with a layer of clear gesso, for a base to work on.
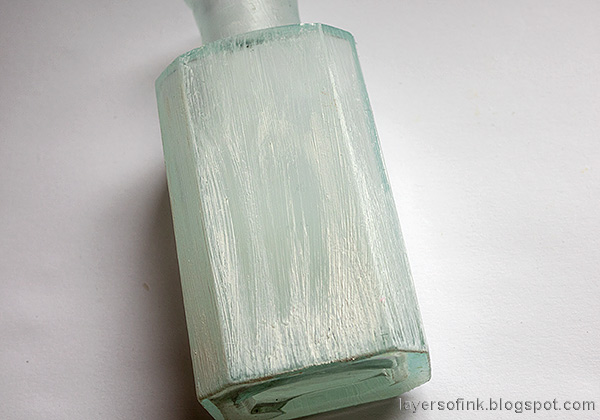
Next add white gesso, but don't cover the clear layer completely. I made the bottle more opaque towards the bottom.
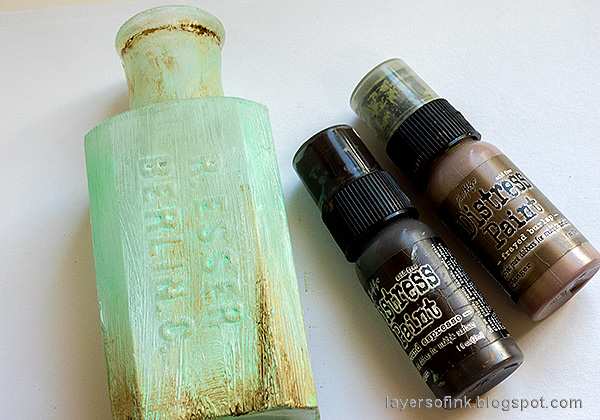
Next, Distress Paint in two shades. Try to keep the layer thin, so that light can still move through the bottle.
I rubbed darker brown paint into some of the areas, particularly at the bottom and along the rim.
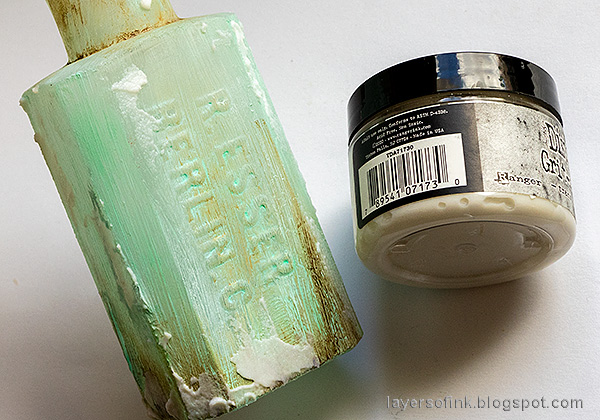
For more texture, add a little Translucent Grit-Paste here and there. Let dry.
Stamp the bottle lightly with Simon Says Stamp Old Letter and black ink and Simon Says Stamp Crackle Background and brown ink.
Finally, rub some Sizzix silver and gold luster wax here and there on the bottle, particularly on the edges and where there is grit-paste.
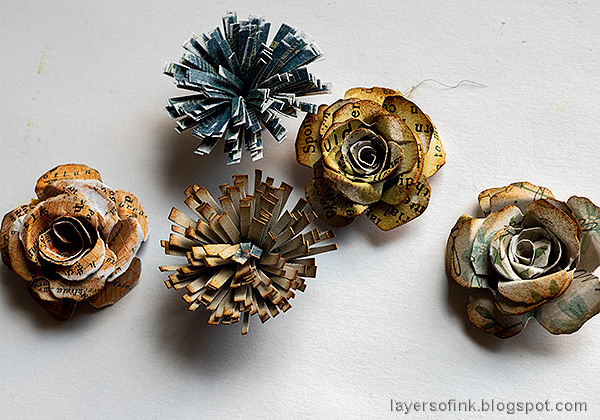
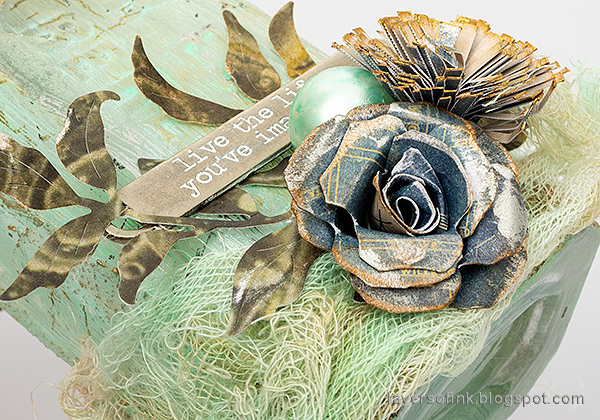
Fringe to strips of paper cut from Tim Holtz Backdrops paper. Roll into flowers.
Die cut four roses from backdrops paper using Tim's Tattered Pinecone die.
Trim the roses with scissors to make the pinecone shape more like a rose. Roll back the petals with tweezers.
Apply a tiny bit of wax to the flowers.
I decorated both sides of the bottle, so that it can be turned around for a different look.
I dyed cheese cloth with Distress Ink. The leaves were die cut from Backdrops paper with Simon Says Stamp Fine Textured Leaf. I added black alcohol ink to the pen nib.
The larger leaves were die cut with Simon Says Stamp Tattered Leaves. White paint was rubbed into the Word Band.
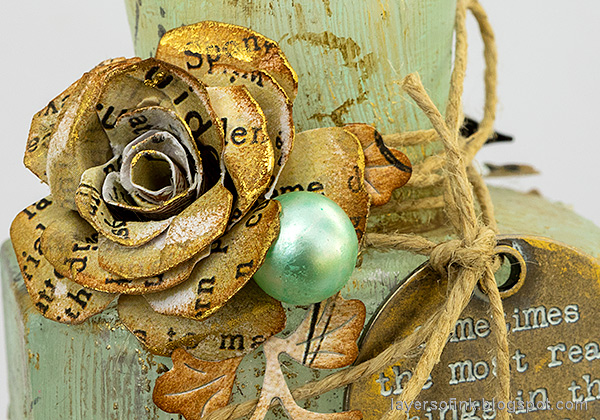
I also dyed four Tim Holtz Baubles with Aqua alcohol ink and tucked them in among the flowers. Here you can see how dimensional the flowers are.
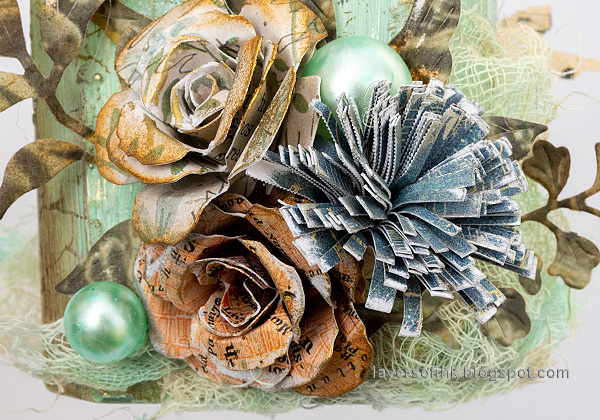
On the other side of the bottle there is one additional rose and more beads.
I sanded some of the roses slightly.
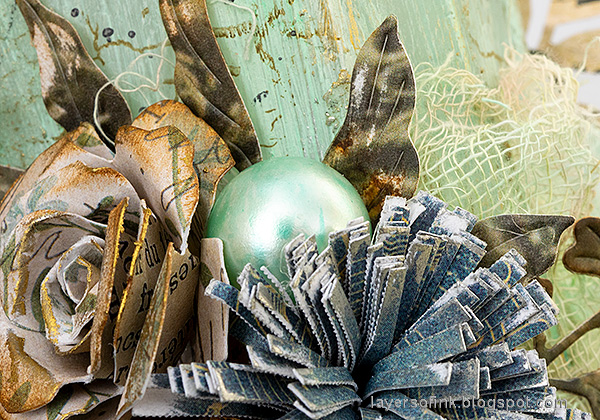
The metallic wax looks particularly good on the edges of the fringed flowers.
Making paper flowers is a great way of using scrap patterned papers.
Again, there is white paint rubbed into the letters on the Quote Token, and some gold wax around the edges.
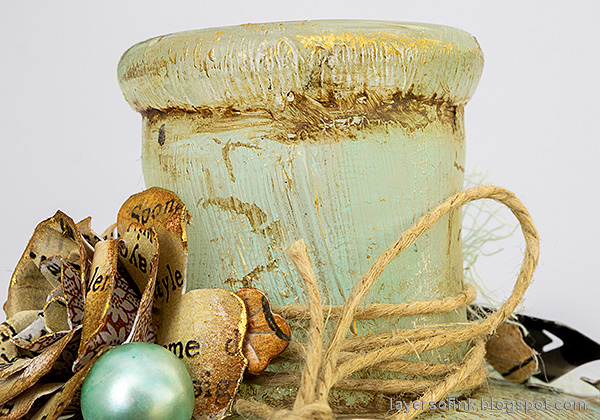
I tied a piece of twine around the top of the bottle, and added more leaves and another rose.
The texture from the gesso and paint comes through nicely.
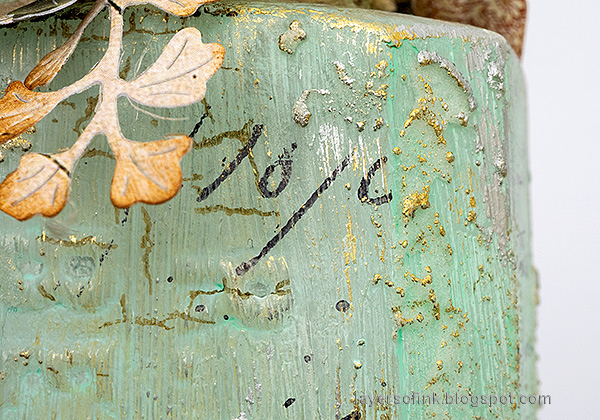
Here you can see the grit-paste better. It also has an interesting feel to it, like the feel of very old glass.
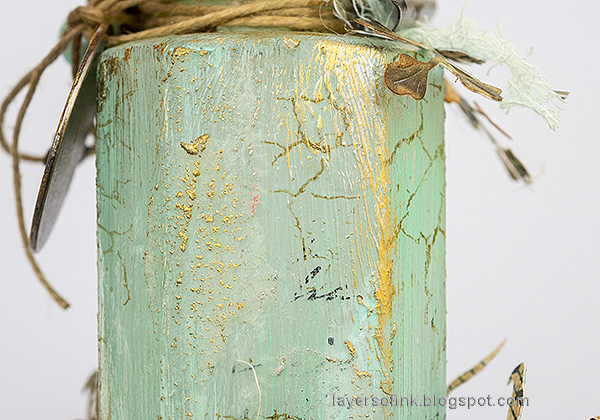
When the bottle is held up against the light, you can see that it is slightly transluscent.
The stamped crackles add just a bit of extra texture.
Here you can see the effect of the metallic waxes better.
I hope you enjoyed this project! Thank you so much for taking the time to stop by here today!
Happy crafting!
Anna-Karin
Supplies:
* Please note: the links are affiliate links, for which I receive a small percentage of sales generated by the link, at no extra cost to you.
* Please note: the links are affiliate links, for which I receive a small percentage of sales generated by the link, at no extra cost to you.












Love it...an inspiration...
ReplyDeleteExtraordinarily beautiful. My mind is already racing with numerous Halloween takes on this stellar altered bottle idea. I don't have all of the products you used (and doubt I will be obtaining them in the near future), but I hope to give this type of project a go all the same.
ReplyDeleteThank you SO much for sharing it - and for providing such a clear, detailed tutorial in the process.
Autumn Zenith 🧡 Witchcrafted Life
Absolutely gorgeous, I am so inspired to make one, looking at this
ReplyDeleteThis is amazing!!! Thanks for the tutorial. Much appreciated!
ReplyDelete