
Hi friends! I hope you are well and had a good weekend. Today I have a sweet stencil resist tag to share with you.

We have a Resist It challenge at the Simon Says Stamp Monday Challenge Blog this week. I hope you can join us! Don't miss the beautiful project by our February guest designer Estelle Palumbo.

I was in the mood for pink and red and made a tag with a heart theme. Even the stamping was done with only pink and red inks. The background was done with a stencil, white embossing and Distress Inks and is quick and easy.

I used the Simon Says Stamp Simple Duo stencils. There is also a star stencil in the set, which will work just as well. Apply embossing ink through the stencil with an ink-blending tool and white emboss the hearts. Always be very careful when using a heat tool and never touch the melted powder until it is completely cool. It is easy to line up the stencil to cover the whole surface. I left a few gaps where the hearts aren't embossed.

Ink the tag with Distress Inks. The embossing will resist the ink.

Smear two shades of Distress Oxide Ink on a non-stick craft sheet, mist with water and dab the tag into the ink. Just here and there. I only dab it and don't press it down, to just get some splots of Oxide Ink.

When dry, ink with Candied Apple through the stencil placing it so that you get hearts in between the white hearts.

Place the stencil back over the white hearts, but a offset it a little. Ink with Aged Mahogany to get a subtle shading.

Stamp here and there with the Simon Says Stamp Old Letter Background stamp and Schoolhouse Red ink.

Die cut the sentiment with the Simon Says Stamp You Matter die from heavystock paper and stamp with the Reverse Crackle Background stamp using red ink. This is a quick way of adding texture and color at the same time.

I gave the sentiment a coat of Glossy Accents and you can see the glossy effect here. The smaller sentiment was stamped with the Inside Friendship Messages and Teeny Bikini ink.

I like the mix of white and red hearts, in combination with the shades of pink and red in the background.

The vellum heart was die cut with the Simon Says Stamp Thinking of You Heart. I doodled a border with a white pencil and a white gel pen. I love the frosty look of the vellum.

I hope you will join us this week in our Resist It challenge. You have a chance to win a $25 gift voucher to do some fun shopping at Simon Says Stamp. You have until Monday 8am Ohio time. 1pm UK time, 2 pm CET to join in.
Don't forget to follow Simon Says Stamp on Instagram, where they post great stuff daily.

Do you use Instagram? If so please add #sssmchallenge so we can see your entries there too.


Thank you so much for taking the time to stop by here today!
Happy crafting!
Anna-Karin
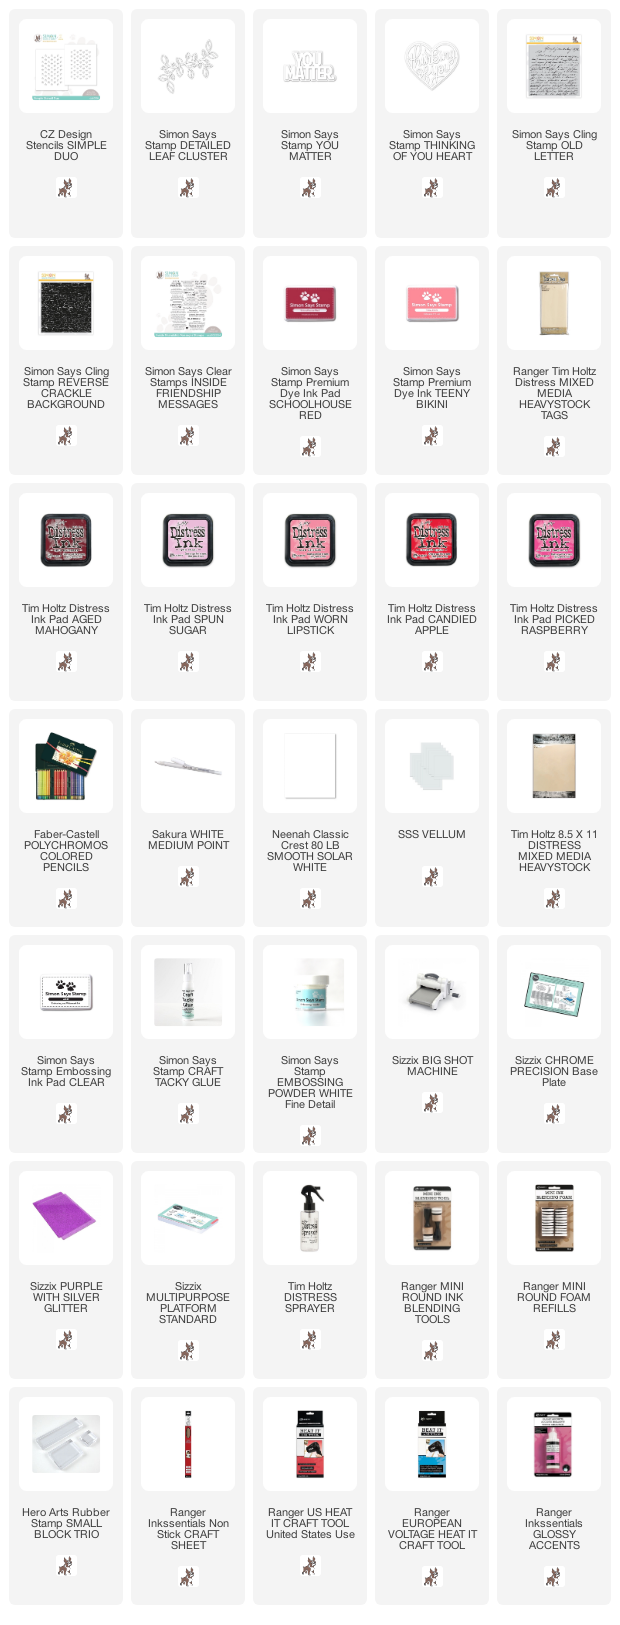
Supplies:
* Please note: the links are affiliate links, for which I receive a small percentage of sales generated by the link, at no extra cost to you.
* Please note: the links are affiliate links, for which I receive a small percentage of sales generated by the link, at no extra cost to you.
Gorgeous tag Anna Karin :-) I love the background and the glossy sentiment, the whole design is just fabulous!! :-)
ReplyDeleteHope you have a great week!
Luv
Lols x x x
p.s, thanks for your comment on my card, I made that this morning and uploaded with only one minute to spare!!! ;-)
Your tags are always amazing and this one especially. So perfect for Valentine's Day.
ReplyDelete