
Hi friends! I hope you are well! I have a fun and funky forest tutorial to share with you today. I made a little wall-hanger, but the design and techniques works perfect for cardmaking too.

I love the fun tree designs in Tim Holtz Funky Trees set. There are six different trees in the set and you can of course mix them too. I wanted to create a magical forest to hang on the wall, since I love trees. For this project, I used easy techniques with Distress Ink, Distress Oxide Ink and Distress Paint.

Start by die cutting the Bubbling die from heavystock paper. I used the Sizzix Precision Base Plate, which makes it easier to die cut a panel that is this intricate.

Attach it to a piece of Little Sizzles mat board with matte gel. Add a layer of gel on top of the design too.

When dry, coat with gesso.

Paint the panel with Distress Paints and mist with water. Leave to dry on its own.

When the panel is dry, the paint, water and textured background will have created a really cool look. I glued it to a piece of cardboard from a box.

Finally, I dry-brushed a little white paint on the raised areas.

Smear various combinations of green and turquoise Distress Ink on a non-stick craft sheet. Mist with water and press pieces of heavystock paper into the ink. Let dry.

Die cut the six trees from Funky Trees from the various papers.

Add more texture and interest to the pieces with Distress Oxide Ink. Smear the ink on a non-stick craft sheet, mist with water. Just touch the paper to the ink, don't press, to get splotches of oxide ink here and there. By inking the paper once first, then die cutting, and then inking again, you save time by not having to ink the individual pieces from scratch. At the same time, you can make them all different in this second step, when you add additional ink to each piece.

The trunks were completely pressed into the oxide ink. Assemble the trees. I used foam tape and also shaped some of the pieces slightly to make them look curved. Aren't these cool? Most of my trees have a darker piece in the background and a lighter piece as the front leaf layer. This adds dimension.

The sentiment comes from Paper Artsy's The Magic & Wonder Edition by Alison Bomber. I also added some fibers.

Move the trees around until you are happy with the placement. The texture on this large turquoise tree is my favorite.

You can assemble the trees in different ways. I moved some of the pieces so that they would work better when the trees overlapped.

I also added just a few sequins in the same shades as the background.

The bubble texture is so cool. I like anything with circles or bubbles, as you might know.

Mixing the transparent Distress Ink with the opaque Oxide Ink gives a layered and textured look, which works well for trees and leaves.

Here you can see the dimension created by the layering of the various pieces and the foam tape.

Try making the trees in different color combinations. These funky trees will look great in any color.

Thank you so much for taking the time to stop by here today!
Happy crafting!
Anna-Karin
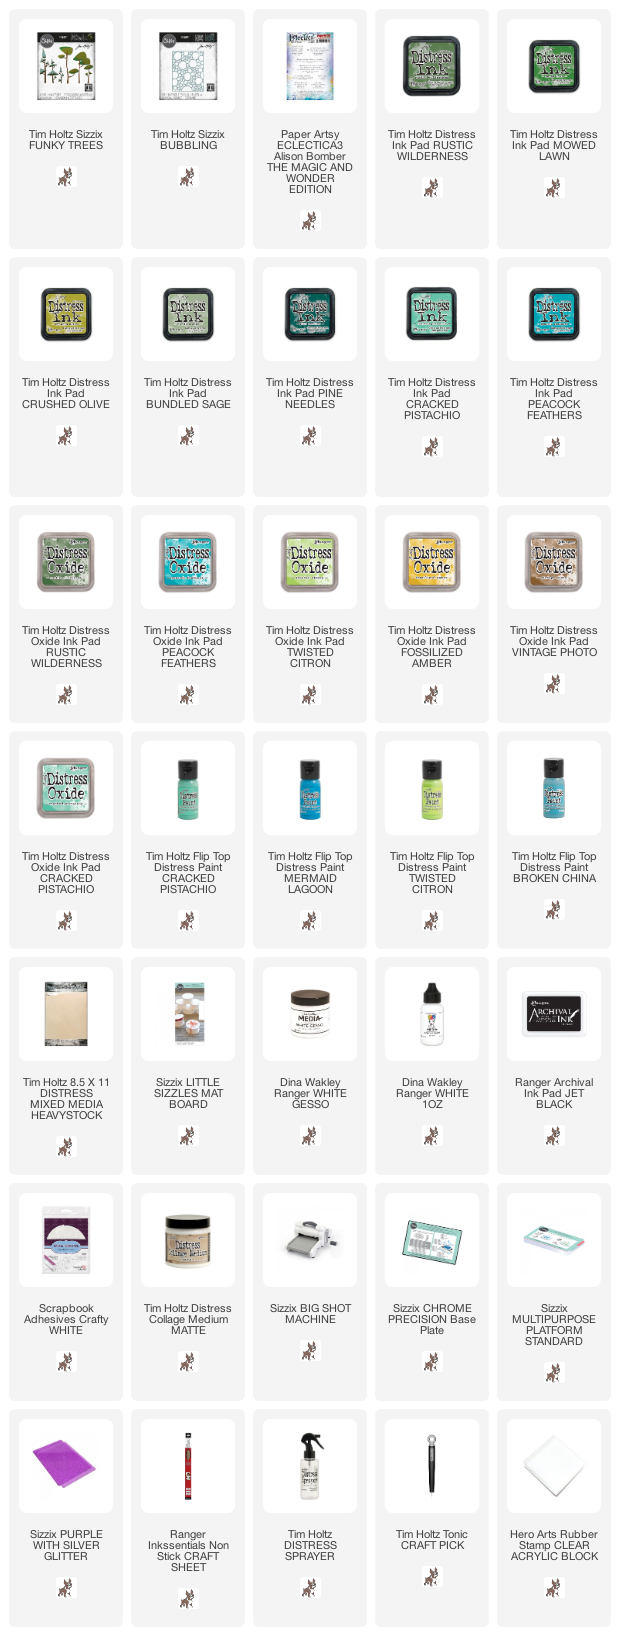
Supplies:
* Please note: the links are affiliate links, for which I receive a small percentage of sales generated by the link, at no extra cost to you.
* Please note: the links are affiliate links, for which I receive a small percentage of sales generated by the link, at no extra cost to you.
This is fabulous!! I love the whimsy and perfect color choices. What fun!
ReplyDeleteI definitely see a forest of fungi... which is magical in itself - and the colours are so uplifting and cheerful. Perfect words to go with it all!
ReplyDeleteAlison x
I absolutely love your projects! I was eyeballing those trees and the bubble die - now I think it is a definite must! Thanks for sharing your art!
ReplyDeleteLove it!!!
ReplyDelete