

As you probably already know, I take a lot of walks and forests are one of my favorite places. During September the Eileen Hull Inspiration Team is sharing projects with outdoor themes. Don't miss all the inspiration! I used Eileen's Notebook die together with stamps by Simon Says Stamp.

Die cut the notebook from mat board. As you can see, the die both cuts and scores the surface.

As I was working on this project, a parcel arrived with the stamps that I designed for Simon Says Stamp Let's Connect release. I had to use them right away. The cover was stamped with the Reverse Crackle Background stamp using Leaf Green Archival Ink. This is a really quick way of giving both color and texture to a background in just one step. There is also a Crackle Background Stamp, which is perfect if you want to add crackle to an already colored background, and for lots of other techniques.


For the inserts, I cut pages from three different types of papers: sketch paper, watercolor paper and kraft paper. One of the best things with making your own journals and sketchbooks is that you can use your favorite papers for the inside. Arrange into two signatures.

I punched five holes in the spine as seen here and used an elastic string to bind the journal. Start and stop through the fifth hole (the one in the middle).

I tied the strings through a pretty button.


The ends of the strings were tied with two glass beads that I found on my desk. They also function as a closure mechanism for the book.

The back looks really nice with all that green crackle and great for the texture of a forest. I left the back cover plain, apart from the two sentiments.

Let your photos take center stage by covering the entire front of a sketchbook or journal with a photo. I sanded the edges slightly and added the title of the book. For a similar project, check out my Junk Journal from last month.
I hope you enjoyed this tutorial. Don't miss all the inspiration posted by the Eileen Hull Inspiration Team during the month.


Thank you so much for stopping by here today!
Happy crafting!
Anna-Karin
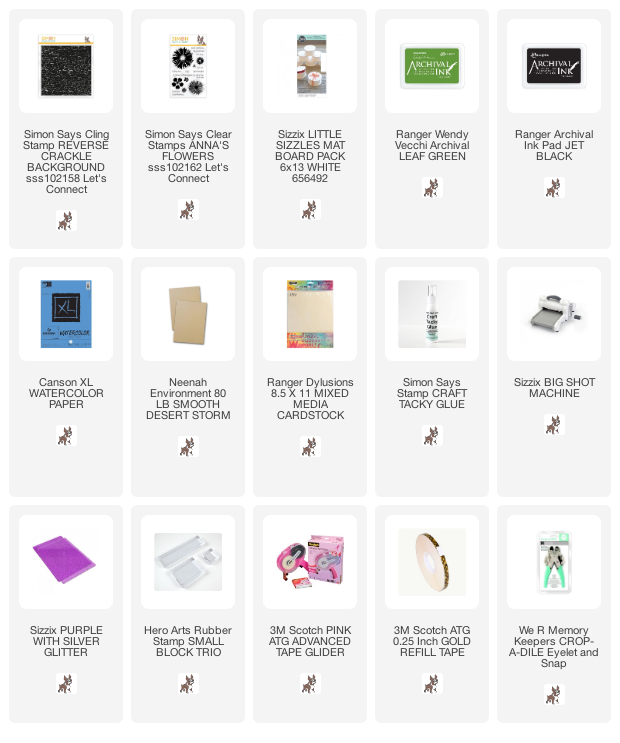
Supplies:
* Please note: the links are affiliate links, for which I receive a small percentage of sales generated by the link, at no extra cost to you.
* Please note: the links are affiliate links, for which I receive a small percentage of sales generated by the link, at no extra cost to you.
Other supplies:
Eileen Hull Sizzix Notebook L die
such a beautiful little notebook Anna-Karin. I really like that reverse crackle stamp! =)
ReplyDeleteOh man! I love that background stamp! Such a great project!
ReplyDeleteYour new stamps are amazing! And perfect for this little book- so pretty. Love the glass beads too!
ReplyDelete