Thursday, August 27, 2020

Sunny Seascape Tutorial

Hello crafters! I have a mixed media tutorial to share today with easy techniques for how to create a sunny seaside scene. It can easily be adopted to different formats and I made both a wall-hanging and a tag to show that.

Layers of ink - Sunny Ocean and Beach Mixed Media Scene Tutorial by Anna-Karin Evaldsson.

Here is the wall-hanging. It's 6 x 8.5 in. You can use just a few of the techniques on a project or all of them as here. On the tag below, you will see that I simplified the process and skipped some of the steps. I used Distress Paint and various pastes by Ranger/Tim Holtz. The stamps are from the Simon Says Stamp Your Light set.

Layers of ink - Sunny Ocean and Beach Mixed Media Scene Tutorial by Anna-Karin Evaldsson. Coat with gesso. 

I worked on a piece of Little Sizzles mat board, but you can also use chipboard. Apply a layer of gesso. I made wave patterns at the bottom, but later decided to also collage some paper to the background, so you can skip that and just apply a thin layer of gesso.

Layers of ink - Sunny Ocean and Beach Mixed Media Scene Tutorial by Anna-Karin Evaldsson. Collage with old book paper.

Glue torn pieces of old book paper to the background. Add a layer of matte medium on top of the paper too.

Layers of ink - Sunny Ocean and Beach Mixed Media Scene Tutorial by Anna-Karin Evaldsson.

When the matte medium is dry, continue with a layer of gesso. Here I added texture and patterns - both as rays in the sky and as waves in the ocean.

Layers of ink - Sunny Ocean and Beach Mixed Media Scene Tutorial by Anna-Karin Evaldsson. Paint the sun and reflection yellow.

Start painting the sun and its reflection using two shades of yellow.

Layers of ink - Sunny Ocean and Beach Mixed Media Scene Tutorial by Anna-Karin Evaldsson. Paint the sky and the sea.

Continue with the sky and the ocean, with three shades of blue. Water-down the paint a little.

Layers of ink - Sunny Ocean and Beach Mixed Media Scene Tutorial by Anna-Karin Evaldsson. Apply grit-paste.

Apply Opaque Grit-Paste as a sandy beach. Try to create the look of dunes.

Layers of ink - Sunny Ocean and Beach Mixed Media Scene Tutorial by Anna-Karin Evaldsson. Paint the sand.

When dry, paint with Antique Linen and a little Walnut Stain.

Layers of ink - Sunny Ocean and Beach Mixed Media Scene Tutorial by Anna-Karin Evaldsson. Apply translucent grit-paste through the Rays stencil.

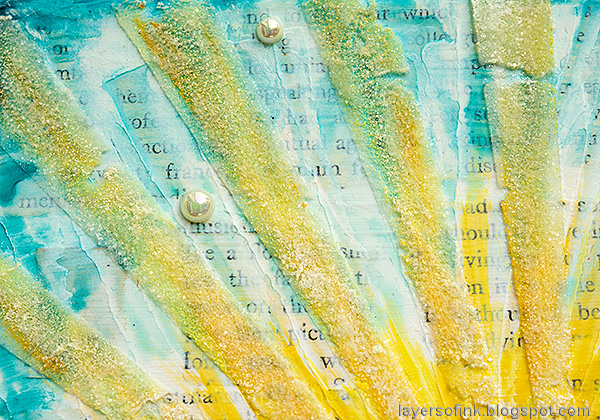
When dry, apply Translucent Grit-Paste through Tim Holtz Rays stencil. Let dry.

Layers of ink - Sunny Ocean and Beach Mixed Media Scene Tutorial by Anna-Karin Evaldsson.  Paint the sun rays.

Dry brush yellow and white paint on the rays to make them stand out more.

Layers of ink - Sunny Ocean and Beach Mixed Media Scene Tutorial by Anna-Karin Evaldsson. Add Rock Candy Glitter.

Place the stencil back and apply a layer of Matte Medium to the rays. Sprinkle Rock Candy Distress Glitter on top. 

Layers of ink - Sunny Ocean and Beach Mixed Media Scene Tutorial by Anna-Karin Evaldsson. Add mica flakes.


Dye Mica Flakes with Butterscotch alcohol ink and glue to the background with Glossy Accents. Also add some Mica Flakes which aren't dyed.

Layers of ink - Sunny Ocean and Beach Mixed Media Scene Tutorial by Anna-Karin Evaldsson. Acrylic paint, paste and glitter sun rays. Mica flakes for the sun.

The mix of gesso rays, paint, translucent grit-paste, glitter and mica makes for an interesting looking sun.

Layers of ink - Sunny Ocean and Beach Mixed Media Scene Tutorial by Anna-Karin Evaldsson.

The text can be seen partially through some of the paste and glitter rays, but is mainly visible in between the rays, adding depth. I also glued some pearls to the background.

Layers of ink - Sunny Ocean and Beach Mixed Media Scene Tutorial by Anna-Karin Evaldsson.

Stamp a part of the sentiment just below the horizon line. 

Layers of ink - Sunny Ocean and Beach Mixed Media Scene Tutorial by Anna-Karin Evaldsson. Simon Says Stamp Your Light.

Stamp the ship from Your Light on white cardstock and color lightly with colored pencils. Cut out and glue to the background. The second part of the sentiment was stamped below the ship.

Layers of ink - Sunny Ocean and Beach Mixed Media Scene Tutorial by Anna-Karin Evaldsson.

I added the yellow mica flakes to the areas with sunshine or sun reflections and used the normal flakes in the blue and sand areas. I really like how they all glimmer in the light.

Layers of ink - Sunny Ocean and Beach Mixed Media Scene Tutorial by Anna-Karin Evaldsson.

The tag is very similar to the wall-hanger, just on a smaller scale. I also skipped the grit-paste and glitter rays in the sky. That made the gesso and paint rays more visible. The scene was left peaceful, with just two sentiments and some pearls.

Layers of ink - Sunny Ocean and Beach Mixed Media Scene Tutorial by Anna-Karin Evaldsson. Tim Holtz mica flakes.

Here you can see the gesso rays better. Don't forget that you can make patterns and texture with gesso. It makes for an interesting background element.

Layers of ink - Sunny Ocean and Beach Mixed Media Scene Tutorial by Anna-Karin Evaldsson.

Stamp the sentiment in the sea.

Layers of ink - Sunny Ocean and Beach Mixed Media Scene Tutorial by Anna-Karin Evaldsson. Grit-paste sandy beach.

By dry-brushing the sand with a dark brown, you make the grit-paste textures more visible.

Layers of ink - Sunny Ocean and Beach Mixed Media Scene Tutorial by Anna-Karin Evaldsson.

I hope you enjoyed this tutorial. It is a great way of keeping the memories and warmth of summer for the colder seasons. You can of course also use the techniques for other types of projects and themes.


Thank you so much for taking the time to visit my blog today!  

Happy crafting!

Anna-Karin

Supplies:

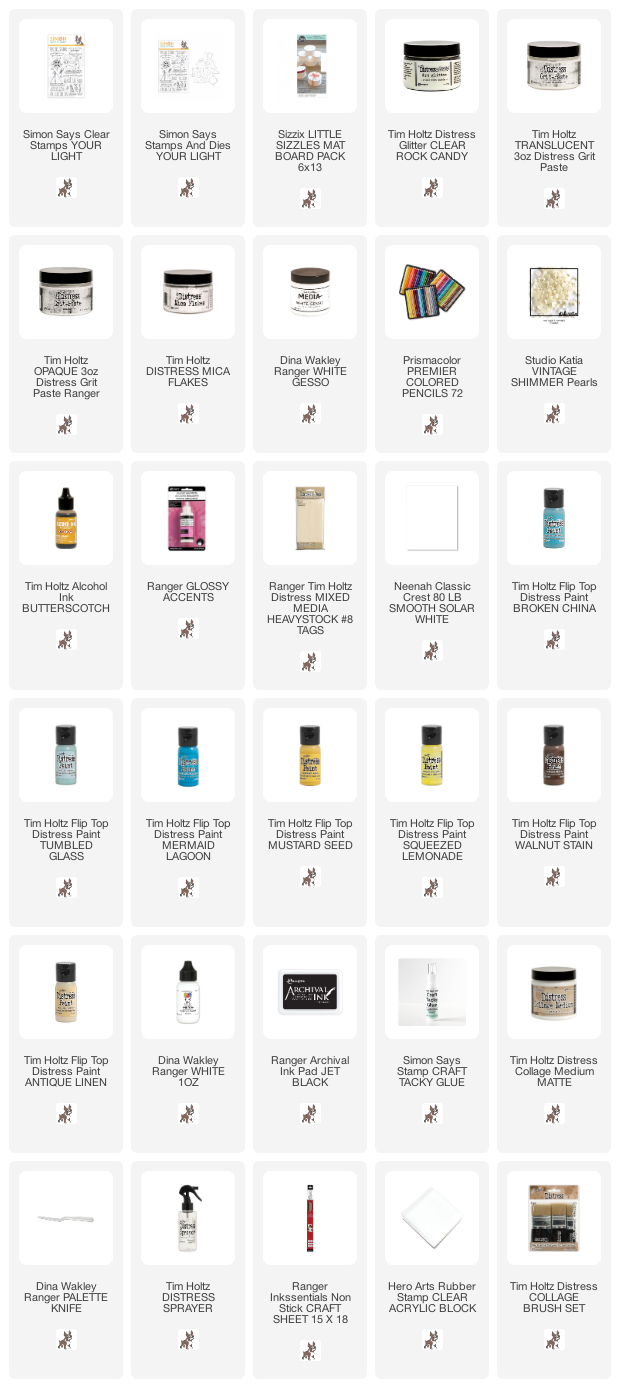
* Please note: the links are affiliate links, for which I receive a small percentage of sales generated by the link, at no extra cost to you.

1 comment:

Thank you so much for leaving a comment! Happy Crafting!