
Hello stampers! After a week of very warm weather we got some much needed rain during the night and today it is slightly cooler. I have an inky card to share with you, with both stamping and stenciling techniques.

Our theme this week at the Simon Says Stamp Monday Challenge Blog is Take Me For A Ride. Don't miss checking out the last project by our June guest designer Sandra Rupp.

I went on an imaginary historical car drive, building a scene with stamps and stencils by Tim Holtz. The card is meant to depict hope, with the glittery rays and the colorful buildings. You can of course use the techniques with other stamps and stencils too.

Start by stamping the vintage car from Tim's Elements of Time set on heavystock paper with SSS embossing ink. Sprinkle Gunmetal powder on the lower part and Hammered powder on the top two-thirds. Always be very careful when using a heat gun and never touch the melted powder until it is completely cool.
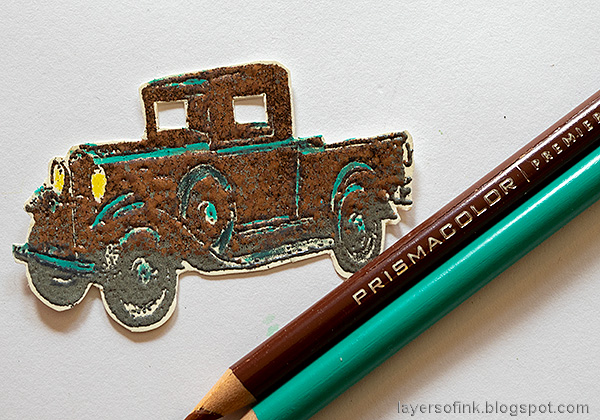
Cut the car out and add some color with colored pencils.

Cut a piece of modeling film and color with Latte Alcohol Ink.
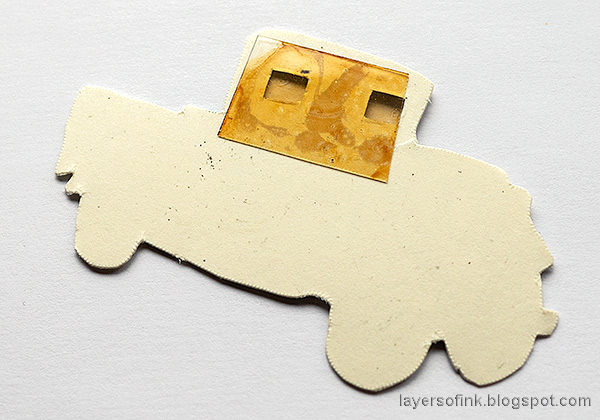
Glue it to the back of the windows.

Stamp the city from the Rock Star set on a piece of heavystock cardstock and on SSS masking paper. Cut out the masking paper version.

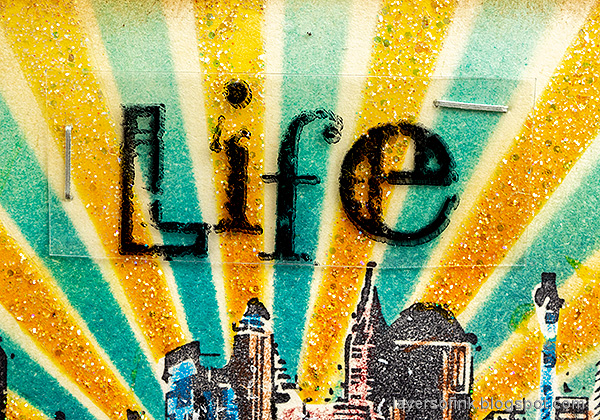
Adhere the mask and place the Shifter Rays Stencil until you are happy with the look. Ink with Fossilized Amber and Spiced Marmalade.

Clean the stencil, turn it around and position it so that the yellow rays are covered. Ink with three shades of blue Distress Ink.
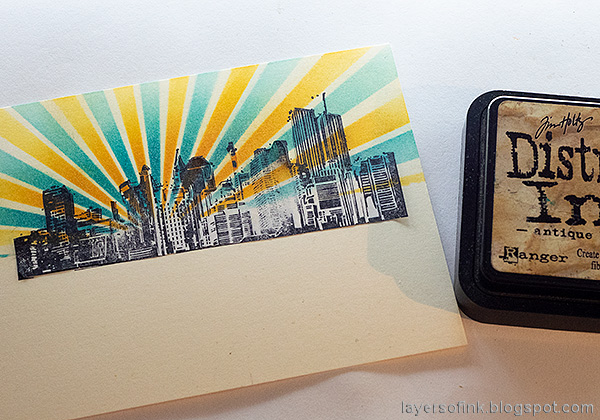
Ink with a little Antique Linen to tone down the colors.

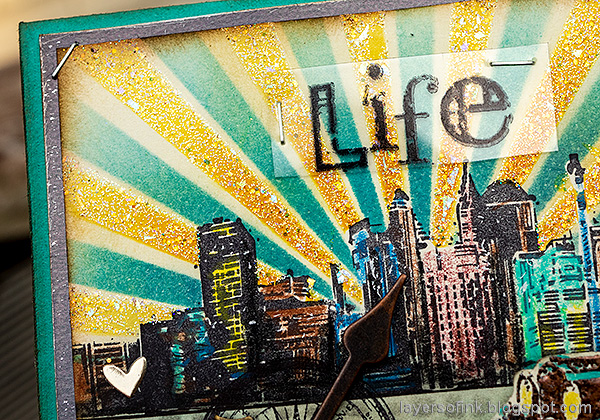
Clean the stencil again and place it back so that it covers the blue rays. Apply Moon Dust Stickles with a palette knife. Let dry.

Remove the mask and color the buildings with colored pencils. I used Prismacolor pencils. I stamped one building on each side of the city, so that the cityscape would cover the whole card.

Stamp the stars from Rock Star with Fossilized Amber ink and emboss with SSS clear embossing powder. Then ink the area with Pumice Stone and a little Broken China. Place the Burlap stencil on top and ink with Black Soot ink. Stamp sentiments with stamps from Noble Gents.
I have used this technique with Stickles quite a bit lately, since I really like the results and the new Ranger Stickels jars are stunning with some larger pieces of glitter. I wish you could see the sparkle in real life. For more examples check out my: DIY Bird Notebooks, Magical Gnome Forest and Ink, Stamps and Glitter tag.

The Mixed Media Hammered powder gives a cool vintage metallic look to the car. Adhere the car with foam tape.
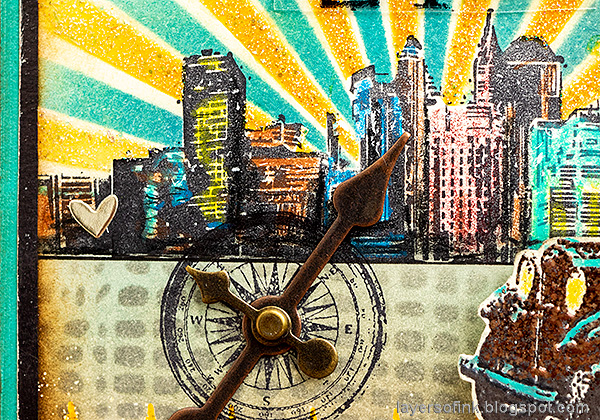
I also stamped a compass and added two game spinners. The gold hearts were on my desk from a previous project and were die cut with the SSS Clipping Heart die.
When looking for a piece of modeling film for the car's windows, I found this stamp from Good Thoughts stamped on the film. I cut it out and stapled it to the sky.

The embossed stars have a great textured look to them. I matted the panel on black metallic kraft stock paper and sanded the edges slightly. The wanderlust stamp is an arched stamp, but I managed to place it on my acrylic block in a way that it stamped almost straight instead. I wanted a straight sentiment to mimic a road.


Do you use Instagram? If so please add #sssmchallenge so we can see your entries there too.


Thank you so much for taking the time to visit my blog today!
Happy crafting!
Anna-Karin
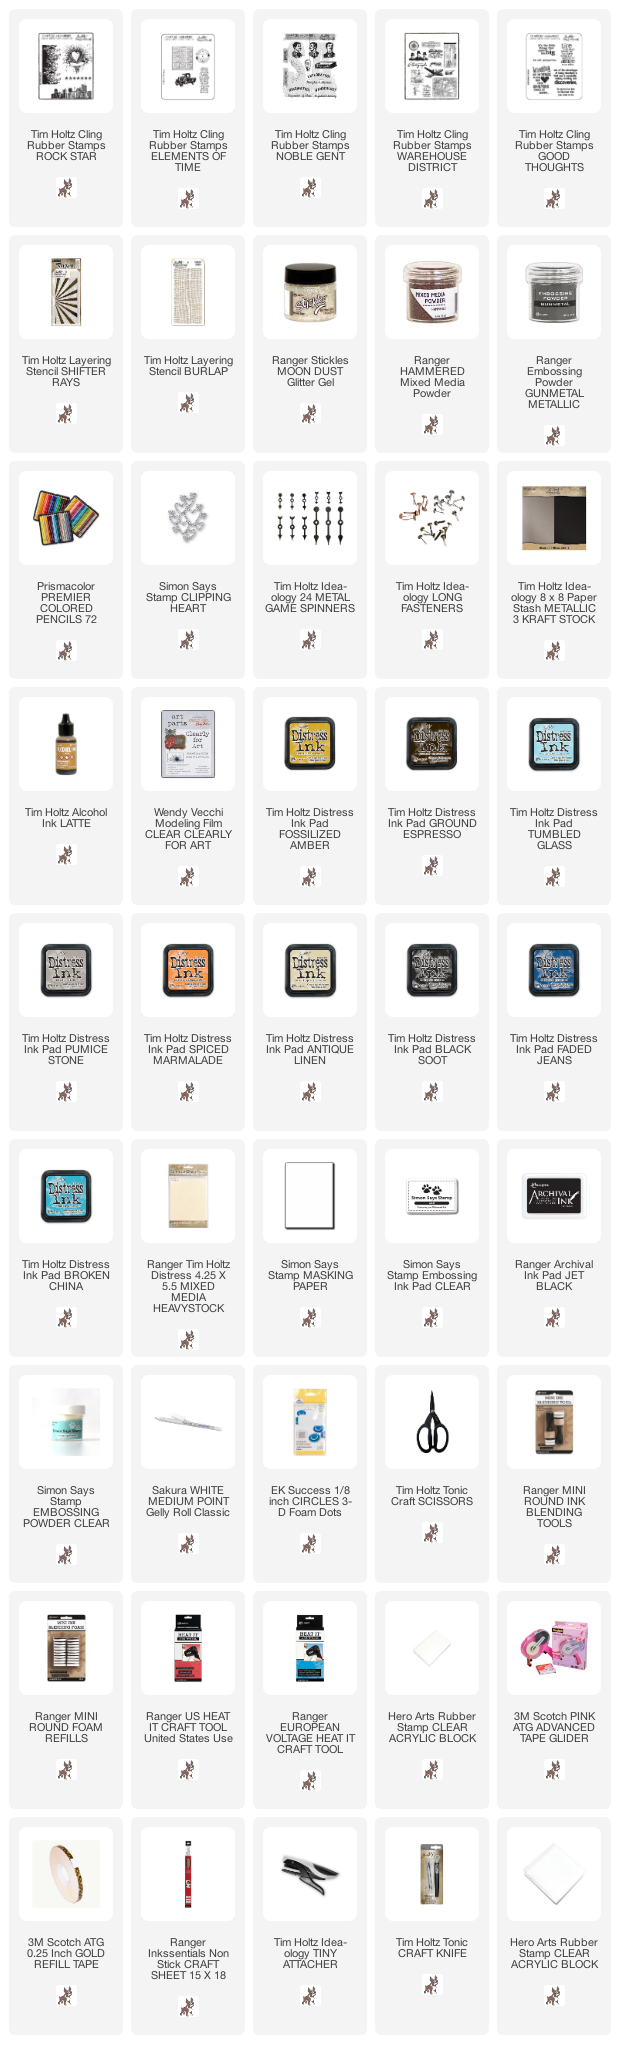
Supplies:
* Please note: the links are affiliate links, for which I receive a small percentage of sales generated by the link, at no extra cost to you.
* Please note: the links are affiliate links, for which I receive a small percentage of sales generated by the link, at no extra cost to you.
Great card, the stenciling in the background looks amazing thanks for sharing it x
ReplyDelete