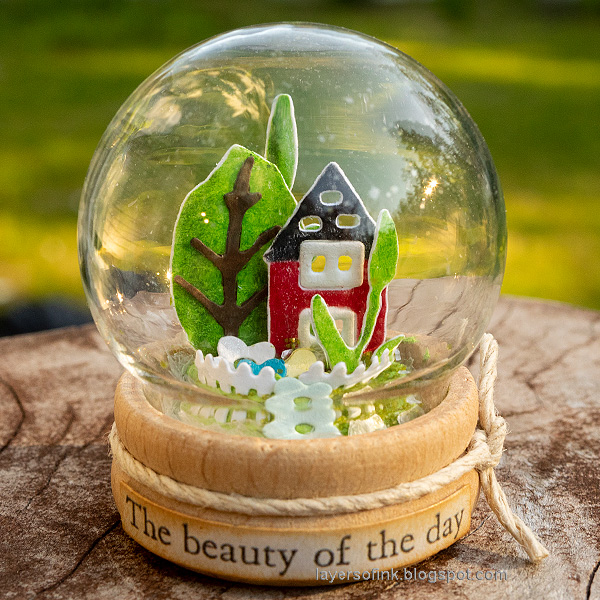
Hello crafters! I have a sweet miniature tutorial to share with you today. Snowglobes aren't only for winter projects and here I created a summer garden inside one of Tim Holtz Snowglobes. There is both glitter and mica flakes and if you shake the globe they move around.
The sun is shining and when I spotted one of Tim's Snowglobes I thought I would create a small Swedish summer garden inside the globe, complete with a red cottage, flowers, grass, trees and a white picket fence. You could also place a miniature version of your own home in the globe, or someone else's and give it as a gift to them.
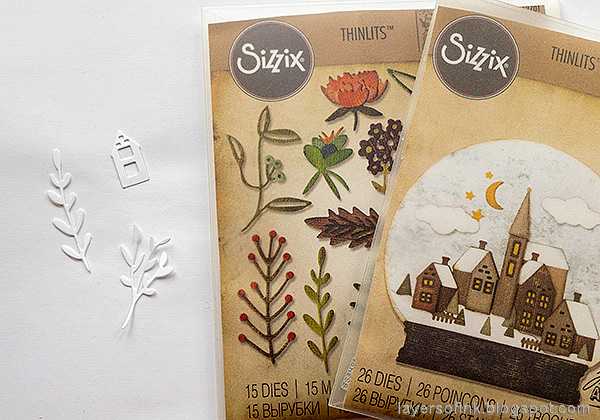
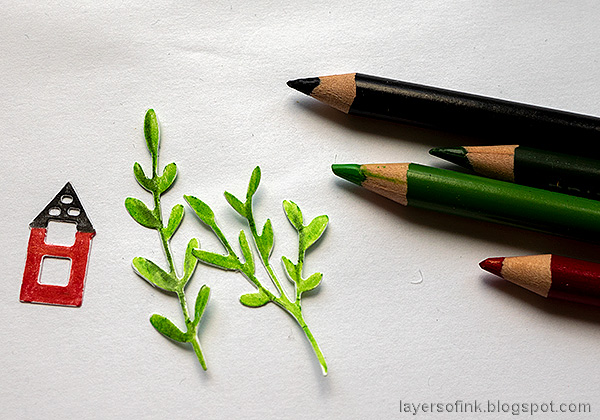
I started out by die cutting a house from Tim's Snowglobe 2 set and some greenery from Funky Floral 2.
Since my colored pencils were on my desk, I decided to use them to color the shapes. You can use ink instead or markers, or for a quicker version, die cut the shapes from colored paper.
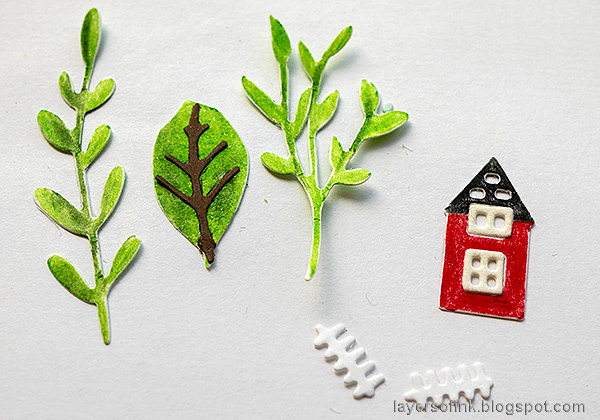
Later I also made a tree from a leaf die.
Die cut tiny flowers from various shades of SSS cardstock and from white glimmery cardstock.
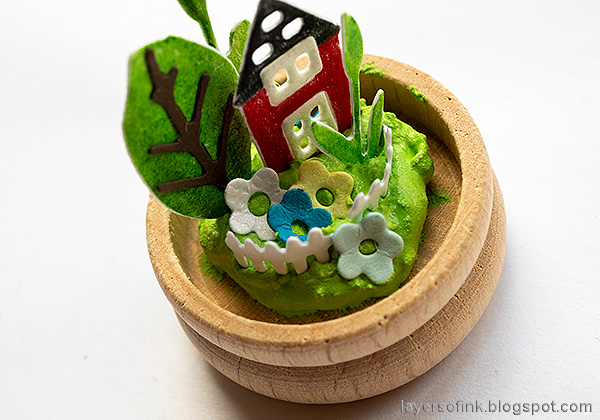
Mix a little Mowed Lawn Distress Paint into Matte Texture Paste and place a blog into the base of the globe. Don't let it go all the way to the edge. Press the shapes into the paste to build your scene. A pair of tweezers makes it easier. The paste acts as an adhesive.

Mix a little green alcohol ink into Rock Candy Distress Glitter and sprinkle it over the paste. Leave to dry for a while, so that the shapes don't fall out when you glue the dome on top.
Scoop a small amount of Tim's mica flakes into the globe.
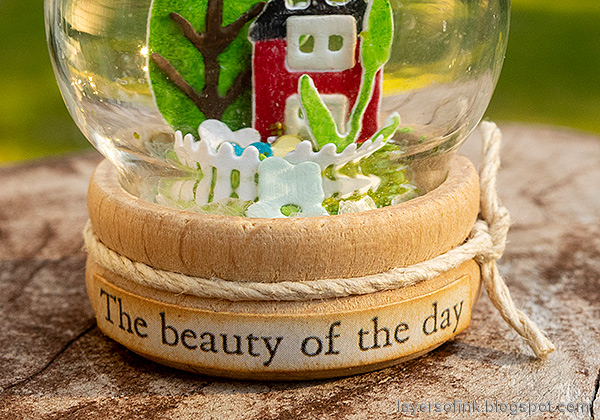
Add a little matte medium around the rim of the globe and adhere to the base. Leave it to dry upside down. Then tie a piece of twine around the base and add a Clippings Sticker as a sentiment.
Here you can see the little scene from above. When you color the shapes with colored pencils, the edges stay white. I liked that in this case, particularly since I wanted the house to have white edges. If you don't want the white edges, color with ink or markers instead.
Here you can see the mica mixed up with some of the green glitter. You can add more mica if you want to.
Here's the little scene from the back.
Just to give you an idea of how small and cute the globe is. For more inspiration on miniature globes check out my two winter globes: Winter Cottage in a Snow Globe and Christmas Forest tutorials. A similar project, but slightly larger is my Miniature House in a Shadow Box.
Thank you so much for taking the time to visit my blog today!
Happy crafting!
Anna-Karin
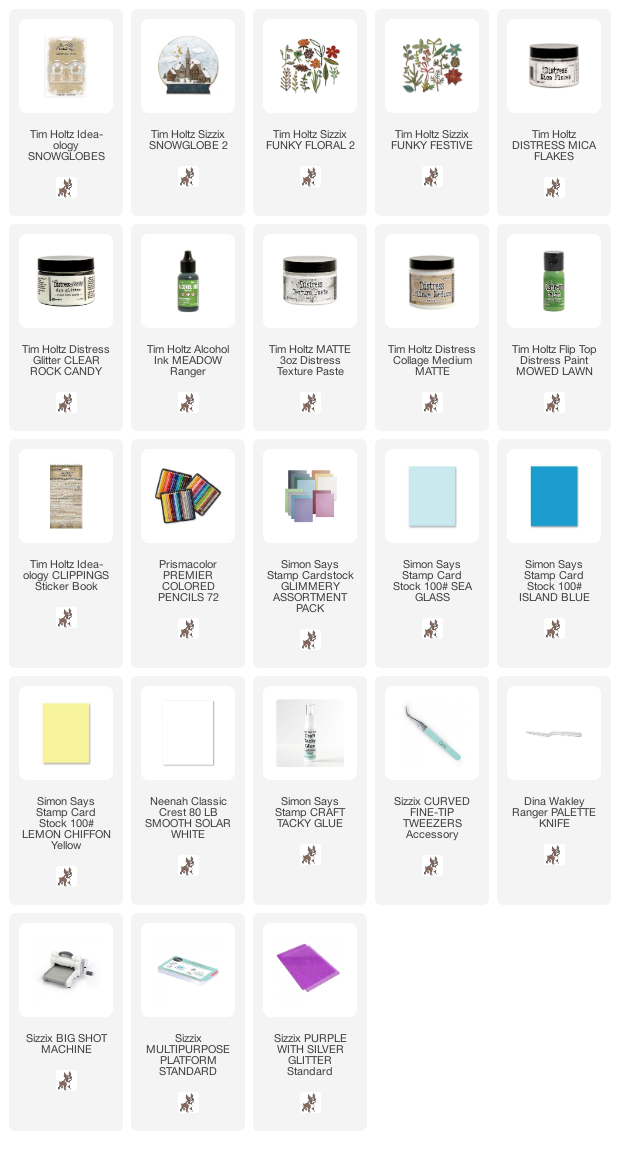
Supplies:
* Please note: the links are affiliate links, for which I receive a small percentage of sales generated by the link, at no extra cost to you.
* Please note: the links are affiliate links, for which I receive a small percentage of sales generated by the link, at no extra cost to you.





This project globe is amazing Anna!!!
ReplyDelete