
Hello friends! I hope you are doing well. I have a tutorial to share with you today, with stamped and watercolored floral on a black background. Apart from the sentiment and sequins, it is a one-layer tag. I wanted to create the effect of bright flowers on a black background, without cutting out the flowers, but by keeping it all on one layer. It is easy and gives a cool result.
Today is Walpurgis Night in Sweden, a celebration of spring. Last year I helped organise one of the big celebrations here, with a bonfire, games for children, raffles, stuff to eat and more. This year, no celebrations will take place, so instead we will look forward to next year's celebration and remember the one from last year.

I used stamps by Simon Says Stamp for this project, together with black acrylic paint. The combination of the transparent watercolor paint with the white of the paper shining through and the opaque black is striking. You can of course also use other types of images. It would work great as a card too, or an art journal page. Doing the coloring is very relaxing.

Start by die cutting a tag from Tim Holtz watercolor paper. Stamp the three flowers from Artful Flowers. I stamped my images on the smooth side of the paper.

Stamp them again on SSS masking paper and cut out. Place on top of the images.

Stamp stems, leaves and flowers from both Artful Flowers and Stronger Together. Use a black pen to add lines to the stems of the flowers from Stronger Together, so that each stem has two lines, with an area in between that can be colored. Otherwise, the single-line stems would disappear when you color the project.
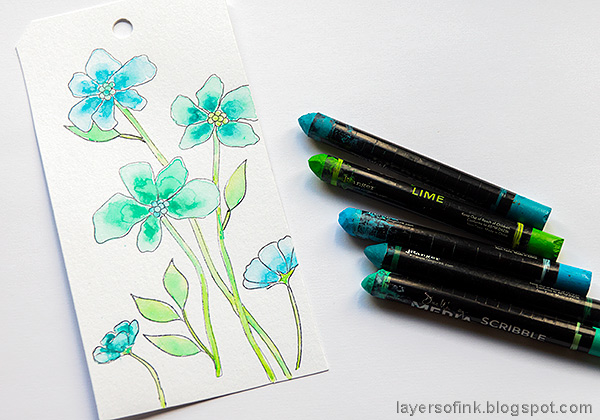
I colored the flowers with Scribble Sticks, from both Set 1 and Set 2, you can also use watercolor paint, or Distress Ink. Pick up the color from the tip of a Scribble Stick with a paint brush and color the flowers. If you don't want a black background, you can stop here and just add sentiments.

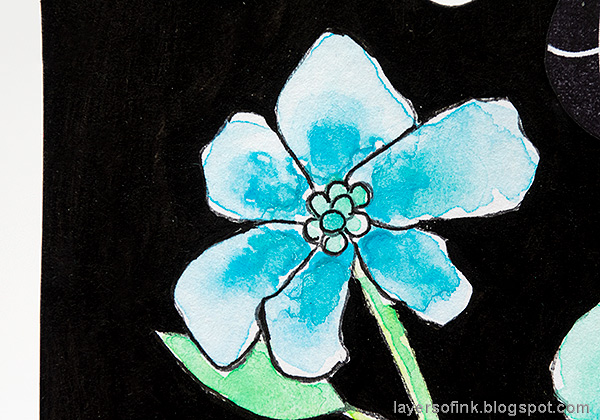
Use black acrylic paint to color the background. I used a combination of thicker and thinner paint brushes. I tested using both Dina Wakley's black paint and Black Soot Distress paint and thought that the former gave a more solid black look. But you hardly notice the difference. My ink needs a reink, so my stamping wasn't perfect. I carefully painted over the imperfect lines.

Finish painting the whole background. When dry, use a black pen to add back some details which might look less black after the watercolor painting.

You can also use the Scribble Sticks to color lace, giving you a perfectly color coordinated piece of lace. Mist with water first and then scribble the sticks on top. Mist with more water to blend.
These flower stamps are so pretty and fun to color.

I colored them by first adding one thin layer of color and then dropping in darker shades towards the center.
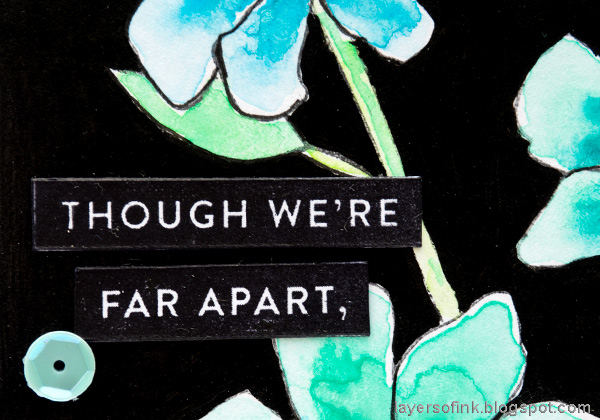
Stamp the sentiment from Stronger Together on white paper, cut out and ink the edges black. The circle sentiment at the top of the tag comes from Just Because Word Mix 2.

I also glued some SSS sequins to the tag, for just a tiny bit of bling.

This is such a great sentiment, especially in these times. I also used in on this Heart Layout.

Thank you so much for taking the time to visit my blog today!
Happy crafting!
Anna-Karin
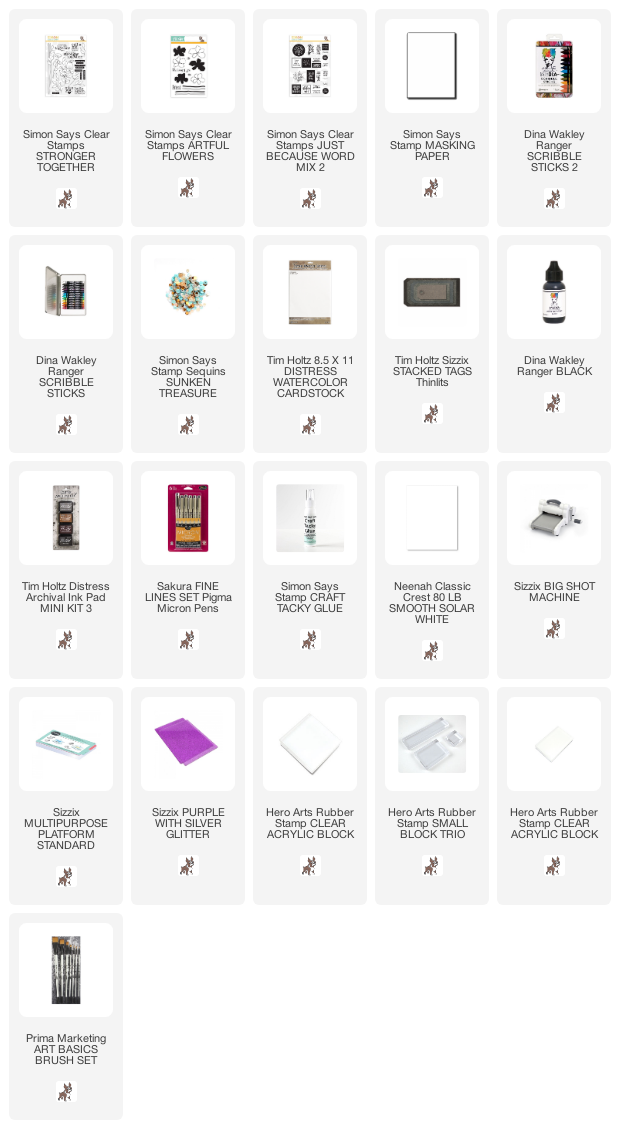
Supplies:
* Please note: the links are affiliate links, for which I receive a small percentage of sales generated by the link, at no extra cost to you.
* Please note: the links are affiliate links, for which I receive a small percentage of sales generated by the link, at no extra cost to you.
This is stunning, thanks for the nice tutorial!
ReplyDeleteThank you so much Donna!
Deletefantastic effect with the black acrylic paint background. Love it :)
ReplyDeleteThank you so much Christine!!
DeleteThis is just BEAUTIFUL and I love that sentiment! Pretty against the black!
ReplyDeleteThank you so much Sue! I love that sentiment too.
DeleteI am so happy I found your blog through Simon Says Stamp. Your projects are lovely. I like (and need), your step - by - step instructions with photos! I'm looking forward to your new projects and learning new techniques. Thanks
ReplyDeleteThank you so much for your kind comment Mishelle! I am so happy to hear you like my tutorials! Happy crafting!!
Delete