
Hello friends! I had a busy week, but mainly with fun things luckily. Today I have two sweet little cards to share.

Our neighbours recently got a grandchild, and I made a little welcome baby card. While I was busy, I made a second card too, which is more of a general winter card. All you need for these cards is some stamps, Distress Inks or watercolor paint, and a scalloped die. Or you could just make square cards and skip the scallops.

I used the new super sweet Woodland Whimsy set by Simon Says Stamp. It was a part of the November Card Kit. The card kit is sold out, but you can buy the stamp set on its own. I love it. There are so many great stamps: the animals, the birch trees (one of my favorite trees), the branches and leaves and the sentiments. After die cutting a watercolor card with the Simon Says Stamp 3-Sided Scallop die, ink the hedgehog with Ground Espresso, mist about four times with water and stamp.
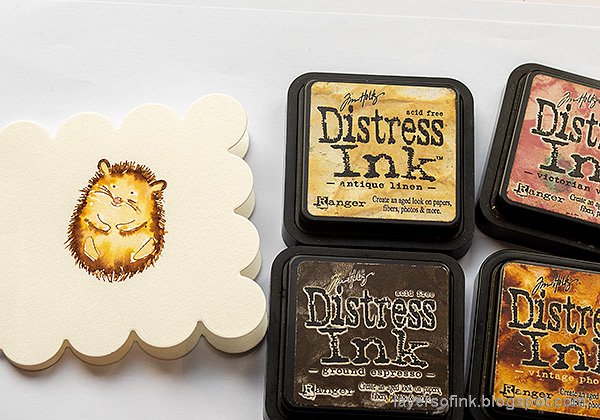
Smear Distress Inks on a craft sheet, mist with water and pick up with a paint brush. Use more water for a lighter shade, and less for a darker shade. Drop in darker colors before the lighter colors are dry.
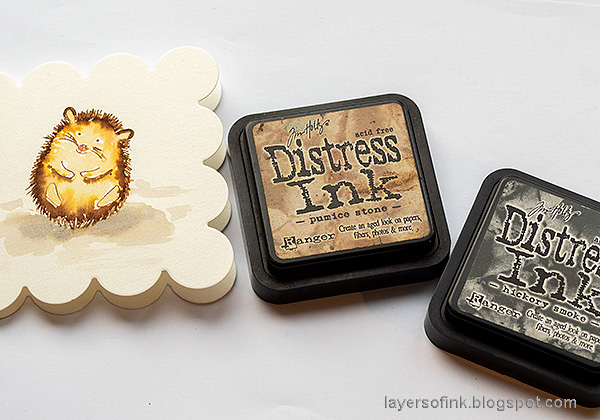
Paint a shadow to ground the hedgehog to the background.

Stamp the sweet deer on the card and then again on masking paper. Cut out.

This stamp set is perfect for some masking techniques. Place the mask over the deer and then stamp three birch tree trunks.
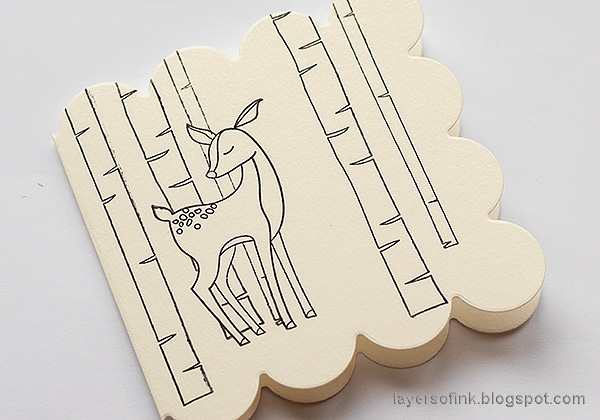
Remove the mask and two of the trunks will now appear to be placed behind the deer.

Watercolor with Distress Inks as before. You can of course also use watercolor paint.

As a final touch, splatter a tiny bit of ink in the shadow area, and stamp a heart with brown ink. Watercolor it with Vintage Photo, which is such a nice warm brown.

The sentiment stamps can be shaped on the acrylic block, so that they fit the banner. If you stamp the banner the other way around, the sentiment is already shaped right, but if you want the banner as I stamped it, you can still use the sentiment stamps.

I left some areas white on the hedgehog, for highlights.

This deer stamp is so sweet. I painted the sky light blue and added some Pumice Stone to the snow area, making it a little darker under the deer. The sentiment was stamped and cut out.

You can also add Glossy Accents to the nose and maybe the dots on the back

I used a pencil to add some color to the branches.

Thank you so much for taking the time to visit my blog today!
Happy crafting!
Anna-Karin
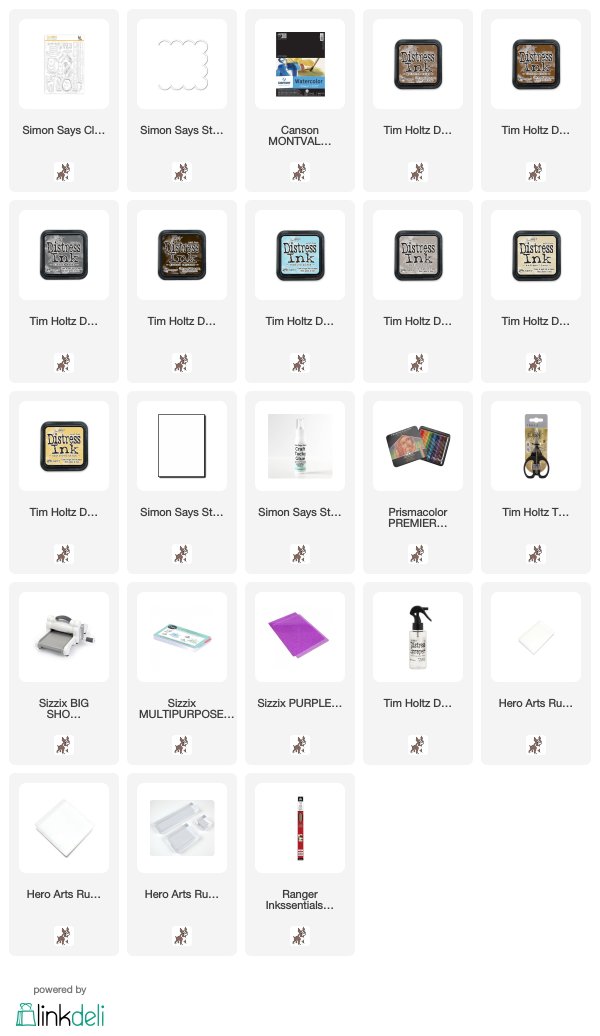
Supplies:
* Please note: the links are affiliate links, for which I receive a small percentage of sales generated by the link, at no extra cost to you.
* Please note: the links are affiliate links, for which I receive a small percentage of sales generated by the link, at no extra cost to you.
No comments:
Post a Comment
Thank you so much for leaving a comment! Happy Crafting!