
Hello friends!! I hope you had a good weekend! We did everyday weekend stuff this weekend, taking walks, going to playgrounds and raking leaves (with an eager little helper). I also managed to get some sketching time in when walking.

This week at the Simon Says Stamp Monday Challenge Blog we have a Halloween/Spooky theme. Don't miss the last project of our wonderful October guest designer Tenia Nelson, aka Jazzy Paper Designs.

I hadn't really added to our Halloween decorations yet this year (almost all our Halloween decorations are things that I made), and decided to make a wall-hanger with a dimensional skull. The colors are neutral rather than traditional Halloween colors, because I wanted to do something a little different.

I used a new cool surface by Sizzix for the skull, called Thermoplastic Sheets. I love transparent surfaces and this is a fun one that will work for many different techniques. The sheet can be die-cut, dry embossed, stamped and colored. Best of all, they are heat-moldable and when cool, keeps the shape perfectly. Here, I stamped the skull from Tim Holtz's Mr Bones set on a sheet and cut it out. I aimed to get a less than perfect stamping for the hat part, since I didn't want the hat to be completely black. Apple less pressure to the hat area when stamping to get this effect.

Color the hat with Teakwood alcohol ink and the face with Slate ink.You must color on the back, otherwise the alcohol ink removes the stamping. Ink a spider with Alcohol Lift-Ink and stamp on the back of the hat (where the color is). Dab off excess ink to reveal the spider. Repeat twice.

Heat the skull with a heat tool and shape into a dimensional skull. Be careful not to burn yourself. I worked one area at a time, since the thermoplastic sheet cools down quickly. Once cool, it keeps its shape perfectly, and if you are not happy, you can just reheat.

Die cut the skulls from the Mixed Media Halloween 2 set, also die cut the shadow word from the Halloween Shadow Script set. Die cut the thinner part of the word from Simon Says Stamp Coal glimmery paper.

I embossed a spider-web on the background using Gunmetal powder. Antique Linen and a little Pumice Stone was smeared on a craft sheet and misted with water. Press the paper into the ink. This was repeated with darker shades of ink, but leaving the central area of the paper, since the transparent skull looks better on a lighter background. Repeat on a background piece the same size, but using only Pumice Stone.

I also splattered some Ground Espresso and Vintage Photo ink on the background. Smear on a non-stick craft sheet, mist with water, pick up with a small paint brush and tap the brush to create splatters.

I used a piece of cardboard as a background panel, removing some of the upper layer first. It was painted with gesso, and brown shades of Distress Paint. I also used a page from an old book, which happened to have the text 'living creatures' at the top of the page. I like such little details.

I also added two nailheads. The combination of metallic embossing, die cut negative space, and splattered ink gives an interesting look.


When I molded the skull, I tried to keep the two sides of the hat flat, so that it would be easy to adhere itwith staples. You can also use matte medium along the edges, but staples are easier.

Some Halloween Clippings Stickers helped to tell the story.
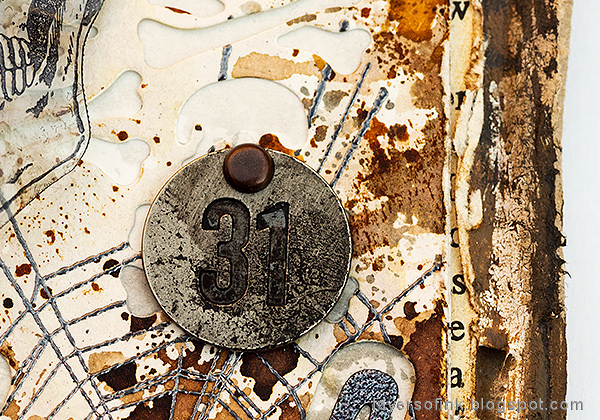
The Halloween Tokens and Halloween Typed Tokens were distressed with black paint. Cardboard makes for a great sturdy surface, and you recycle at the same time.

Here you can see the glimmery effect of the paper. I really like this paper.

At the bottom of the panel, I punched holes and set eyelets with my Crop-a-Dile, hanging three adornment shapes from the holes with jump rings. I did a similar thing on my Apothecary wall-hanging from last year, and it gives a fun look, which is also popular with the kids.

Here you can see the dimension of the Thermoplastic Sheet better. Is is really cool and very sturdy once dry.

Pounce several times with the alcohol ink to get a textured look on the skull.


Do you use Instagram? If so please add #sssmchallenge so we can see your entries there too.


Thank you so much for taking the time to visit my blog today!
Happy crafting!
Anna-Karin
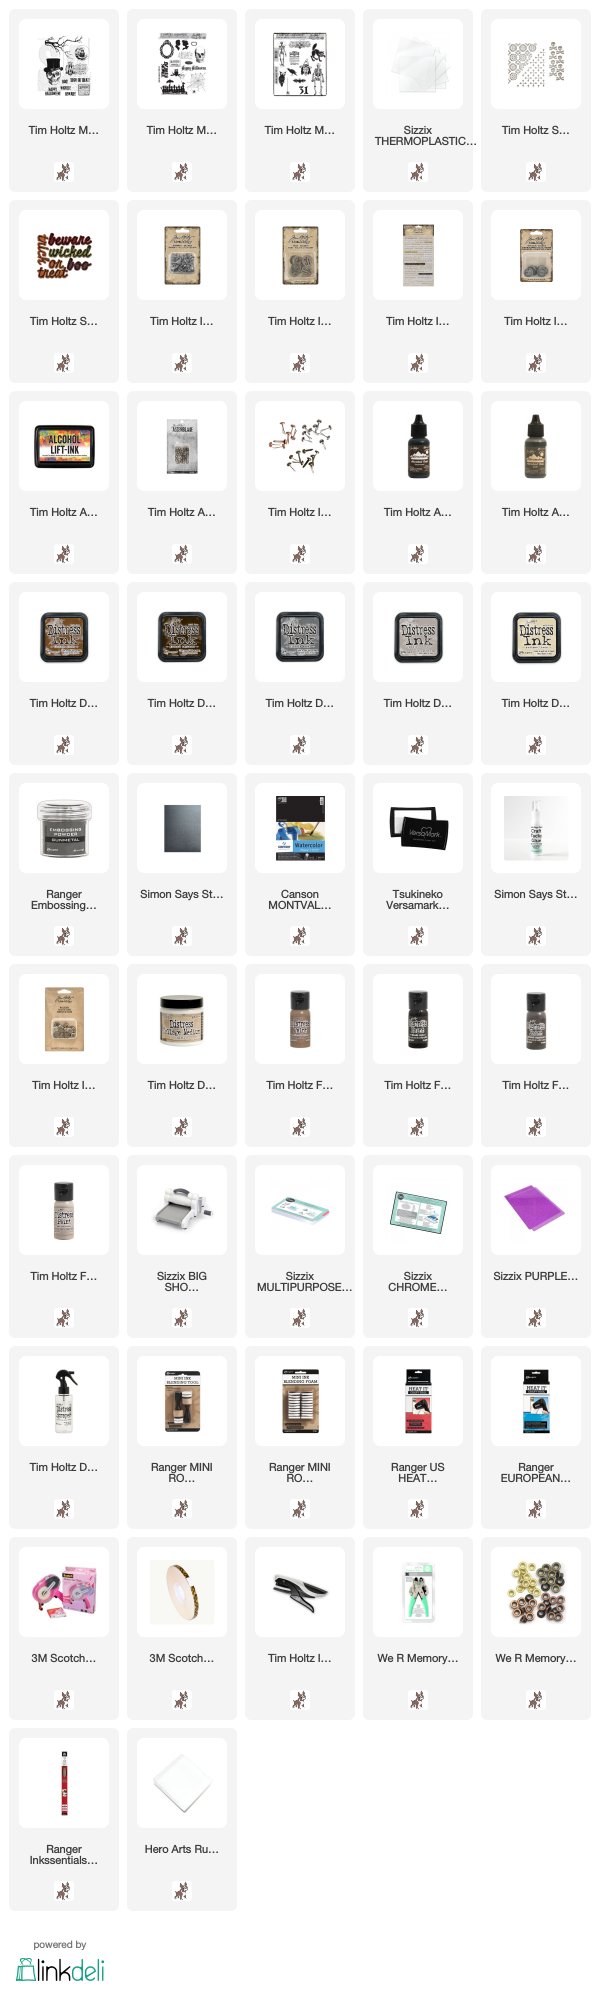
Supplies:
* Please note: the links are affiliate links, for which I receive a small percentage of sales generated by the link, at no extra cost to you.
* Please note: the links are affiliate links, for which I receive a small percentage of sales generated by the link, at no extra cost to you.
I love this Anna-Karin, the moulded skull looks fantastic and the background is amazing! Hugs, Anne xx
ReplyDeleteOh my goodness how spooky is this!!! the shaped skull is fabulous and I love the background! Super spookylicious! :-)
ReplyDeletehope you have a great week!
luv
Lols x x x
WOW...so spooktacular! I LOVE the tones and the die cutting and especially that skull...fabulously fun! PINNED!
ReplyDeletewooww amazing!
ReplyDeleteOh, the skull is really creepy made like this. I love its transparent texture and the colors you gave it. It's so realistic. Love the non traditional halloween colors on the background, too. Great shades of brown. Hugs, Marzena
ReplyDeleteWOW! Gorgeous project, Anna-Karin! I love all of the texture and dimension and the way you hung charms from the bottom :)
ReplyDelete*mwah*
Steph
Simon Says Stamp!
So scary! Love the skull, fabulous idea! Your projects is absolutely perfect for Halloween! barbara
ReplyDeleteAwesome! Your skull is fabulous the way you made it - love it! Great touch with the hanging things too, Anna-Karin! hugs, Maura
ReplyDeleteYou always do such a great job with Tim's supplies! This is both spooky and lovely and I admire you for always hitting just the right artistic balance with whatever you do.
ReplyDeleteAmazing wall hanging! I love how you created the fabulous Halloween look and feel 😀. Thanks for the inspiration and wishing you a happy weekend! J 😊 x
ReplyDeleteOh my gosh, I've got to get some of that Thermoplastic, what a fabulous design Anna-Karin! Love the neutrals along with all of Tim's wonderful Idea-ology embellishments, thanks so much for the inspiration! Deb xo
ReplyDeleteThis is such a fantastic Halloween wall decor, Anna-Karin. Love the fun and awesome spooky elements! :)
ReplyDeleteThere are so many clever details on this piece and it really is a fabulous design ~ stunning work as always and love all the texture and embellishments! :)
ReplyDeletewow wow wow this is amazing, love the effect from stamping on that wonder products, just have to get me some, hugs kath xxx
ReplyDeleteSuch a beautiful and intricate projects! I love all the teeny details you added and the skull turned out amazingly!
ReplyDelete