
Hello friends! Today I have a tutorial to share with you, which also includes a video. I made two Halloween gift bags and a card, but they can very easily be done for any theme. In fact, the Sizzix dies that I used are not at all meant for Halloween. There is a fun, interactive waterfall on each project.

I started out making the two gift bags for my sons, and then realized that the waterfall would be easier to show in a video. I hadn't done a video in quite some time, and I will try to do more of them. They do take quite a lot longer and if the choice is between two step-by-step tutorials, or one video tutorial, I tend to go with the first option. But I will do my best to do more videos. The tutorial starts with steps and the video comes a little later into the post.

I used two die sets by Lori Whitlock for the bags. This is the Favor Box w/ Bracket Flap. Die cut from Heavystock paper and score along the lines. I used the new Big Shot Foldaway die-cutting machine, which saves space, is easy to take a long, and comes with a bunch of extras. But you can also die cut the bags with a Big Shot or Vagabond.

The second set is called Favor Bag w/Scallop Top. Again die cut using Heavystock paper.
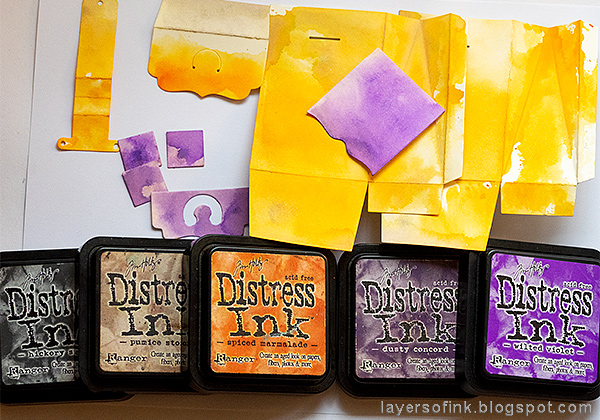
Smear Distress Inks on a craft sheet, mist with water and press the papers into the ink.

When dry, stamp with various Halloween stamps. I used stamps by Tim Holtz: Mini Halloween, Mini Halloween 3 and Haunted House.

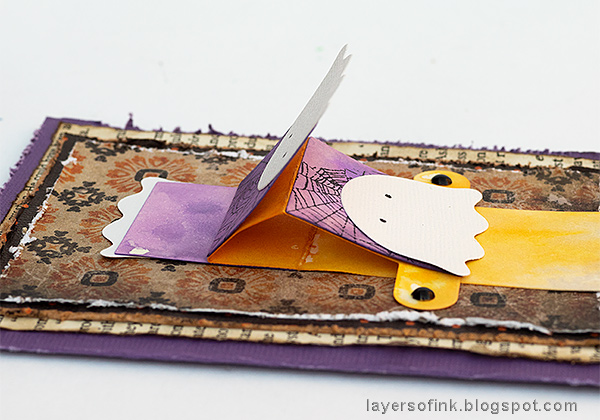
Die cut a waterfall construction piece and three squares and fold along the score lines. These pieces are a part of the Favor Bag with Scallop Top set. For the card in the video, I used the larger Celebration Waterfall set.
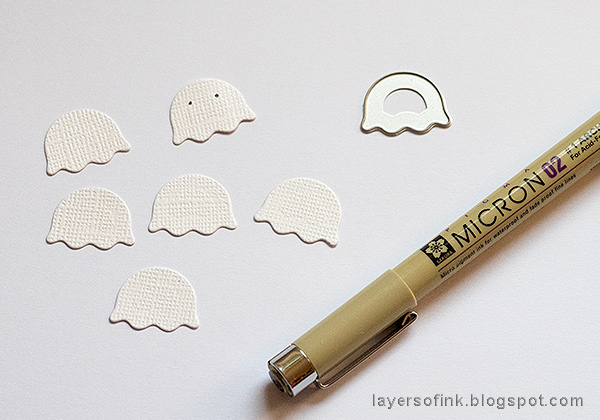

Color and stamp the waterfall pieces as before. Apply adhesive as shown. I used Wonder Tape. Glue the ghosts to the squares, letting them overlap the lower edge slightly.

Start with the bottom square, lining it up with the score line.
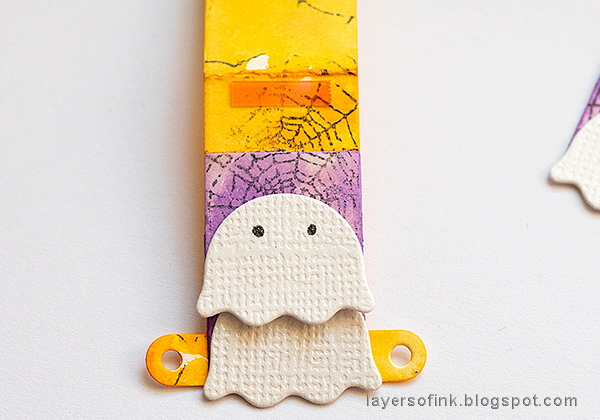
And then the second ghost.

Finally, the third ghost.
Tie a piece of string through the hole in the waterfall.

Flip the waterfall over and attach with brads - you can see this particular step much better in the video below.
Here's the video, with a couple of mistakes here and there, and pretty inky fingers (I almost always have inky fingers), but it does show you how to make the waterfall.

The boys are going to get these on Halloween. I just need to decide what to put in them first. Last year, I made them Halloween bags too, and we use them as decorations this year. You can find them in this Inky Halloween Tutorial.

Assemble the bags by applying tape along the flaps. This is the Favor Box w/Bracket Flap.

Ink the edges of the bags. I also die cut the sentiment using the Tim Holtz Halloween Side-Order set.
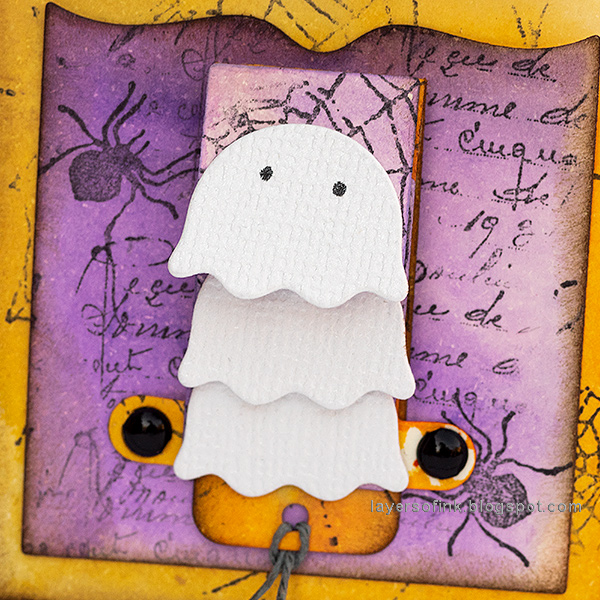
Here is the cute little ghost/ice-cream waterfall.

You can see the shape of the bag better here.
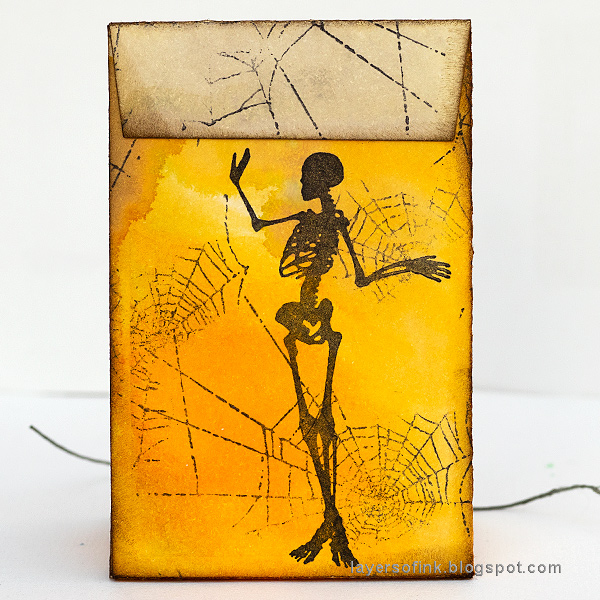
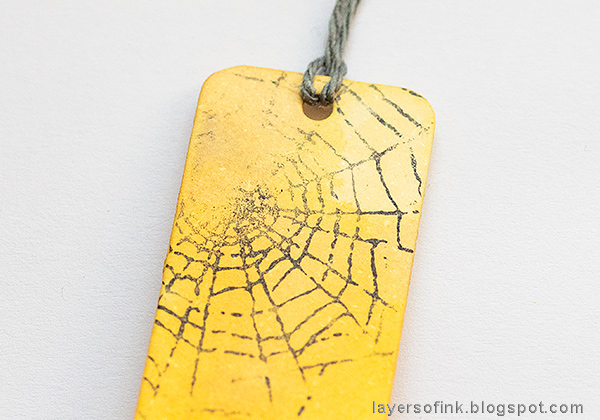
The back of the bag just contains some stamping.

The second bag has a cute scalloped top.
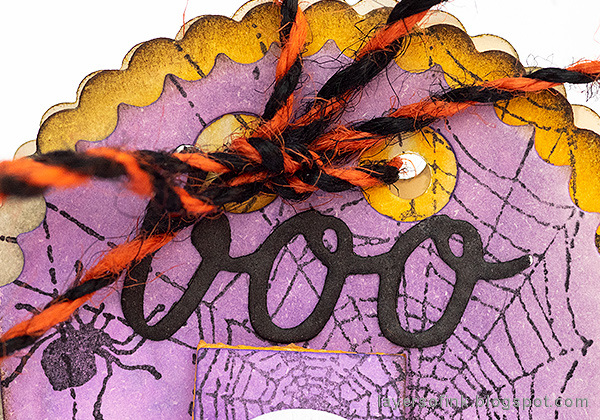
Tie the bag with strings.

Here's the back of the scalloped bag.

You see the waterfall effect better in the video, because of the moving parts.

I also made a card, mainly to use for the video. For the video, I used a larger version of the waterfall from the Celebration Waterfall set, to make it easier to see. Apart from that, the procedure is the same as for the small waterfalls.

The card is simple with just some layers of distressed old book paper, kraft core paper and patterned paper.

My eldest still thought the ghosts looked a bit like ice-cream scoops. The Celebration Waterfall sets contain a bunch of fun shapes you can use, such as a cupcake, birds, stars and more.

Pull the string to make the waterfall move.
The second ghost moves.

And the third ghost.
I hope you enjoyed this tutorial and the video! Remember that these projects will work just as well in a birthday theme or in any other theme. How about a Christmas card with little Santas, baubles or gifts?
Thank you so much for taking the time to stop by today! Have a lovely weekend!
Happy Crafting!
Anna-Karin
Supplies:
* Please note: the links are affiliate links, for which I receive a small percentage of sales generated by the link, at no extra cost to you.
* Please note: the links are affiliate links, for which I receive a small percentage of sales generated by the link, at no extra cost to you.
No comments:
Post a Comment
Thank you so much for leaving a comment! Happy Crafting!