
Hello friends! I can hardly believe it is already October. Today we are having real windy autumn weather here, and I am hoping all the leaves won't fall off from the trees. My parents visited over the weekend and we had a lovely time.

Don't miss visiting our October guest designer Wanda Hentges, and check out the gorgeous project that she has made.

This week, I made a Halloween shadow box by recycling an die packaging box. I had such fun building up this spooky, but also funny, scene, using stamps, paint, dies and idea-ology embellishments. Since it is a shadow box, all kinds of interesting little embellishments can be added. The project is 9.5 x 6.5 in, so there is plenty of space. This shadow box is already hanging in the living room and I am looking forward to taking out the rest of my Halloween decorations.
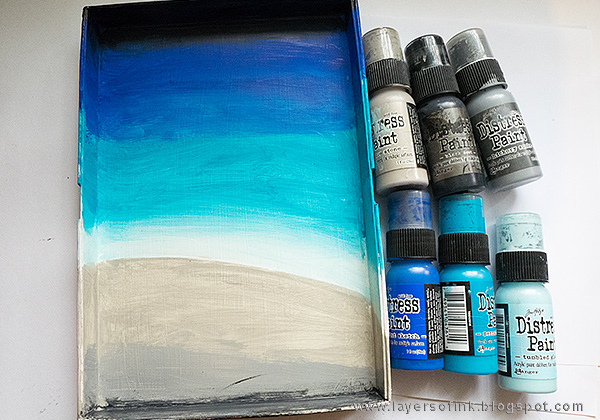
I started by coating the box with several layers of gesso until I had covered up all the color that was printed on the box (it was mainly pink). The box comes from Sizzix packaging, one of Brenda Walton's large dies. I painted it with Distress Paints, also on the edges. I love to recycle boxes like this.
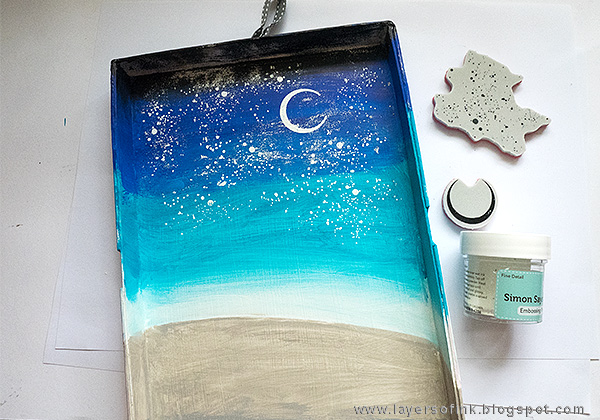
When the paint was dry to the touch, but not completely dry, I stamped the moon from the Haunted House set, as well as the texture stamp from Tim's STAMPtember set on the background with embossing ink. Sprinkle with white powder and flick the back of the box to remove excess powder. Since the paint was not completely dry, some of the embossing powder stuck to it, which is exactly the effect I wanted, since all the stray powder created a starry sky background. You can remove some powder with a paint brush if there is too much somewhere.
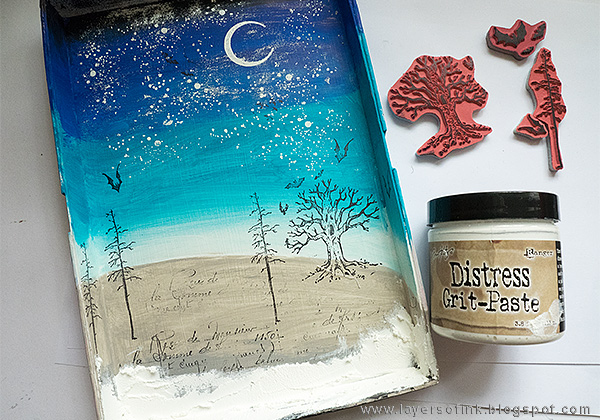
Stamp the box with stamps from Haunted House, but also with the tree stamp from the STAMPtember set and a script stamp, and a bunch of bats. Smear Distress Grit-Paste along the base for texture.
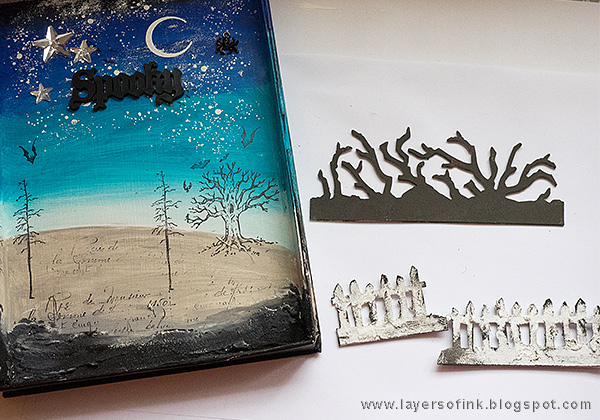
When dry, paint the grit-paste with Black Soot and a little Hickory Smoke. Die cut a fence and twigs from grungeboard. Paint the fence white and add some Grit-Paste. When dry, dry brush with grey and black paints. Paint the branches brown.

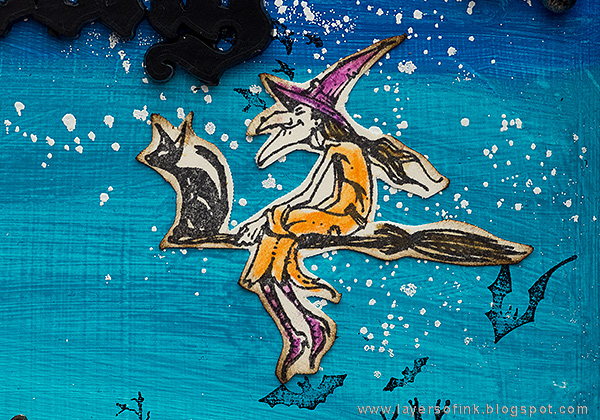
Stamp the images from Haunted House on heavystock paper and color with Scribble Sticks. Use a paint brush and water to turn the color into watercolor. The owl comes from the Mini Halloween #5 set. Cut out.
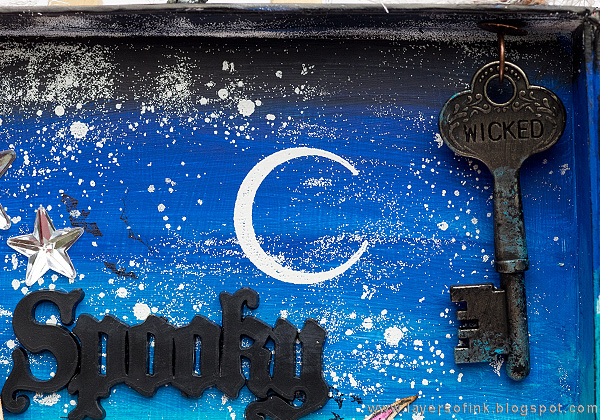
Here's a closer look at the random star effect on the background, which would also work great for snow. The trick is to wait just long enough for the paint to dry. If it is completely dry, the powder won't stick, but if it is too wet, the powder will stick everywhere. The key was distressed with paint and hangs from the top with a Clip Bail.
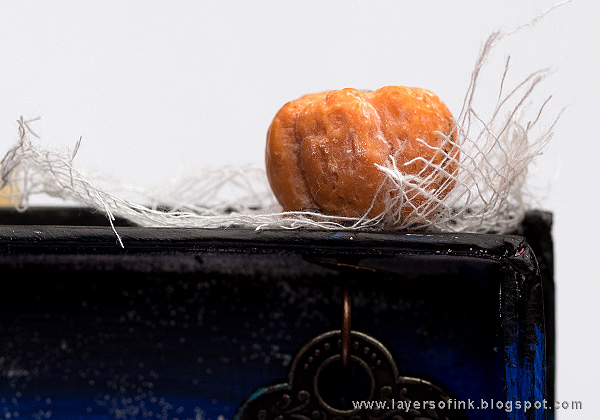
I concealed the brad arms with a pumpkin and some cheese cloth.
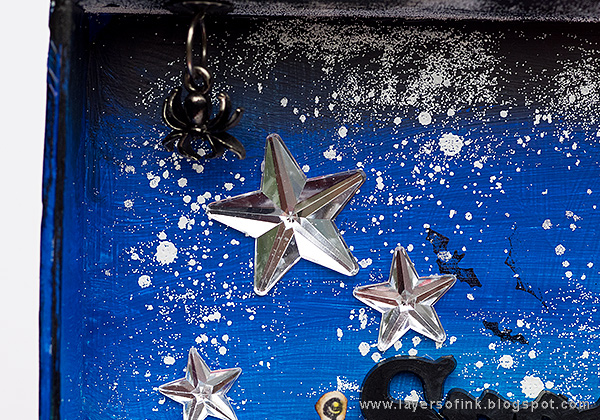
The spider is hanging in the same way as the key. I also added some Mirrored Stars to the sky.
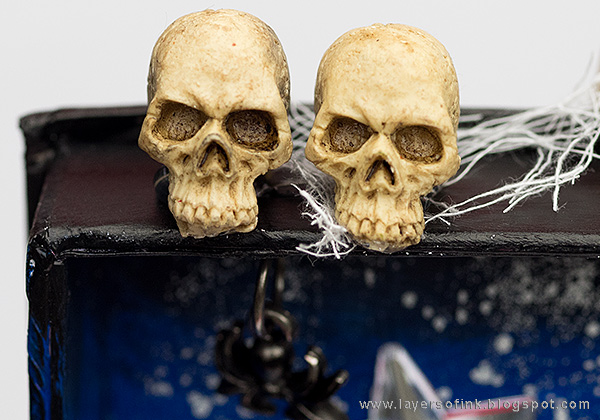
The skulls also cover up the arms from the brad used to attach the spider.
Haunted House is such a fun set and you can create great Halloween scenes with it.
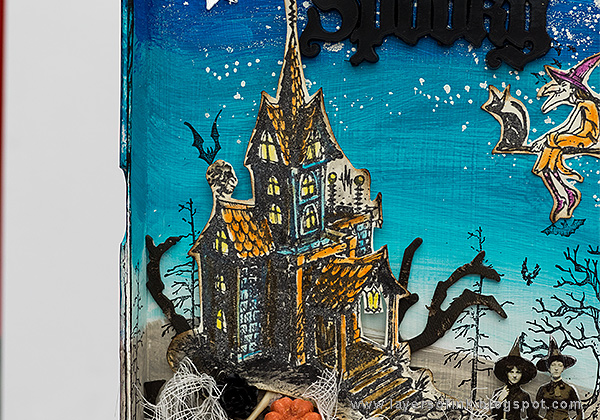
The house is very detailed and intricate. I adhered it with foam tape and cut off branches and tucked them behind the house.
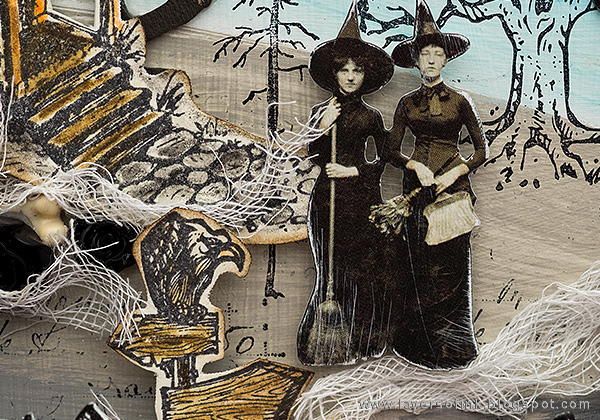
Here are the inhabitants, from the Ancestors Paper Dolls pack. I also really like the sign post. They were adhered with foam dots, like the house.
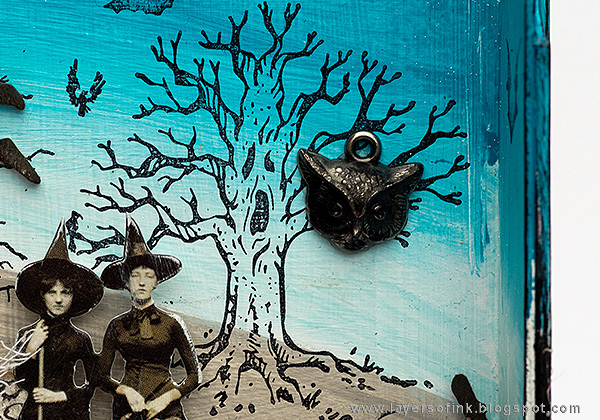
This tree is such fun and I glued an owl to it.
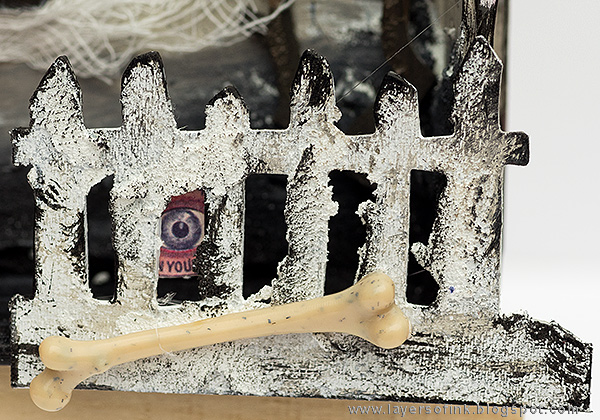
Here's a better look at the texture of the fence. Cut the fence in two parts and glue to the front of the shadow box. Did you spot the eye peeking out?
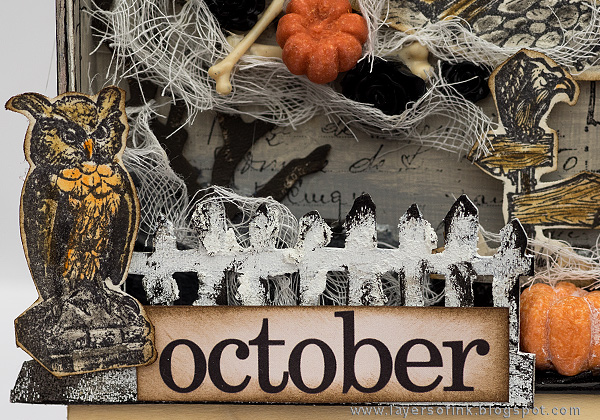
I cut a flash card and inked the edges to get the 'October' text.
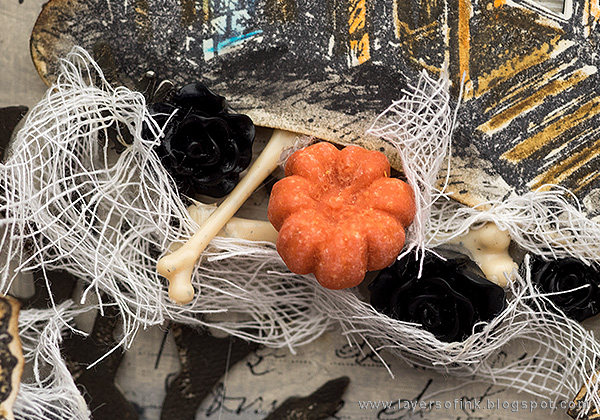
Below the house, I added a pumpkin, some boneyard bones, more cheese cloth and black Heirloom Roses.
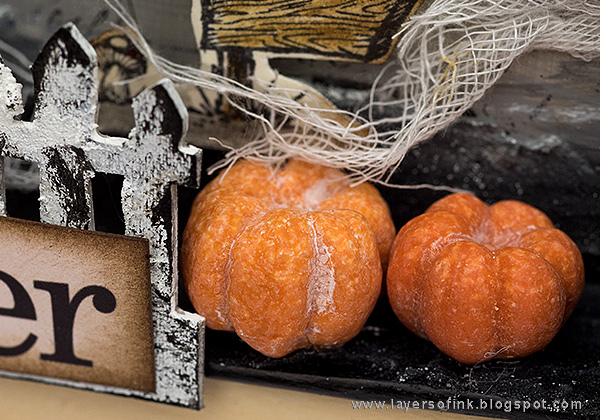
I love the look and feel of the idea-ology mini pumpkins.
I hope you will join us this week in our A Walk on the Dark Side challenge. As always, you have a chance to win a $50 gift voucher to do some fun shopping at Simon Says Stamp. You have until Monday 8am Ohio time. 1pm UK time, 2 pm CET to join in.


Do you use Instagram? If so please add #sssmchallenge so we can see your entries there too.


Thank you for taking the time to stop by my blog today!
Happy crafting!
Anna-Karin
Supplies:
|


* Please note: the links are affiliate links, for which I receive a small percentage of sales generated by the link, at no extra cost to you.
Wow, I can't believe we are in October!!! Love Halloween!!! You made an amazing house. Super super talented!!!
ReplyDeleteHenry
Love this shadow box Anna-karin! Very spooky! the witches are fabulous and I love the spooky tree and fence with the eye peeping out 👁the whole design is super spookylicious :-)
ReplyDeleteluv
Lols x x x
Stunning.... I love your sky and stars. All the details are amazing. I love the eye peeking out from the fence.You are an amazing artist.
ReplyDeleteThank you for your detailed instructions.
Great project! I love the colors and the evening scene. The details on the top like pumpkin, a key and the sculls are so cool. The eye behind the fence absolutely rulez! Hugs, Marzena
ReplyDeleteWow, I love the scene you created for your shadow box. The sky and stars are awesome and I love all the elements you put together to finish the spooky Halloween setting. So cool!
ReplyDeleteCathie ♥
Love the shadow box scene. Very creative and love all the images and details.
ReplyDeleteGreat creation
ReplyDeleteWhat a fun shadow box. I have never heard of Grit Paste, what a cool product. Well done!
ReplyDeletesuch an awesome scene full of fabulous details!
ReplyDeleteStunning details, Anna-Karin! The paper dolls you picked fit perfectly into the scene! : )
ReplyDelete*mwah*
Steph
Simon Says Stamp!
Wowzer - such a cool Halloween scene, so full of amazing details. The texture on the weathered fence, the brilliant watercolouring of the images and that fantastic night sky all bring this to life beautifully.
ReplyDeleteAlison x
So cool and so gorgeous....love it to bits! ;-)
ReplyDeleteSuch an awesome and spooky haunted house scene, Anna-Karin! Love the blues in the background, and all the cool textures and embellishments! SO cool!! hugs, Maura
ReplyDeleteWhat a gorgeous project! I love how you combined so much Tim goodness into on magical piece. It is really lovely.
ReplyDeleteWow, you shadow box is amazing! There is so much lovely detail to look at and those pumpkins are adorable 😁. Wishing you a Happy October and Weekend! J 😊
ReplyDeleteWhat a wonderful project and the details are amazing...I love how you've combined all of Tim's products and I adore that background, which really makes everything pop! <3
ReplyDeleteThat's an awesome shadow box and a great tutorial ! Thanks for sharing.
ReplyDeletewhat an amazing transformation Anna-Karin...love the depth you managed to create in your shadow box, so many cool spooky details and fabulous texture...hugs kath xxx
ReplyDeleteVery well put together - so much detail!!!
ReplyDeleteWow... love your stunning Halloween shadow box, Anna-Karin. The background colors and all the spooky embellishments you created on this piece are fantastic! :)
ReplyDeleteThis is so creative Anna-Karin! Love all the details your created, there is so much depth in this project it comes alive!
ReplyDeleteBeautiful! I love the sky in the background especially. Thank you for the step by step, I always learn something.
ReplyDeleteFabulous shadow box, Anna-Karin! Love all the Halloween elements, like the spooky house and the witch on her broom! Hugs, Sandra
ReplyDeleteAmazing Halloween shadow box filled with so many fun details! I particularly love your fence!
ReplyDeleteI adore this wonderful and colorful Halloween piece! Love to see unusual for Halloween project!amazing! barbara
ReplyDelete