Hello friends! It is still a little summer quiet here on the blog, but I have more posts coming soon. We have had such excellent weather, which doesn't happen here all the time, so we've been spending time at the sea and at lakes.
Texture is a favourite of mine and I rarely do projects without using different texture techniques. I love interesting textures, where the viewer wants to reach out and touch the surface. On this layout, there is a whole bunch, so that you can see how easy it is to create texture. You can use paint, ink, stamps, pastes, stencils, dies, embossing folders, etc., as well as different interesting surfaces. Almost anything can be used to create texture.
I found this photo from my own Christening on my desk and my mom looks so cute here, so the layout (the journaling is at the back), is mainly about her. You can see Leo being Christening in the same dress on this
Misted Layout post.
I took a few step photos.
I used a paper from Tim Holtz
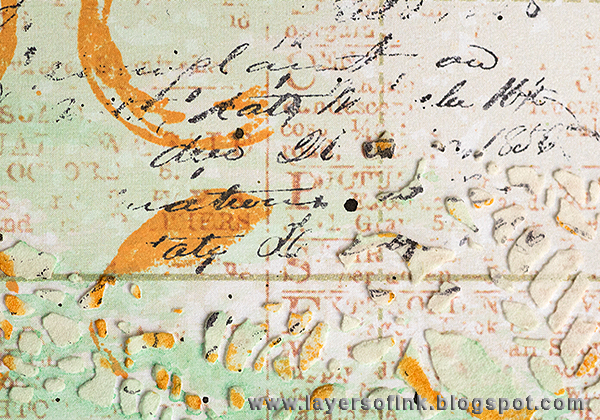
Dapper stash and smeared texture paste through two different stencils,
Doily and Flourish. This takes a while, since you need to let the paste dry, before continuing.
When the paste was dry, I painted it with Distress Paints.
When the paint is dry, stamp
circles with Tiger Lily ink. Because of the paste, many of the circles will be incomplete, which is what I was aiming for. I also used one of my favourite
script stamps and black ink. Finally, splatter some Black Soot paint on the background.
The butterflies were done with Sizzix Inksheets and a fun resist technique. Check out this
art journal tutorial for more information on the Inksheets. Start by die cutting the outline butterflies in the
Detailed Butterflies set. Then use the intricate ones together with white Inksheets, on watercolour cardstock. Use this sandwich: Sizzix Multipurpose Platform Tab 2, Inksheets Transfer pad, paper, white Inksheet with matte side towards the paper, die facing down, Cutting Pad.
Smear Distress Ink you a craft sheet, mist with water and press the butterflies into the ink. This step will reveal the white Inksheet pattern.
Tim Holtz Doily and
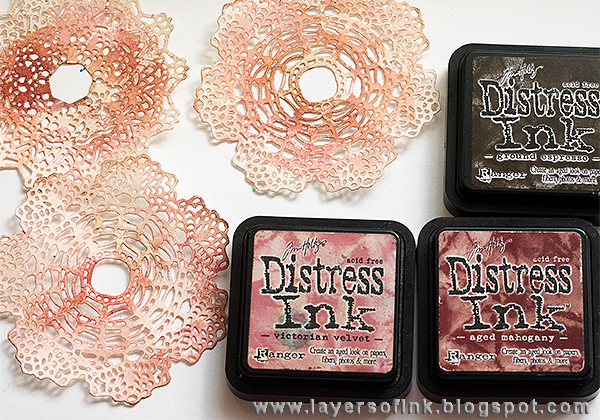
Doily 2 were die cut from Mixed Media cardstock. I used the Sizzix Die Brush, to remove all the bits of paper. Apply a little Distress Micro Glaze to the doilies.
Ink with an ink blending tool and Distress Ink. The glaze will resist the ink to create a great textured effect.
The combination of the printed paper, texture paste, paint, stamping and splatters gives a great texture to the layout, without being overwhelming.
Torn paper creates instant texture, and add an extra layer by tucking a small piece of paper underneath. I also used Stickles to add dots of glitter here and there, adding one more texture.
The title banners were
punched from burlap, which in itself is a very textured material. I die cut the letters from
wool felt, to add another soft touch to the layout. The letters were die cut with the Simon Says Stamp
Alphabet Blocks die. Wafer-thin dies easily cuts through felt.
This circle was also die cut from wood felt, using the Simon Says Stamp
Circle Loops die. The photo was layered on a piece of vellum which had been embossed in the Bubbles folder, with torn edges.
With the Inksheet resist technique, you create textured butterflies in just one layer. In an upcoming post, I will show you a technique for making butterflies with several layers, using the same die set. The butterflies got some
Stickles on their bodies.
Here's the second butterfly, with more Stickles.
I love the Tim Holtz
Mirrored Hearts and
Mirrored Stars. Here I added a remnant rub word to the larger of the two hearts. You can also easily colour these with alcohol ink - as on this
Pistachio Wall-hanger tutorial.
The small butterflies were punched from watercolour paper with the
Small Butterfly punch, and coloured with the same inks as the big ones. I also added some Stickles to them.
The sentiment was stamped with Tiger Lily ink and cut apart. I really love
this sentiment stamp.
Here's another look at the textures.
You can also create texture by using different types of material and surfaces. Here you can see two piece of lace trim, dyed cheesecloth, a piece of sticky-back canvas, burlap and wool felt.
I hope you will join us in our
Add Some Texture challenge. As every week, you have a chance to win a $50 gift voucher from
Simon Says Stamp. You have until Monday 8am Ohio time. 1pm UK time, 2 pm CET to join in.
Do you use Instagram ? If so please add
#sssmchallenge so we can see your entries there too.


Thank you so much for stopping by today!
Happy crafting!
Anna-Karin
Supplies: