Monday, June 9, 2025

Yellow Floral Tag

Hi friends! I hope you are well and had a good weekend! Today I have a tag to share with lots and lots of sunny yellow. 

Please note: this post has affiliate links, for which I receive a small percentage of sales generated by the link, at no extra cost to you.



This week we have a Monochrome theme at the Simon Says Stamp Monday Challenge Blog. I hope you will join us! Monochrome is a lot of fun! Don't miss the lovely project by our June guest designer Wanda Hentges.

Layers of ink - Yellow Floral Tag Tutorial by Anna-Karin Evaldsson.

I was inspired by the sun and used shades of yellow as my color, with just a little bit of brown. An almost entirely yellow project is always joyful. The background is both dry and heat embossed and I created dimensional flowers from different papers and shades of yellow. 

Emboss with Tim Holtz Sizzix Vault Flourish.

Start by dry embossing a tag in Tim Holtz new Vault Flourish ML folder. ML stands for multi-level. I applied embossing ink to some of the embossed parts and sprinkled with white embossing powder. The goal is not a perfect look, but a messy, shabby chic look. 

Ink with distress ink.

Ink the tag with Distress Ink. The white embossing will resist the ink.

Ink with Mustard Seed Distress Oxide ink.

Smear Mustard Seed Distress Oxide on a non-stick craft sheet and mist with water. Press the tag lightly into the ink.

Die cut Tim Holtz Rustic Layering Flower.

Die cut flowers using Simon Says Stamp Rustic Layering Flower and Morning Blossom. I used inky or watercolored paper in various shades of yellow, as well as Simon Says Stamp Ice Vellum.

Die cut Simon Says Stamp Poised Primula.

I also die cut some Simon Says Stamp Poised Primula flowers, from left-over inky paper and from Simon Says Stamp Color-Blend paper. The Color-Blend paper is glossy.

Shape the flowers.

Shape the flowers with Tim Holtz Shaping Kit.

Assemble the flowers.

Assemble the flowers and shape the small flowers too.


I wasn't careful at all when applying the embossing ink, since this is the look I was aiming for. 


The sentiments were stamped with Simon Says Stamp Create set and die cut with the coordinating dies.


I added Simon Says Stamp Pawsitively Dazzling Sunbeam Gems to the small flower centers and Prism Gems to the larger flowers.

Dimensional paper flowers.

The Ice Vellum has a really cool sparkly look. 

Double embossed background.

I glued cheese cloth under the flowers.


The Poised Primula flowers are so cute and such a great size. 


Here, you can better see that the yellow small flowers are glossy. Mixing different surfaces adds interest.


Join us this week in our Monochrome challenge! You have a chance to win a $25 gift voucher to do some fun shopping at Simon Says Stamp. You have until Monday 8am Ohio time. 1pm UK time, 2 pm CET to join in.


Do you use Instagram? If so please add #sssmchallenge so we can see your entries there too.


Thank you so much for visiting today! 

Happy crafting!

Anna-Karin

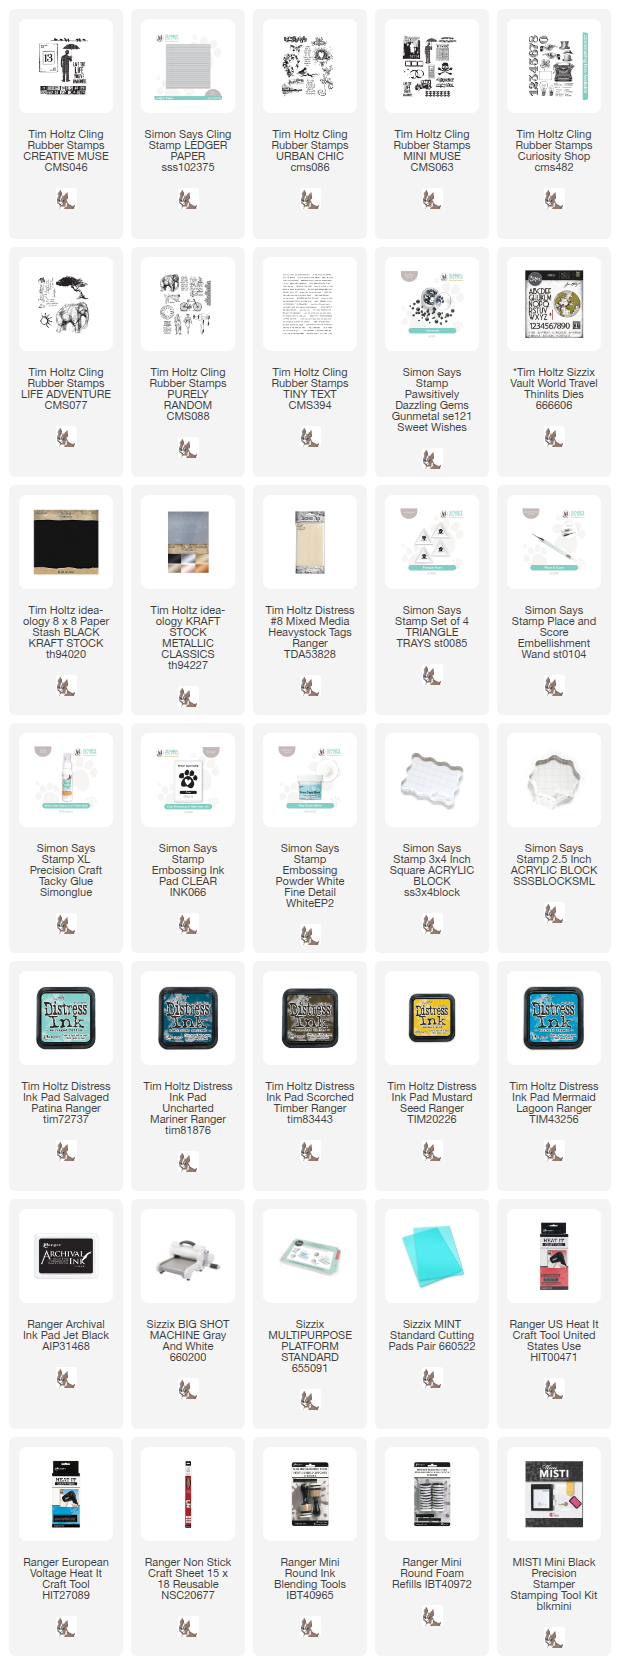
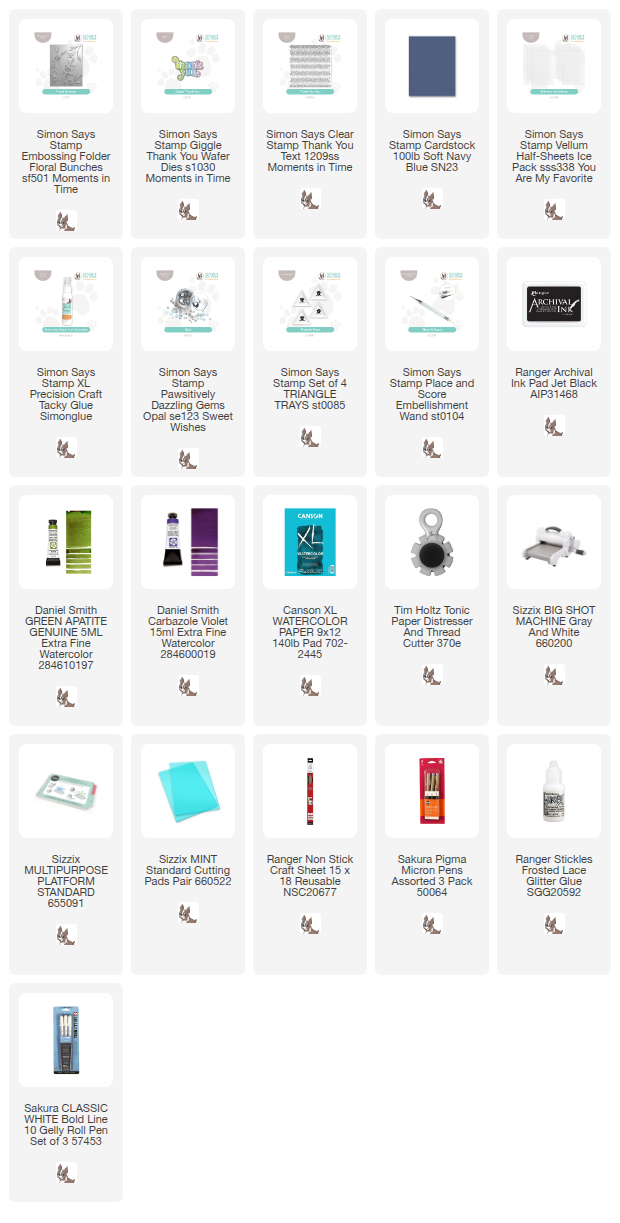
Supplies:

* Please note: the links are affiliate links, for which I receive a small percentage of sales generated by the link, at no extra cost to you.


Monday, June 2, 2025

Umbrella Man Tag

Hello crafters! We finally had some warmer weather here and I enjoyed a long walk in the city center yesterday. Can you believe that it is already June?

Please note: this post has affiliate links, for which I receive a small percentage of sales generated by the link, at no extra cost to you.


This week we have a Masculine theme at the Simon Says Stamp Monday Challenge Blog. I hope you will join us! Since it is the first Monday of a new month, the team is showcasing products by a specific designer/company and this week it is Tim Holtz. You can find Tim Holtz fantastic range of products here. 

We also have a new guest designer joining us and during June Wanda Hentges will design with us. Don't miss her gorgeous project.

Layers of ink - Umbrella Man Tag tutorial by Anna-Karin Evaldsson.

I made a tag this week, using the umbrella man from Tim Holtz Creative Muse as my focal point. I thought it was a fun idea to let him hold the umbrella over the main sentiment. The main sentiment and a part at the top left are highlighted by using bright yellow Distress Ink there, while the rest of the tag is blue and turquoise. 

Stamp man from Tim Holtz Creative Muse.

Stamp the umbrella man from Tim Holtz Creative Muse on a heavystock tag.

Stamp sentiment and a script stamp.

White emboss the text stamp from Life Adventure here and there. I stamped the sentiment from Urban Chic under the umbrella.

Ink with Distress Ink.

Ink the tag with Distress Ink. Start with Mustard Seed and then continue with the blue and brown shades. 

Stamp with Simon Says Stamp Ledger Background.

Stamp Simon Says Stamp Ledger Background in three places and then stamp sentiments from Tim Holtz Curiosity Shop there.

Add Simon Says Stamp Pawsitively Dazzling Gunmetal Gems.

I added Simon Says Stamp Pawsitively Dazzling Gunmetal Gems to the background too. The script stamp has postage addresses from South Africa, making it extra special for me. 

Die cut from Tim Holtz Vault World Travel.


The sentiments don't fit perfectly on the stamped lines, but almost.

Stamp sentiment from Tim Holtz Urban Chic.

I also stamped the diamond shape from Tim's Mini Muse here and there with Uncharted Mariner Distress Ink.

 
The number and arrows also come from Vault World Travel and were die cut from kraft core paper and from Tim's Silver metallic kraft core. The sentiment from Tiny Text was stamped on the margin of an old book page.

Join us this week in our Masculine challenge! You have a chance to win a $25 gift voucher to do some fun shopping at Simon Says Stamp. You have until Monday 8am Ohio time. 1pm UK time, 2 pm CET to join in.


Do you use Instagram? If so please add #sssmchallenge so we can see your entries there too.


Thank you so much for visiting today! 

Happy crafting!

Anna-Karin

Supplies:

* Please note: the links are affiliate links, for which I receive a small percentage of sales generated by the link, at no extra cost to you.


Saturday, May 31, 2025

Ribbon Quilt Art Journal

Hello friends! Today I have an art journal project to share with a new, fun die set by Simon Says Stamp. 

Please note: this post has affiliate links, for which I receive a small percentage of sales generated by the link, at no extra cost to you.

Simon Says Stamp Moments In Time.

I used products from the brand new Moments in Time release by Simon Says Stamp.

Layers of ink - Ribbon Quilt Art Journal Tutorial by Anna-Karin Evaldsson.

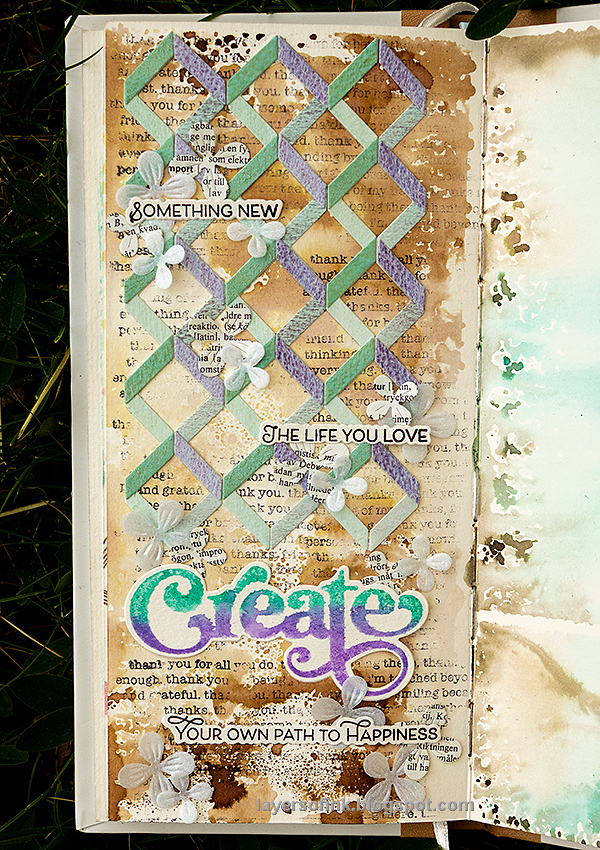
I wanted to test the fun Simon Says Stamp Ribbon Quilt die set. You can do lots of fun designs with this set. I was in the mood for an art journal page and decided to let the Ribbon Quilt flow down the page, with the title at the bottom of the page. The page was done in my Stamperia Happiness Mixed Media Journal 4.5x8 in.

Die cut Simon Says Stamp Ribbon Quilt.

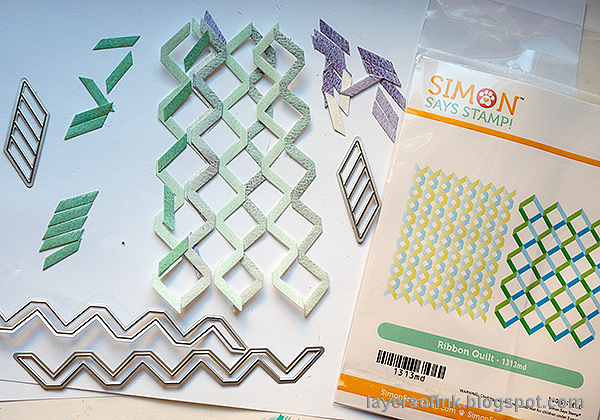
I die cut the ribbons from two colors of watercolored paper, one with a blue tone and one that was grey-purple. The I die cut the smaller strips from a darker shade. They go in two directions, test on scrap paper first, so that you know that you are using the right die. 

Assemble the ribbon quilt.

Glue the strips to the ribbons as shown.

Ink the page with Distress Ink.

For the background, I applied Distress Ink to an acrylic block, misted with water and stamped it into the journal. Repeat for the lower part of the page. 

Stamp with Simon Says Stamp Thank You Text.

When dry, I stamped it with the Simon Says Stamp Thank You Text, also from the Moments in Time release.


I glued the ribbons on the background, lining them up to create a continuous pattern.


The sentiments were stamped with Simon Says Stamp Create and die cut with the coordinating dies. 


I used Simon Says Stamp Poised Primula to die cut small flowers from Ice Vellum and old book paper. I have used this die a lot lately. Small flowers are very useful. I sprinkled them over the page.


There are more flowers around the sentiments.

Stamp and die cut with Simon Says Stamp Create.

The title also comes from Simon Says Stamp Create and was inked with Peacock Feathers and Wilted Violet Distress Ink. Mist with water before stamping. Die cut with the coordinating die.


I really like the acrylic block technique of applying Distress Ink to a background. It gives such wonderfully unpredictable results.

Layers of ink - Ribbon Quilt Art Journal Tutorial by Anna-Karin Evaldsson.


Thank you for visiting! See you again tomorrow!

Happy crafting!

Anna-Karin

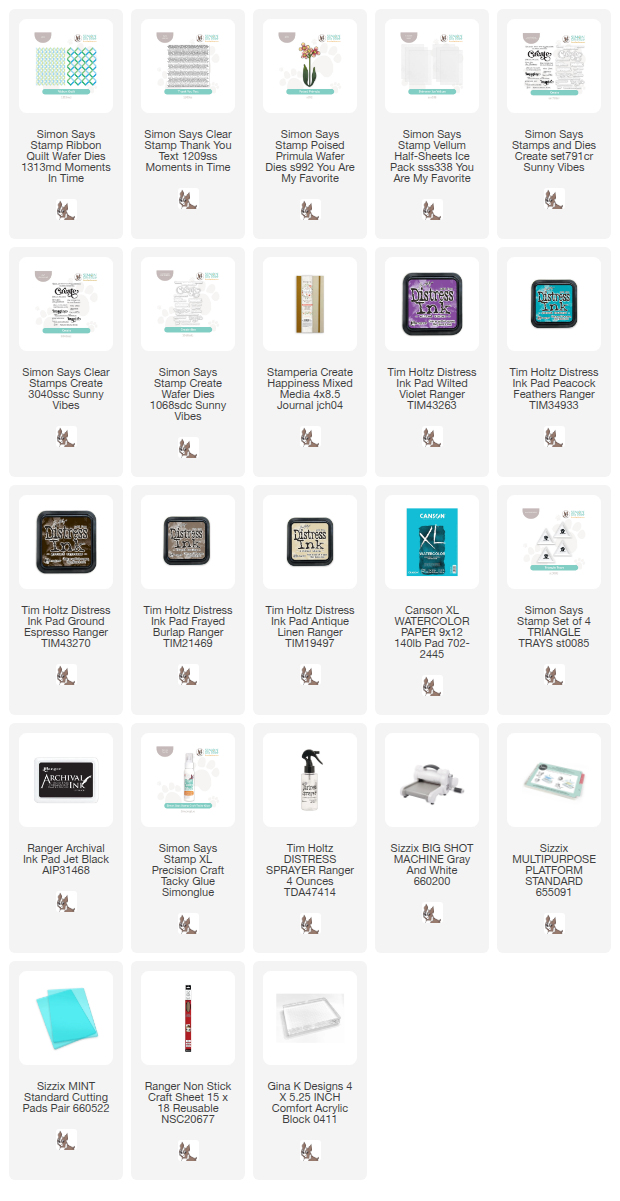
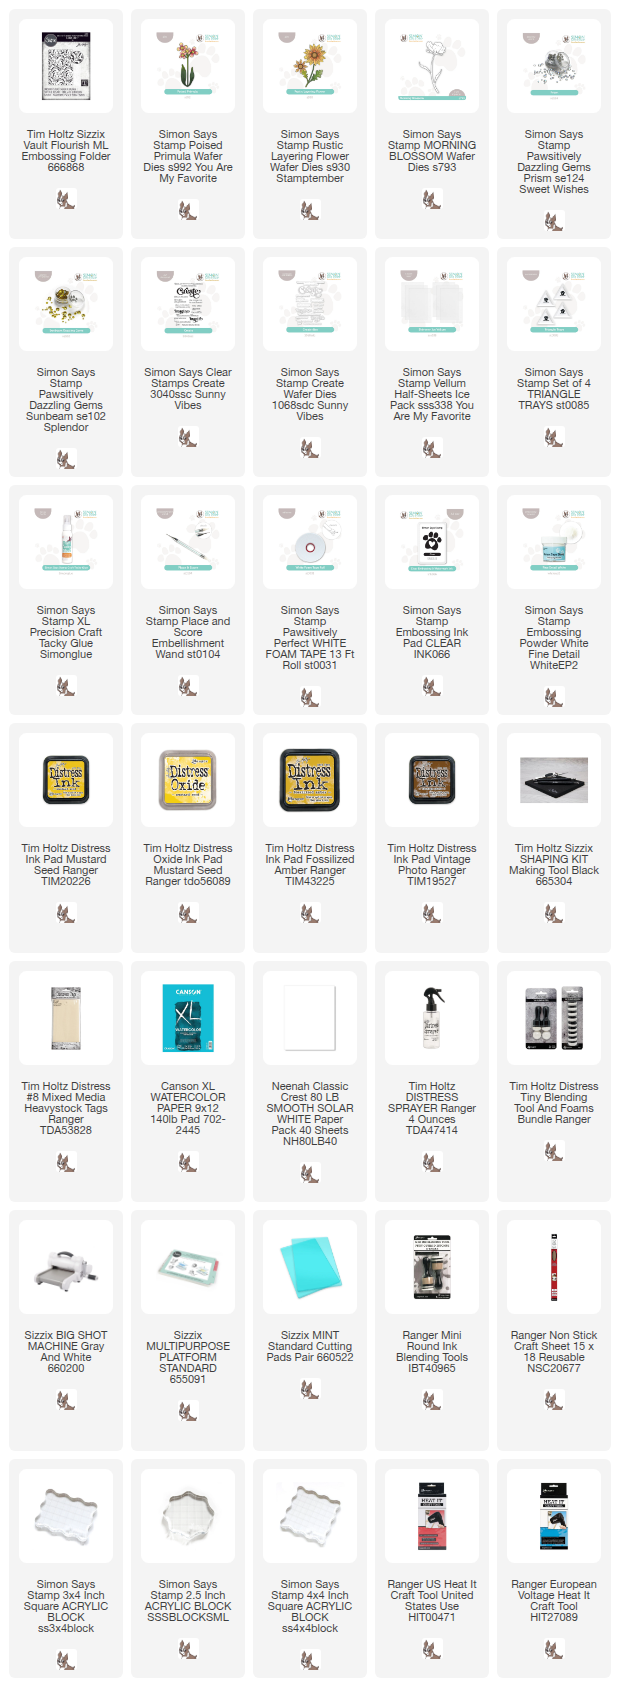
Supplies:

* Please note: the links are affiliate links, for which I receive a small percentage of sales generated by the link, at no extra cost to you.


Floral Watercolor Dry Embossing

Hello crafters! Today I have a dry embossed and watercolored tag to share, a fun technique to do with embossing folders.

Please note: this post has affiliate links, for which I receive a small percentage of sales generated by the link, at no extra cost to you.

Simon Says Stamp Moments In Time.

I used an embossing folder from the brand new Moments in Time release by Simon Says Stamp.

Layers of ink - Floral Watercolor Dry Embossing Tutorial by Anna-Karin Evaldsson.

I used the gorgeous Simon Says Stamp Floral Bunches embossing folder for my tag and watercolored the design. One of the fun things with watercoloring on a dry embossed paper is that the paint will usually sink into the debossed areas and look darker there, even more so, if you drop a darker shade of paint into still-wet paint.

You can of course make a card instead, if you would rather do that. 

Dry emboss Simon Says Stamp Floral Bunches.

I die cut a tag from watercolor paper. Mist the paper on both sides and emboss in the Floral Bunches folder.

Paint the background with Daniel Smith Lunar Blue and Buff.

Paint the background with watercolor paint, working one area at the time. I dropped a light shade of paint into the first paint to get more color variation and texture. The blue paint is Lunar Blue by Daniel Smith. 

Paint the flowers and leaves.

Paint the flowers pink and drop in a little purple.


Paint the leaves green and drop in a darker shade of green.

Stamp with Simon Says Stamp Thank You Text.

When the paint is dry, stamp here and there with Simon Says Stamp Thank You Text.

Add Stickles and pen work.

Add some highlights with a white gel pen and some shading with a black pen. I also added a little Frosted Lace Stickles around the edges.

Die cut Simon Says Stamp Giggle Thank You.

The new Simon Says Stamp Giggle Thank You was die cut from paper painted with the same pink as the flower, from Soft Navy cardstock and from Ice Vellum (not included in this photo).


Distress the edges of the tag. I really like the blending of the paints in combination with the text stamping.


I added Simon Says Stamp Pawsitively Dazzling Opal Gems to the center of the flowers.

Thank you sentiment.

The Giggle Thank You is a great size and I also really like the font.Yesterday I used it with the coordinating mat, today I decided to use on the the words. You will find that post here, the Snake Plant Art Journal Page.


The text on the Thank You Text stamp is very small, which I like, since you can then stamp words on small areas, such at the petals of flowers.

Layers of ink - Floral Watercolor Dry Embossing Tutorial by Anna-Karin Evaldsson.

For more Moments In Time inspiration, don't miss the blog hop that was yesterday and the second blog hop today.


Thank you for visiting! See you again tomorrow!

Happy crafting!

Anna-Karin

Supplies:

* Please note: the links are affiliate links, for which I receive a small percentage of sales generated by the link, at no extra cost to you.