Friday, May 30, 2025

Simon Says Stamp Moments in Time Blog Hop

Hello and welcome to my blog! I am so happy to take part in the Simon Says Stamp Blog Hop to celebrate the new Rain or Shine release. If you are following along in the hop, you should have come here from Miriam Prantner.

Please note: this post has affiliate links, for which I receive a small percentage of sales generated by the link, at no extra cost to you.


The Moments in Time release is full of wonderful new and versatile stamps, embossing folders, stencils, dies, ink and sequins, perfect for summer-time crafting. You can find the entire Moments in Time release here.

The exclusive and not-yet-released Best Fishes stamp set will be automatically added to your cart that contains Moments in Time release products! This gift with purchase will expire 6/1 at 11:59 pm EDT or while supplies last. 

Simon Says Stamp Moments In Time.

I made an art journal page, but you can also easily turn the design into a card.

Layers of ink - Snake Plant Art Journal Page Tutorial by Anna-Karin Evaldsson.

Quite many years ago, I got a snake plant from a neighbour and it is still thriving. I thought it was a fun idea to have it in my art journal. This plant has a funny name in Swedish, namely 'mother-in-law tongue'. The plant was done with the new Simon Says Stamp Snake Plant stencil set.

Ink through Simon Says Stamp Snake Plant stencil.

The Simon Says Stamp Snake Plant set consists of five stencils. I accidentally deleted the first step photo. For the first stencil, I used Twisted Citron Distress Ink and for the second Twisted Citron Distress Oxide Ink. Hold the stencils in place with Simon Says Stamp Very Very Low Tack Tape.

Ink with Rustic Wilderness.

Next use Rustic Wilderness Distress Oxide Ink.


For the first of the pattern stencils, I used Mowed Lawn Distress Ink.

Ink through the last stencil of the Snake Plant set.

And for the last stencil, I used Rustic Wilderness Distress Ink.

Make a mask with Simon Says Stamp Masking Paper.

I wanted to mask the snake plant and used a pencil to draw around the first stencil on Simon Says Stamp Masking Paper. Cut the paper out to create the mask and place it on the design.

Ink the page with Distress Ink.

Ink the page with various Distress Inks.

Remove the mask.

Remove the mask.

Stamp with Simon Says Stamp Thank You Text.

Stamp here and there on the background with Simon Says Stamp Thank You Text and Fern Green Ink. I stamped on the plant in a few places, but mainly avoided the plant. 

Die cut Simon Says Stamp Giggle Thank You.

The new Simon Says Stamp Giggle Thank You is so cute and a great size. Die cut it from Simon Says Stamp Pine glitter cardstock, Midnight Green cardstock, Ice Vellum and left-over inky paper.

Use Simon Says Stamp Ice Vellum.

I glued the sentiment as shown, off-setting both the mat and the words. The stamped sentiment comes from the Mandala Blossom set, from the Your Are My Favorite release.

Stamp with Simon Says Stamp Birthday Dragons.

This sentiment comes from the new Simon Says Stamp Birthday Dragons set. I stamped and cut into strips, avoiding to stamp 'birth' in 'birthday'. I wanted a few small embellishments and die cut the Simon Says Stamp Poised Primula from glitter paper and Ice Vellum. This die comes from You Are My Favorite.


The shapes and patterns of these stencils are really great.


Don't worry if a little bit of the background shines through, it just adds highlights.

Layers of ink - Snake Plant Art Journal Page Tutorial by Anna-Karin Evaldsson.

Don't miss all the inspiration along the hop! There are of course prizes to be won too, and at each stop on the hop SSS is giving away a $25 coupon, randomly drawn from those who leave a comment. The winners will be posted post on the Simon Says Stamp store blog on 4 June.

Your next stop on the hop is Heather Ruwe. Don't miss to the stunning project she has created. If you get lost along the way, here are all the stops:


For more inspiration, remember to check out the Moments in Time gallery at Simon Says Stamp, and if you make something with products from the range, it is fun if you post it in the galleries too. There are galleries for all releases, and for the card kits, full of inspiration.

This is the first Moments in Time blog hop, don't miss blog hop number day number 2, which is tomorrow.


Thank you so much for stopping by here today! 


Anna-Karin

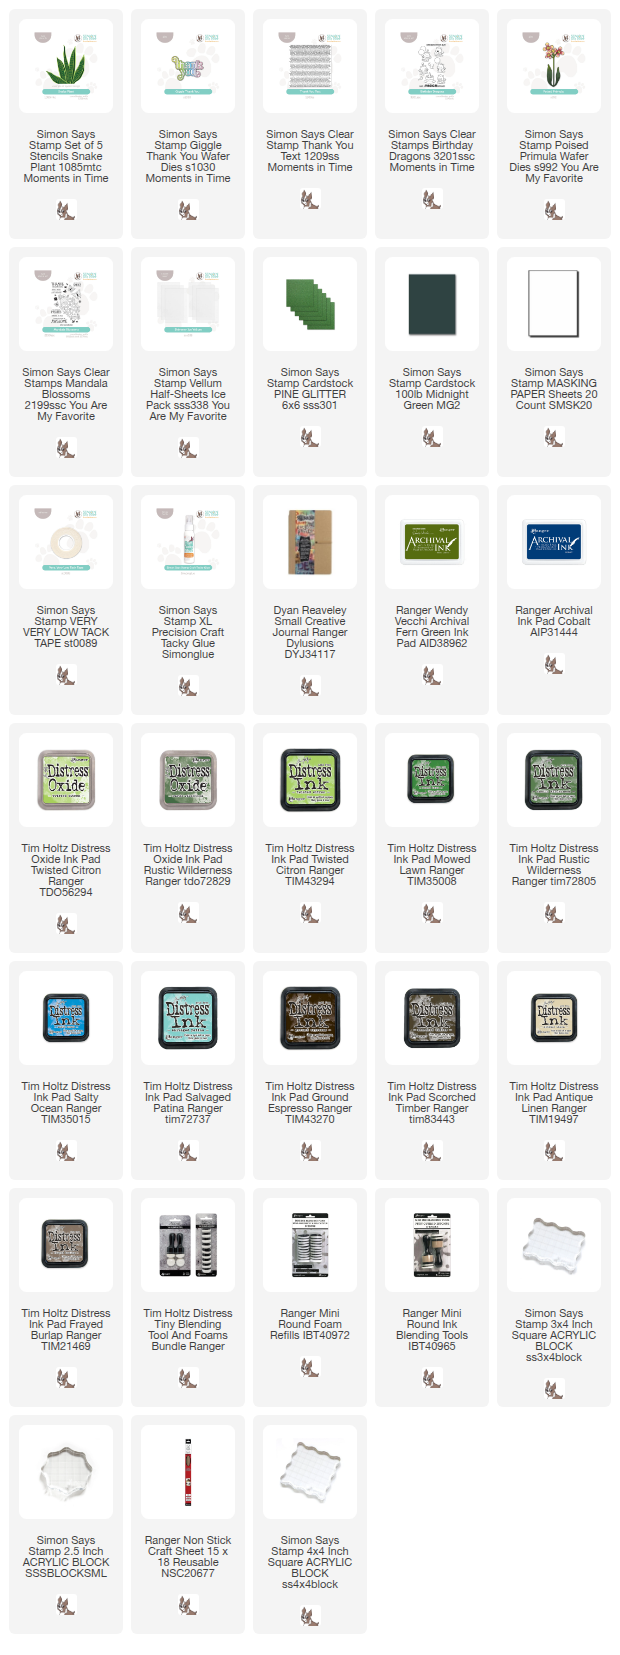
Supplies:

* Please note: the links are affiliate links, for which I receive a small percentage of sales generated by the link, at no extra cost to you.

Wednesday, May 28, 2025

Daisy Background Card

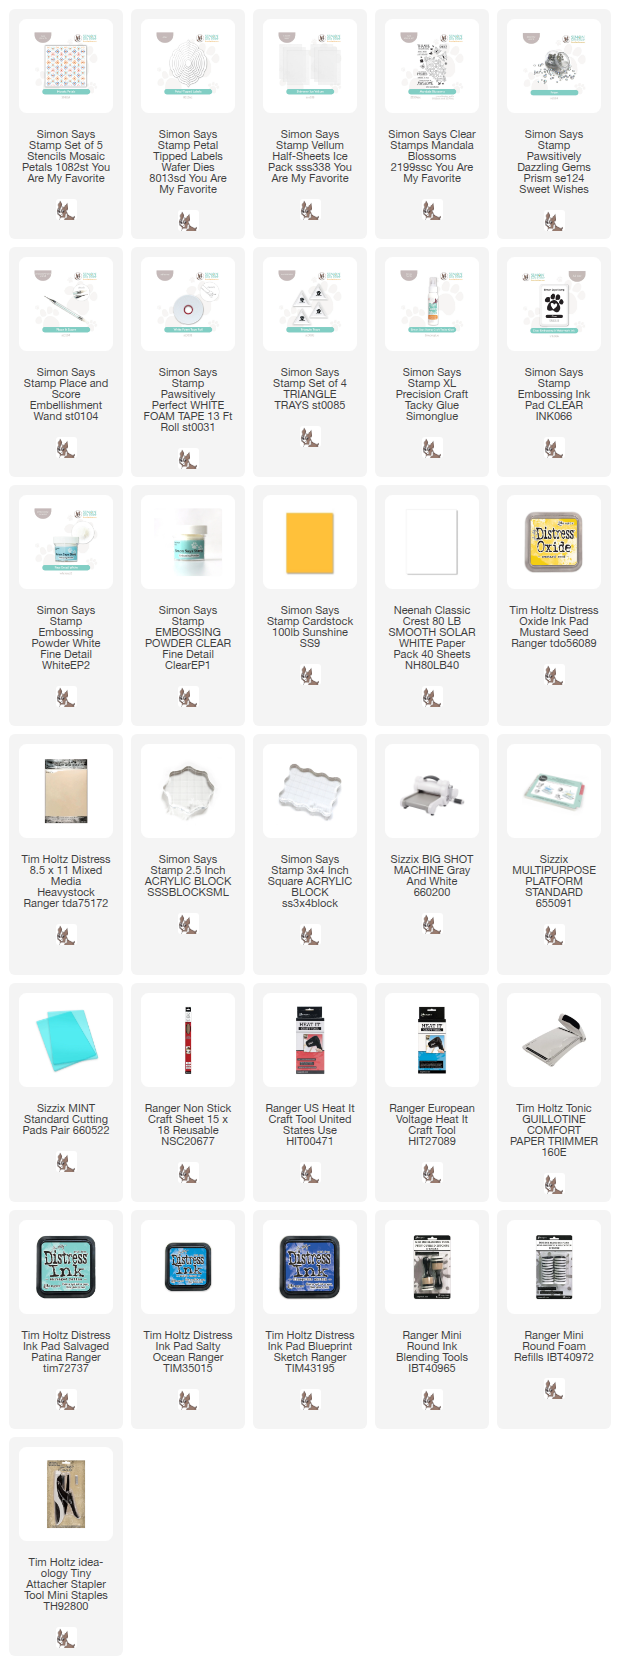
Hello crafters! Today I have a card to share with a bright daisy background, made with a stencil set. 

Please note: this post has affiliate links, for which I receive a small percentage of sales generated by the link, at no extra cost to you.

Layers of ink - Daisy Background Card Tutorial by Anna-Karin Evaldsson.

I used Simon Says Stamp Mosaic Petals stencil set for this card and had an idea of creating a background filled with white daisies. At first, I planned for it to be green, but then I went with blue instead. You can do the technique with many types of stencils, it doesn't have to be a stencil set. The Mosaic Petals stencil set comes from the You Are My Favorite Release. 

White emboss the daisies.

Start with various petal stencils one at a time. Apply embossing ink and white emboss. Continue with the next stencil. Remember to line them up. Be careful when heat embossing and never touch the melted powder until it has cooled down completely. I used Ranger's Heavystock cardstock as my base.

Ink with Mustard Seed Distress Oxide.

When you have white embossed all the petals, use Mustard Seed Distress Oxide ink for the centers and the tiny dots. Emboss with clear powder. The embossing will protect the yellow shade in the next step. 

Ink with Distress Ink.

Ink with Distress Ink, starting with the lightest shade. The embossing will resist the ink.


Die cut the Simon Says Stamp Petal Tipped Labels from Neenah Solar White cardstock and Simon Says Stamp Ice Vellum. Stamp a sentiment from Simon Says Stamp Mandala Blossoms with Cobalt ink and stamp the butterflies with Mustard Seed Distress Oxide Ink.

Add Simon Says Stamp Pawsitively Dazzling Gems.

I also added Simon Says Stamp Pawsitively Dazzling Prism Gems. By clear embossing the yellow ink, it will stay white. If you don't emboss it, the ink will blend with the blue shades and turn green.


I used some old lace and fibers and stapled to the card. 

Adhere the labels with foam tape.


Embossed daisy background.

Here you can see the shine of the embossing better.

Layers of ink - Daisy Background Card Tutorial by Anna-Karin Evaldsson.

I hope you enjoyed this stencil resist techniques and will try it on other stencils too. 


Thank you for visiting! See you again tomorrow!

Happy crafting!

Anna-Karin

Supplies:

* Please note: the links are affiliate links, for which I receive a small percentage of sales generated by the link, at no extra cost to you.


Monday, May 26, 2025

Numbers Grunge Tag

Hello crafters! Today I have a grungy tag to share with a fun background technique. 

Please note: this post has affiliate links, for which I receive a small percentage of sales generated by the link, at no extra cost to you.


This week we have a Emboss It theme at the Simon Says Stamp Monday Challenge Blog. I hope you will join us! Don't miss the last project by our May guest designer Estelle Palumbo.

Layers of ink - Numbers Grunge Tag by Anna-Karin Evaldsson.

I really like Tim Holtz Number Blocks set and thought I would do a tag with the entire background covered with the number blocks. I used embossed resist together with Distress Ink to get a background where the blocks were in different colors and the numbers were inked dark. 

Ink with Distress Ink.

Start with a heavystock tag and smear Distress Ink on a non-stick craft sheet. Mist with water and press the tag into the ink. Let dry and repeat until you are happy with the look. This will be the color of our blocks.

Clear emboss Tim Holtz Number Blocks.

Stamp one number at a time and clear emboss. Be careful and do not touch the melted powder until it has cooled down completely. Cover the whole tag.


Ink the tag with Uncharted Mariner, Ground Espresso and Scorched Timber Distress Ink. The embossing will resist the ink.


Die cut flowers using Simon Says Stamp Poised Primula die. I die cut the flowers from left-over watercolored and inky papers. This flower set is from the new You Are My Favorite release.

Die cut Simon Says Stamp Poised Primula flowers.

Shape the flowers with Tim Holtz Shaping Tool Kit and glue to the background. I added Simon Says Stamp Pawsitively Dazzling Gold Gems to the centers. 

Die cut Simon Says Stamp Scripty Hello.

The title was die cut with Simon Says Stamp Scripty Hello from left-over inky paper and from Simon Says Stamp Peacock and Black cardstock and from Ice Vellum. Layer them and adhere with Simon Says Stamp Pawsitively Perfect Foam Tape.


The sentiment strips come from AALL & Create Mindful Moments

Join us this week in our Emboss It challenge! You have a chance to win a $25 gift voucher to do some fun shopping at Simon Says Stamp. You have until Monday 8am Ohio time. 1pm UK time, 2 pm CET to join in.


Do you use Instagram? If so please add #sssmchallenge so we can see your entries there too.


Thank you so much for visiting today! 

Happy crafting!

Anna-Karin

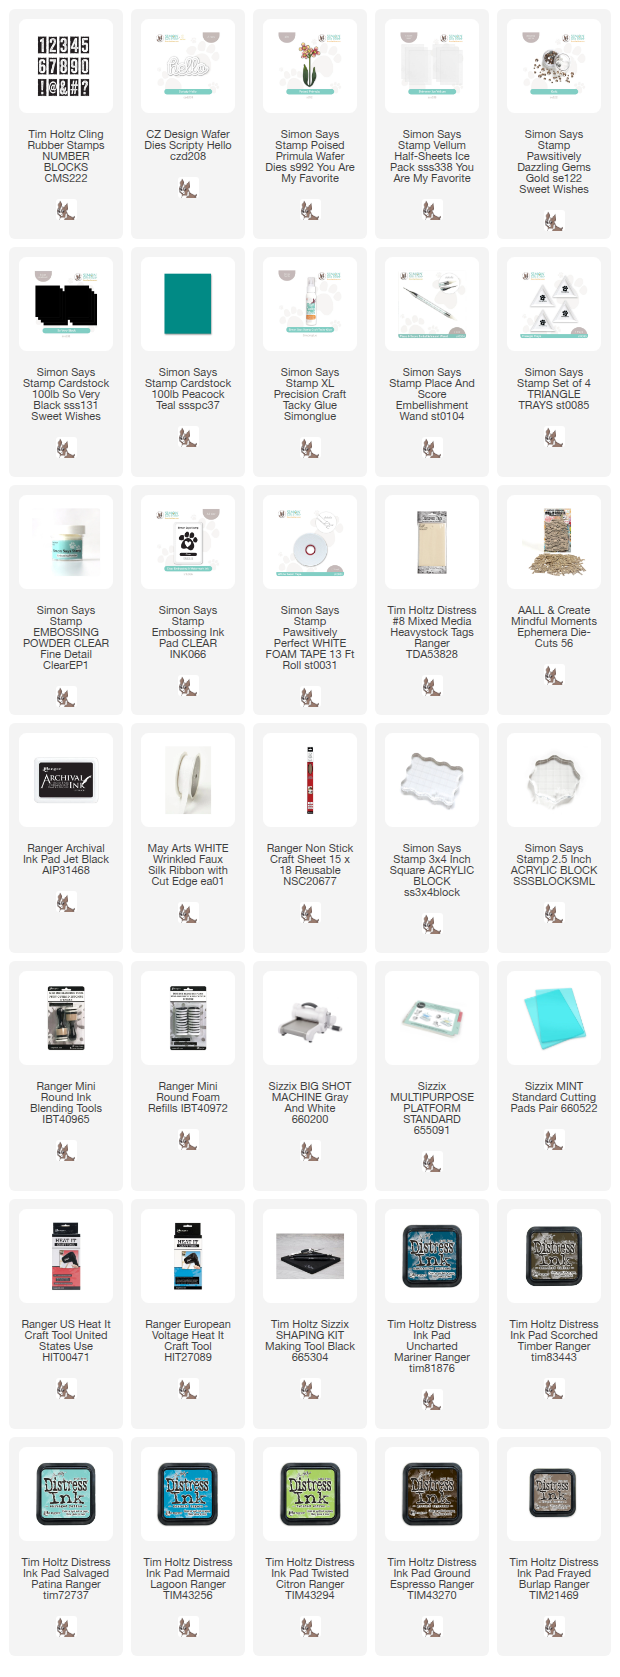
Supplies:

* Please note: the links are affiliate links, for which I receive a small percentage of sales generated by the link, at no extra cost to you.


Sunday, May 25, 2025

Lily of the Valley tag

Hello crafters! Today I have a sweet tag to share with Lily of the Valley flowers. These pretty flowers are flowering here at this time of the year. 

Please note: this post has affiliate links, for which I receive a small percentage of sales generated by the link, at no extra cost to you.

Layers of ink - Lily of the Valley tag tutorial by Anna-Karin Evaldsson.

I wanted a tag with a soft, yet textured look and decided to paint the background with watercolors and then dry emboss it. The flowers were die cut from a variety of paper: watercolor paper, white Neenah and Simon Says Stamp new Ice Vellum paper.

Emboss in Simon Says Stamp Spun Sugar.

I started out with a watercolored background and cut a tag from it. Mist the back with water and dry emboss in Simon Says Stamp Spun Glass. I really like this embossing folder.

Ink with Distress Ink.

Distress the edges and add some ink to the tag with an ink-blending tool, to increase the texture.

Add stickles.

I wanted some sparkle too and used Stickles here and there on the background.

Die cut Simon Says Stamp Lily of the Valley.

The Simon Says Stamp Lily Of the Valley Stem was die cut from left-over green watercolored paper, white Neenah cardstock and Simon Says Stamp Ice Vellum. 

Ink with Distress Ink.

Add green ink to the green die cuts and blue ink to the white flowers and the vellum flowers. 


Shape the flowers a little with Tim Holtz Shaping Tool Kit. 


Glue the vellum stems at the back and the green ones on top. Then glue the white flowers and finally add a vellum flower on top of each white flower. 

Add sentiment from Tim Holtz Tiny Text.

I also added Simon Says Stamp Pawsitively Dazzling Opal Gems to the tag. The sentiments come from Tim Holtz Tiny Text.

Glue Simon Says Stamp Pawsitively Dazzling Gems.

At the bottom I added a piece of fabric from a curtain projects from years ago. I found some older boxes of scraps and bits and pieces in my recent move, which are fun to use now. 

Layers of ink - Lily of the Valley tag tutorial by Anna-Karin Evaldsson.

I hope you enjoyed this tutorial!


Thank you for visiting! See you again tomorrow!

Happy crafting!

Anna-Karin

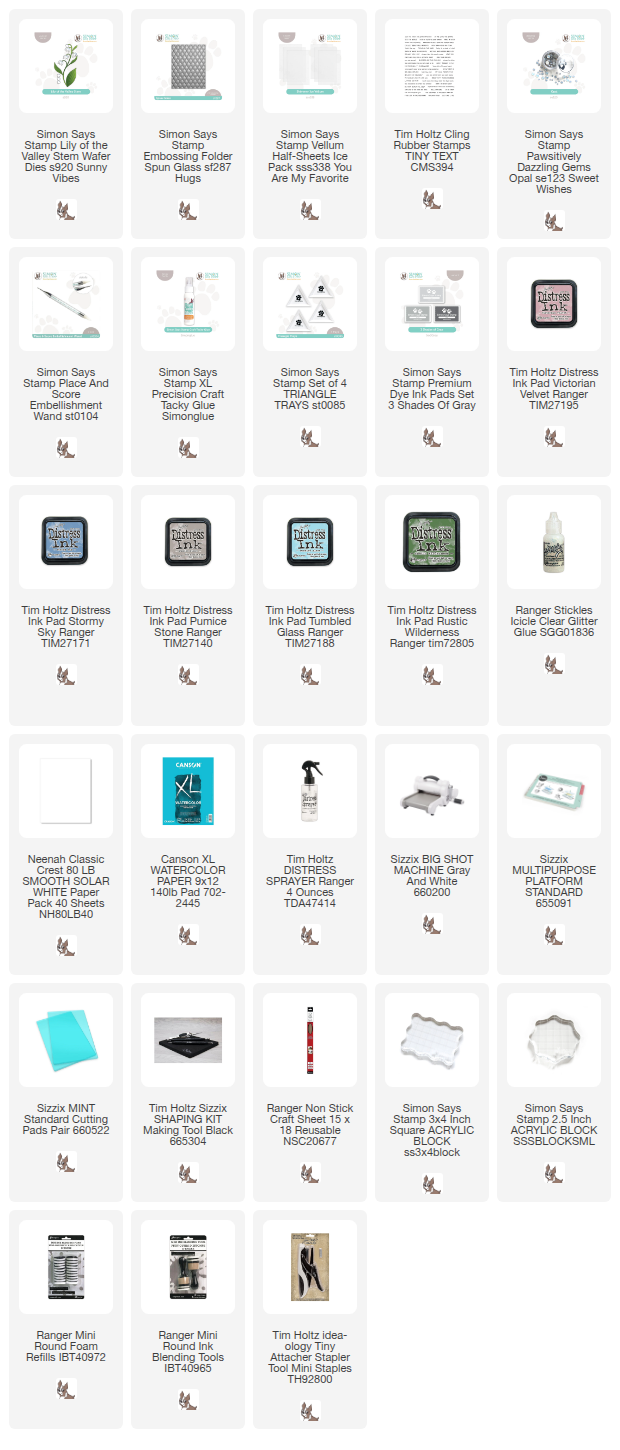
Supplies:

* Please note: the links are affiliate links, for which I receive a small percentage of sales generated by the link, at no extra cost to you.