Tuesday, April 13, 2021

Waterfall Card Tutorial

Hello friends! I hope you are well! Today I have a waterfall card to share with you, which is a fun interactive design with lots of space for images, messages or perhaps photos.

Layers of ink - Waterfall Card Tutorial by Anna-Karin Evaldsson.

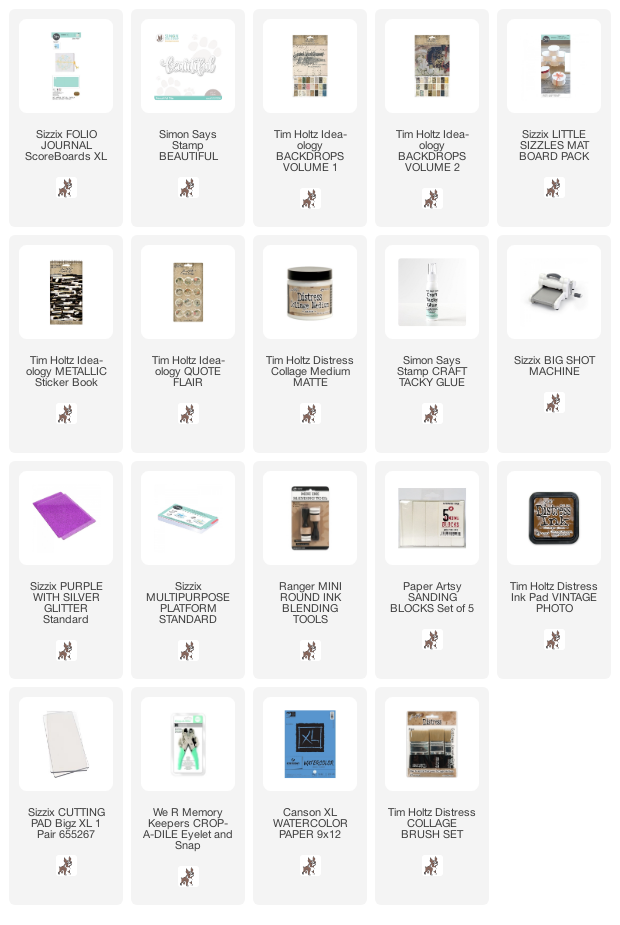
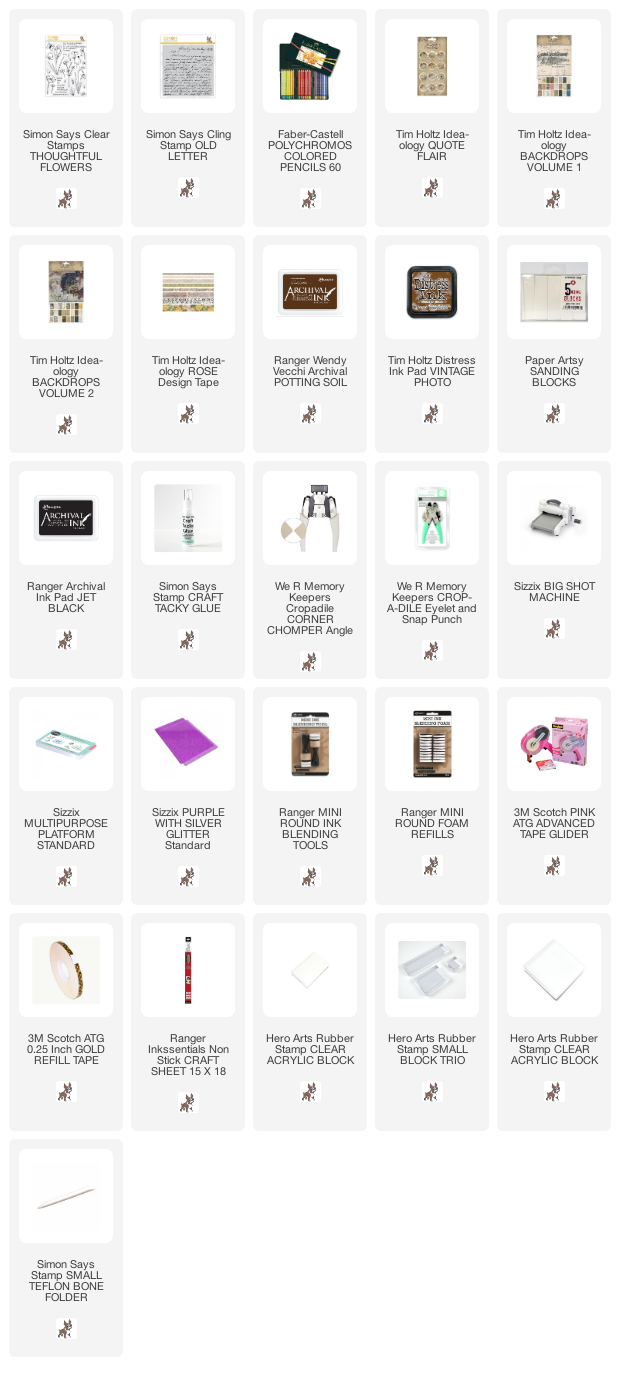
I haven't done a waterfall card in ages and it took a little while to get this to work, since I didn't totally remember how to do it. I had to dig out an old scrapbooking layout where I used a waterfall for photos. I used Eileen Hull's new Sizzix Card, Waterfall & Tags die set. The papers are from Tim Holtz Backdrops Vol. 1 and Backdrops Vol. 2. During April, the Eileen Hull Inspiration Team is sharing projects with Eileen's Chapter 2 dies. 

Layers of ink - Waterfall Card Tutorial by Anna-Karin Evaldsson.

Start by die cutting five waterfall pages and five panels. I used various Backdrops papers for this. Fold along the scored line on the pages. You can also add more pages of course.

Layers of ink - Waterfall Card Tutorial by Anna-Karin Evaldsson. Stamp with Simon Says Stamp Thoughtful Flowers.

Sand the pages and the panels. Stamp the panels with flowers, butterflies and words from Simon Says Stamp Thoughtful Flowers set.

Layers of ink - Waterfall Card Tutorial by Anna-Karin Evaldsson. Color with colored pencils.

Color the images with colored pencils. I used Faber-Castell Polychromos pencils. I like the look of colored pencils on top of patterned paper.

Layers of ink - Waterfall Card Tutorial by Anna-Karin Evaldsson.

Adhere the panels to the pages.

Layers of ink - Waterfall Card Tutorial by Anna-Karin Evaldsson. Stamp with Simon Says Stamp Old Letter Background.

I used another Backdrops paper for the background and stamped it with Simon Says Stamp Old Letter Background and brown ink.

Layers of ink - Waterfall Card Tutorial by Anna-Karin Evaldsson.

It is time to assemble the waterfall. I had a smaller piece of Backdrops paper that I wanted to use, which I turned into a tag. For the back piece, I used brown cardstock. This is the piece that you will pull to create the waterfall. There might be better ways of doing the waterfall effect.

Layers of ink - Waterfall Card Tutorial by Anna-Karin Evaldsson. Assemble the waterfall.

Adhere the pages to each other as shown here and then to a piece of cardstock, folded at the top. Adhere the short tag to the bottom waterfall page (it is the piece with the architecture pattern). I used the Angle Corner Chomper to create the tags.

Layers of ink - Waterfall Card Tutorial by Anna-Karin Evaldsson.

Fold a strip of cardstock and adhere it to the background. Slip the brown cardstock inside. Later I had to move the folded strip down a little, since it was in the way for the last waterfall panel. Place adhesive on the top of the folded flap and then adhere the second tag to it with double-sided tape. This means that the tag at the front (the patterned paper one) is stuck, while the brown tag moves freely.

Since it is hard to see the card in action with just photos, I did a very short video, so that you can see the waterfall effect. You can also watch it on YouTube here. For another example of a waterfall card, I made cute ghost waterfalls a couple of years ago and also did a video. 

Layers of ink - Waterfall Card Tutorial by Anna-Karin Evaldsson.

I added a Tim Holtz Quote Flair button to the top page. This Backdrops paper is perfect for stamping and then coloring on.

Layers of ink - Waterfall Card Tutorial by Anna-Karin Evaldsson.

The quote didn't fit completely on the page, but I used it anyway. I also added a few strips of Design Tape.

Layers of ink - Waterfall Card Tutorial by Anna-Karin Evaldsson. Tim Holtz Backdrops papers.

I made sure to die cut this panel to include the insect.

Layers of ink - Waterfall Card Tutorial by Anna-Karin Evaldsson.

Add a little color to images on the patterned paper too.

Layers of ink - Waterfall Card Tutorial by Anna-Karin Evaldsson.

I used a white pencil for the snowdrop, although it is very subtle.

Layers of ink - Waterfall Card Tutorial by Anna-Karin Evaldsson.

I made a mistake when stamping one of the butterflies on this panel and covered it up with a piece of Design Tape.


Thank you so much for taking the time to stop by here today!

Happy crafting!

Anna-Karin

Supplies:

* Please note: the links are affiliate links, for which I receive a small percentage of sales generated by the link, at no extra cost to you.
Die: Eileen Hull Sizzix Card, Waterfall & Tags set.

Monday, April 12, 2021

Vintage Floral Folio Notebook

Hello friends! I hope you had a good weekend! The boys are doing a lot of beading at the moment: Transformers, Minecraft and Pokemon themed, among others. 


It is Monday and we have a new theme for you at the Simon Says Stamp Monday Challenge Blog, this week it is 'Not a Card'. Lots of option! Don't miss the beautiful project by our April guest designer Autumn Clark.

Layers of ink - Floral Folio DIY Notebook Tutorial by Anna-Karin Evaldsson.

I made a notebook/sketchbook/journal this week, using some beautiful papers. My first thought when I got Tim Holtz Backdrops Vol. 1 and Vol. 2 were that many of the papers would make great journal covers, which is also a perfect way to use those pretty papers that you hardly want to cover up with anything. I used Eileen Hull's Folio Journal die to die cut the base for my book.


Layers of ink - Floral Folio DIY Notebook Tutorial by Anna-Karin Evaldsson. Die cut Eileen Hull Folio Journal.

Die cut two covers with the Folio Journal from Sizzix Little Sizzles Mat Board. This is an XL die so you need the XL cutting pads, but it fits perfectly in an ordinary Big Shot. The journal can have fold in parts, but for this project I decided not to use them, so I only die cut the first part of the covers. You can see a little bit of the folding part on the cover to the left. I cut that off later. 

Layers of ink - Floral Folio DIY Notebook Tutorial by Anna-Karin Evaldsson.

You can also make this journal in different thicknesses, from a very thick spine to a thinner one. I wanted something in between and cut off one of the three spine pieces on each cover.

Layers of ink - Floral Folio DIY Notebook Tutorial by Anna-Karin Evaldsson.

I used gorgeous floral paper from Tim's Backdrops Vol. 2. Adhere with Matte Medium and place under a heavy book.

Layers of ink - Floral Folio DIY Notebook Tutorial by Anna-Karin Evaldsson.

For the inside, I used another paper from Backdrops Vol. 2.

Layers of ink - Floral Folio DIY Notebook Tutorial by Anna-Karin Evaldsson.

Glue the two spine pieces together as shown here.

Layers of ink - Floral Folio DIY Notebook Tutorial by Anna-Karin Evaldsson.

The best thing with making your own sketchbooks or journals is that you can use your favorite papers. I used a mix of sketchbook and watercolor paper here and made two signatures. Stitch down the center, staple or just fold.

Layers of ink - Floral Folio DIY Notebook Tutorial by Anna-Karin Evaldsson.

I die cut a piece of pink paper from Backdrops Vol. 1 for the spine and glued it in place.

Layers of ink - Floral Folio DIY Notebook Tutorial by Anna-Karin Evaldsson.

I added an extra hole as shown here with my Crop-A-Dile.

Layers of ink - Floral Folio DIY Notebook Tutorial by Anna-Karin Evaldsson.

Bind with a piece of elastic string. This is what it looks like on the outside of the spine. I used an old button to tie the strings, through the hole that I punched.

Layers of ink - Floral Folio DIY Notebook Tutorial by Anna-Karin Evaldsson.

On the inside of the spine, the binding looks like this.

Layers of ink - Floral Folio DIY Notebook Tutorial by Anna-Karin Evaldsson.

Slip the signatures under the elastic bands and your journal is ready. Later you can also exchange the signatures.

Layers of ink - Floral Folio DIY Notebook Tutorial by Anna-Karin Evaldsson.

I tied the strings again to form a closure for the book and tied two beads to the ends.

Layers of ink - Floral Folio DIY Notebook Tutorial by Anna-Karin Evaldsson.

The title was die cut from Backdrops Vol. 1 papers with Simon Says Stamp Beautiful die.

Layers of ink - Floral Folio DIY Notebook Tutorial by Anna-Karin Evaldsson.

To finish the journal I used a Tim Holtz Quote Flair Button and a metallic sticker.

Layers of ink - Floral Folio DIY Notebook Tutorial by Anna-Karin Evaldsson.

The back was left plain, but you could add embellishments here too. I almost never do, I like the back of a sketchbook or journal to be flat.

Layers of ink - Floral Folio DIY Notebook Tutorial by Anna-Karin Evaldsson.

The Folio Journal makes for a book with a great size and I like that you can easily customize how thick you want it to be, from a really chunky book to a thin book.

Layers of ink - Floral Folio DIY Notebook Tutorial by Anna-Karin Evaldsson.

I hope you enjoyed this post and that it inspired you to make some journals or sketchbooks. They are also wonderful gifts. For more examples using the Folio Journal die check out my Foiled Folio and Floral Folio. 

I hope you will join us this week in our Not a Card challenge. You have a chance to win a $25 gift voucher to do some fun shopping at Simon Says Stamp. You have until Monday 8am Ohio time. 1pm UK time, 2 pm CET to join in.


Do you use Instagram? If so please add #sssmchallenge so we can see your entries there too.


Thank you so much for taking the time to stop by here today! 

Happy crafting!

Anna-Karin

Supplies:

* Please note: the links are affiliate links, for which I receive a small percentage of sales generated by the link, at no extra cost to you.
Monday, April 5, 2021

Bird Friends Art Journal Page

Hello stampers! I hope you are well and that you have had a beautiful Easter. The Easter bunny hid eggs twice in the forest, which was very popular. We also has sunny weather, but now it is snowing.


We have a Layer It theme at the Simon Says Stamp Monday Challenge Blog this week. I hope you will join us! Since it is the first Monday of a new month, the team is showcasing products by a specific designer and this week it is Tim Holtz. You can find Tim's fantastic range of products here. You don't have to use Tim's products to join, but it is always fun if you do.

We also have a new guest designer and during April the wonderful Autumn Clark will be joining us. I hope you will stop by her beautiful blog Sew Paper Paint and see what she has created for you.

Layers of ink - Bird Friends Mixed Media Art Journal Tutorial by Anna-Karin Evaldsson.

I made an art journal page this week, creating layers with paint, ink, stamping, and stenciling. Since I don't want to add too much bulk to my art journals, I often create layers which are fairly flat, but still look layered. It is also lots of fun to build up a background like this. The first to sentiments comes from Simon Says Stamp So Far So Good. I thought it looked like the birds were chatting to each other.

Layers of ink - Bird Friends Mixed Media Art Journal Tutorial by Anna-Karin Evaldsson.

I started with a page in my Small Creative Flip Journal, which had already been coated with gesso. I had also painted leftover paints on the page after a previous project.

Layers of ink - Bird Friends Mixed Media Art Journal Tutorial by Anna-Karin Evaldsson.

Stamp the page with the alphabet background stamp from Tim's Schooldesk set. 

Layers of ink - Bird Friends Mixed Media Art Journal Tutorial by Anna-Karin Evaldsson.

Continue with two of the stamps from the Ultimate Grunge set. I used Simon Says Stamp High Dive ink here.

Layers of ink - Bird Friends Mixed Media Art Journal Tutorial by Anna-Karin Evaldsson.

Mix a little Squeezed Lemonade into Distress Texture Paste and apply through the Gradient Dot stencil using a palette knife. 

Layers of ink - Bird Friends Mixed Media Art Journal Tutorial by Anna-Karin Evaldsson.

Apply a little Distress Oxide ink to the background with a blending brush.

Layers of ink - Bird Friends Mixed Media Art Journal Tutorial by Anna-Karin Evaldsson.

Draw a border with a Tombow Marker and splatter some white paint on the background.

Layers of ink - Bird Friends Mixed Media Art Journal Tutorial by Anna-Karin Evaldsson.

I wanted even more texture an stamped the Simon Says Stamp Crackle Background on the background with two shades of Distress Oxide ink.

Layers of ink - Bird Friends Mixed Media Art Journal Tutorial by Anna-Karin Evaldsson.


Layers of ink - Bird Friends Mixed Media Art Journal Tutorial by Anna-Karin Evaldsson.

I inked my birds to resemble a blue tit and a great tit, which are favorite birds in our house.

Layers of ink - Bird Friends Mixed Media Art Journal Tutorial by Anna-Karin Evaldsson.

Add more color with Distress Oxide ink, but just a little. I used blending brushes to get additional texture.

Layers of ink - Bird Friends Mixed Media Art Journal Tutorial by Anna-Karin Evaldsson.

Stamp with the Crackle Background to get a feathered look.

Layers of ink - Bird Friends Mixed Media Art Journal Tutorial by Anna-Karin Evaldsson.

When I was almost finished, I decided to add just a little bit of black stamping too, using the date stamp from Ultimate Grunge and one of the stamps from the Mini Glitch set.

Layers of ink - Bird Friends Mixed Media Art Journal Tutorial by Anna-Karin Evaldsson.

You can add color to some of the dots, for variation.

Layers of ink - Bird Friends Mixed Media Art Journal Tutorial by Anna-Karin Evaldsson.

Here's the blue tit. The combination of the transparent Distress Ink and just a little opaque Distress Oxide ink gives an interesting look. It is like the oxide ink shines.

Layers of ink - Bird Friends Mixed Media Art Journal Tutorial by Anna-Karin Evaldsson.

I forgot to add a white dot to the eye of the great tit and noticed it when taking the photos. I have done that now. It makes the eye look more alive. The branch was die cut with Simon Says Stamp Detailed Leaf Cluster from Simon Says Stamp Kraft Woodgrain cardstock and inked slightly.

Layers of ink - Bird Friends Mixed Media Art Journal Tutorial by Anna-Karin Evaldsson.

Ink, paint, stamping and stenciling adds layers and depth, without adding bulk.

Layers of ink - Bird Friends Mixed Media Art Journal Tutorial by Anna-Karin Evaldsson.

These sentiments are from Tim's Tiny Text stamp set. I can almost always find a sentiment that fits on that set.

Layers of ink - Bird Friends Mixed Media Art Journal Tutorial by Anna-Karin Evaldsson.

Here you can also see some of the subtle texture from the oxide ink, below the leaf to the left.

I hope you will join us this week in our Layer It challenge. You have a chance to win a $25 gift voucher to do some fun shopping at Simon Says Stamp. You have until Monday 8am Ohio time. 1pm UK time, 2 pm CET to join in.


Do you use Instagram? If so please add #sssmchallenge so we can see your entries there too.


Thank you so much for taking the time to stop by here today! 

Happy crafting!

Anna-Karin

Supplies:

* Please note: the links are affiliate links, for which I receive a small percentage of sales generated by the link, at no extra cost to you.