Wednesday, May 16, 2018

Flowers and Birds Canvas Tutorial

Hello friends! During May the Eileen Hull Inspiration Team is sharing projects with flowers, which is a perfect theme for this beautiful month. Don't miss all the inspiration from the team. Eileen has many pretty and versatile flower dies.
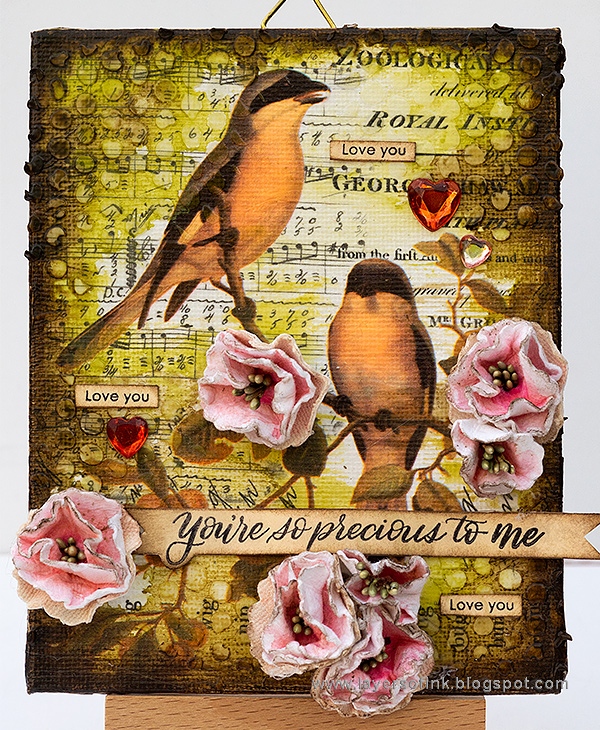
Layers of ink - Flowers and Birds Canvas Tutorial by Anna-Karin Evaldsson

I made a little canvas board this week, which is going to be a Mother's Day gift (Mother's Day is on 27 May here). It is 4 x5 in big. Sometimes, I really enjoy working on a small scale. I used only one flower from Eileen's Romance Flower die, to make these dimensional flowers and they are really easy to make.

Layers of ink - Flowers and Birds Canvas Tutorial by Anna-Karin Evaldsson

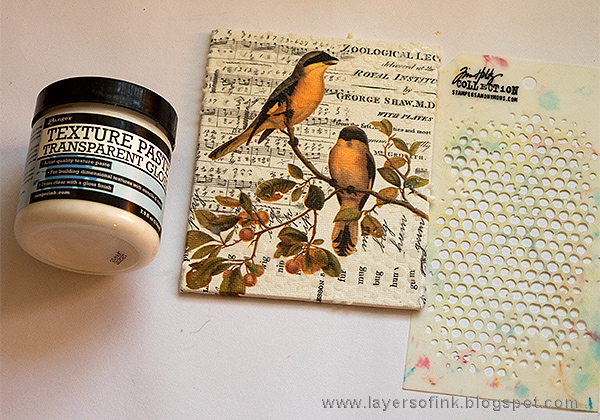
I wasn't sure what to do with the background, but when I spotted Tim Holtz's Aviary Collage Paper one one of my shelves, I thought these birds would be the perfect match. Adhere them to the canvas by adding a layer of Matte Medium below and on top. If you rather want them to be glossy, use gloss multi-medium.
Layers of ink - Flowers and Birds Canvas Tutorial by Anna-Karin Evaldsson

Smear Transparent Texture Paste through the small bubbles stencil in the corners and around the edges of the canvas with a palette knife. Leave to dry.

Layers of ink - Flowers and Birds Canvas Tutorial by Anna-Karin Evaldsson

Paint with watered-down Distress Paint and when dry, dry brush some additional brown paint around the edges.
Layers of ink - Flowers and Birds Canvas Tutorial by Anna-Karin Evaldsson

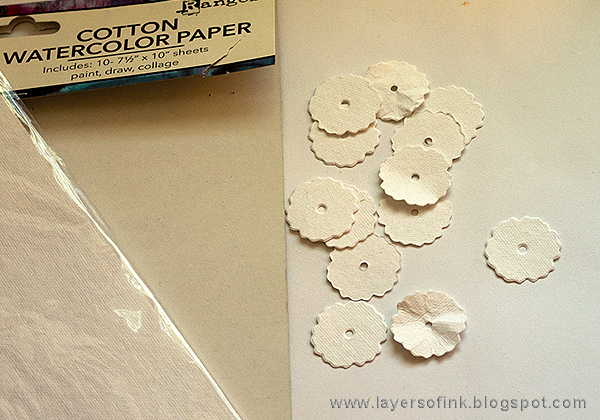
Die cut the smallest flower on the Romance Flower die from Ranger's Cotton Watercolor paper. You can die cut three flowers in one go, since this is a Bigz die.

Layers of ink - Flowers and Birds Canvas Tutorial by Anna-Karin Evaldsson

I also adhered some natural sticky-back canvas to paper and die cut some more flowers.

Layers of ink - Flowers and Birds Canvas Tutorial by Anna-Karin Evaldsson

Scribble with Dina Wakley's Scribble Sticks. I left the edges white.

Layers of ink - Flowers and Birds Canvas Tutorial by Anna-Karin Evaldsson

Dissolve the pigment with water.

Layers of ink - Flowers and Birds Canvas Tutorial by Anna-Karin Evaldsson

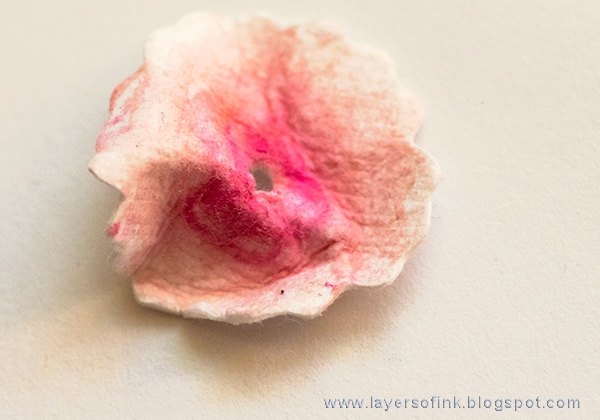
Before the flowers dry completely, scrunch them up.

Layers of ink - Flowers and Birds Canvas Tutorial by Anna-Karin Evaldsson

I arranged the flowers with a canvas one at the bottom. Originally I planned to also use one of the flowers from Heart & Soul Flowers, but I thought it made the flowers too large for the canvas.

Layers of ink - Flowers and Birds Canvas Tutorial by Anna-Karin Evaldsson

Fold four stamen pieces in half and thread through the holes in the flowers.

Layers of ink - Flowers and Birds Canvas Tutorial by Anna-Karin Evaldsson

Ink the flowers slightly with brown ink and glue them to the canvas.

Layers of ink - Flowers and Birds Canvas Tutorial by Anna-Karin Evaldsson

Stamp sentiments from the Simon Says Stamp Mom Flowers set on inky paper.

Layers of ink - Flowers and Birds Canvas Tutorial by Anna-Karin Evaldsson

I also colored three Mirrored Hearts with alcohol ink and glued to the canvas board.

Layers of ink - Flowers and Birds Canvas Tutorial by Anna-Karin Evaldsson

The branches of the tree worked great as a home for these little flowers. I also added some dimension to the sentiment, shaped as a banner.

Layers of ink - Flowers and Birds Canvas Tutorial by Anna-Karin Evaldsson

The paste dots add subtle texture and interest to the background.

Layers of ink - Flowers and Birds Canvas Tutorial by Anna-Karin Evaldsson

I made a couple of flowers smaller, by just using a single die cut watercolor paper flower.

Layers of ink - Flowers and Birds Canvas Tutorial by Anna-Karin Evaldsson

Here you can see how dimensional the flowers are. These little flowers would fit on many different kinds of projects, and you can make them in any color that you want. If you want to make the same flowers but larger, there are three larger shapes of the same flower on the Romance Flower die.

Thank you so much for taking the time to stop by today!!

Happy crafting!

Anna-Karin

Supplies:

* Please note: the links are affiliate links, for which I receive a small percentage of sales generated by the link, at no extra cost to you.


Monday, May 14, 2018

Stencils and Infusions Tutorial

Hi friends!! I hope you had a lovely weekend! Here, Thursday was a public holiday and the kids didn't have school on Friday, so we had a nice long weekend. My parents visited and we did three really great outings. The sun is shining and it is summer weather at the moment. 


This week at the Simon Says Stamp Monday Challenge Blog we have a Stencil It challenge. I love stencils, not only are they very versatile, but they also take very little space. Don't miss the gorgeous project by our May guest designer Alison Bomber.

Layers of ink - Stencils and Infusions Tutorial by Anna-Karin Evaldsson with stencils by StencilGirl and Paper Artsy Infusions

I made another art journaling page in my Dina Wakley Media Journal this week, working on one of the cotton-rag watercolor pages. I wanted to play around with stencils together with Paper Artsy's Infusions. I used stencils by StencilGirl and the focal stencil is Finding Your Tribe by Carolyn Dube. This page was such fun to make and came together quite quickly. You can easily use the same techniques on a card or a scrapbooking layout.


I wanted to work quickly before everything dried, which is why there is only one step photo for the first couple of steps. Place the Finding Your Tribe stencil on the background and mask off the designs close to the three women with masking tape or paper. Mist with water. Sprinkle A Bit Jaded Infusions on top. You only need a little. Carefully add a little more water to blend. Remove the stencil. I wanted less of a perfect edge to the women silhouettes and misted a tiny bit of water here and there to make the edges run slightly. 

Repeat with the Clouds stencil by Kathy Nichols, to form something meant to look a little like clouds. Mist some more water here and there, and at the lower part of the page and sprinkle Golden Sands and Olive Tree on top. 

Layers of ink - Stencils and Infusions Tutorial by Anna-Karin Evaldsson with stencils by StencilGirl and Paper Artsy Infusions

When dry, use the Finding Your Tribes stencil again to add words to the page. I used the Night acrylic paint by Dina Wakley, which is not quite black, but more a really dark shade of purple.

Layers of ink - Stencils and Infusions Tutorial by Anna-Karin Evaldsson with stencils by StencilGirl and Paper Artsy Infusions

I also sponged some Night paint through the Mini Starlight Stencil by Lesley Riley.

Layers of ink - Stencils and Infusions Tutorial by Anna-Karin Evaldsson with stencils by StencilGirl and Paper Artsy Infusions

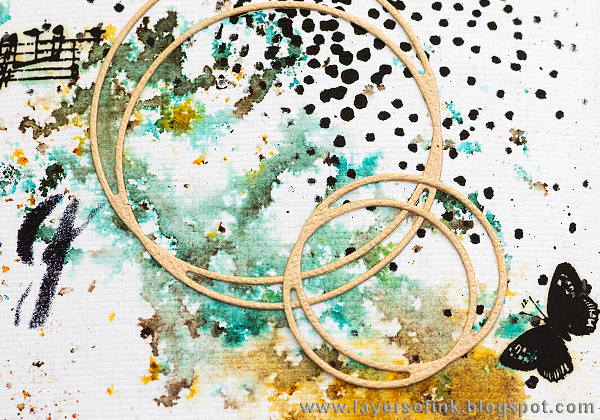
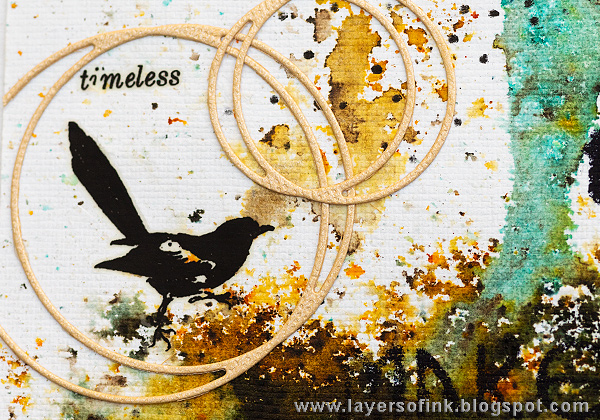
I die cut circles with the SSS Circle Loops die, from Glimmery Sunshine paper. Finally, I also added some rub-ons here and there.
 Layers of ink - Stencils and Infusions Tutorial by Anna-Karin Evaldsson with stencils by StencilGirl and Paper Artsy Infusions

I really like this joyful stencil by Carolyn Dube, and especially the different women silhouettes on the stencil. If you want to see another example, have a look at my Old Nonsense art journal page.

Layers of ink - Stencils and Infusions Tutorial by Anna-Karin Evaldsson with stencils by StencilGirl and Paper Artsy Infusions

True friends make everything more fun, and some star rub-ons.

Layers of ink - Stencils and Infusions Tutorial by Anna-Karin Evaldsson with stencils by StencilGirl and Paper Artsy Infusions

The glimmery paper adds a nice touch to the page. You can also buy the SSS Glimmery Cardstock in a sample pack.

Layers of ink - Stencils and Infusions Tutorial by Anna-Karin Evaldsson with stencils by StencilGirl and Paper Artsy Infusions

Using stencils together with Infusions is lots of fun and very easy. If you want words or fine details to be clearly visible, it is better to add those with acrylic paint instead of Infusions.

I hope you will join us this week in our Stencil It challenge. As always, you have a chance to win a $50 gift voucher to do some fun shopping at Simon Says Stamp. You have until next Monday 8am Ohio time. 1pm UK time, 2 pm CET to join in.


Don't forget to follow Simon Says Stamp on Instagram, they post great stuff daily. 


Do you use Instagram? If so please add #sssmchallenge so we can see your entries there too.


Thank you for taking the time to stop by my blog today!  

Happy crafting!

Anna-Karin

Supplies

* Please note: the links are affiliate links, for which I receive a small percentage of sales generated by the link, at no extra cost to you.


Monday, May 7, 2018

Ombre Art Journal Page Tutorial

Hello friends! I hope your weekend was good. We had practically summer weather here and went on an outing to the sea on Saturday. Yesterday, I was also outdoors most of the day, first to a playground and for a walk with Leo, and then on a bike ride with Anton. 


It is a new month, and May might even be my favorite month of the year, if I had to pick one. This week at the Simon Says Stamp Monday Challenge Blog we have an Ombré theme. Since this is the first Monday of a new month, the team is showcasing a specific designer / company and this week the turn has come to Dina Wakley and her vibrant line of paint, crayons, stamps, journals, and stencils. You can find Dina's products here. You don't have to use Dina's products to join in the challenge, but it is always fun if you do. 

During May, Alison Bomber is our guest designer, and she always creates the most amazing projects, so don't miss checking her blog.

Layers of ink - Ombre Art Journal Page Tutorial by Anna-Karin Evaldsson with Dina Wakley / Ranger products

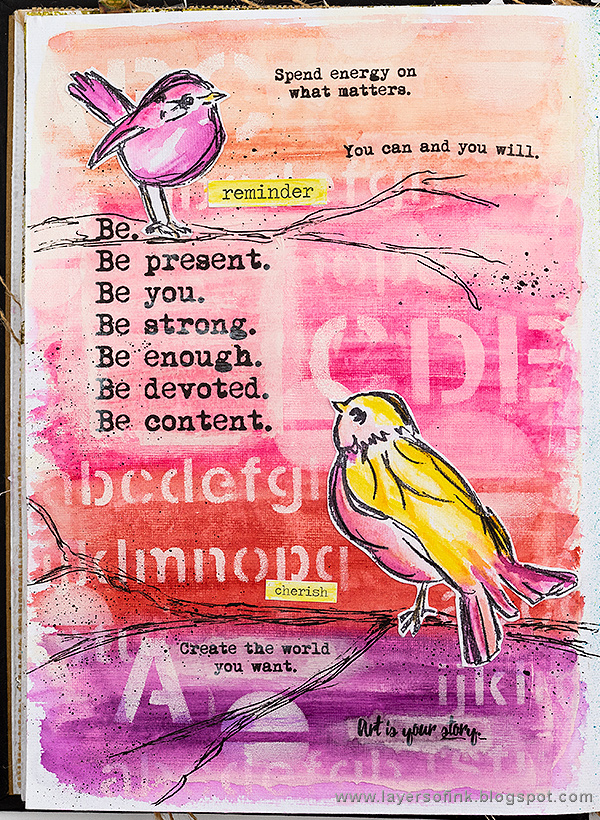
I am very fond of ombré effects for backgrounds, since the graduating colors add interest without being overwhelming. Here I used shades of pink, red and purple to create an ombré background for this art journaling page. The page was done on one of the cotton-rag pages in Dina's Media Journal, which is such a fun journal to work in, because of the four different surfaces it contains (cotton-rag, canvas, burlap and kraft). 

I used Scribble Sticks to color the page. They are one of my favorite coloring media, and are crayons with high quality pigment. The pigment is water-soluble like a watercolor pencil. 

Layers of ink - Ombre Art Journal Page Tutorial by Anna-Karin with Dina Wakley / Ranger products

Start by coating the page with white gesso using a palette knife. I left an uneven edge around the page.

Layers of ink - Ombre Art Journal Page Tutorial by Anna-Karin with Dina Wakley Scribble Sticks

When the gesso is dry, scribble with Scribble Sticks in the following order from the top: Blushing, Magenta, Fuchsia, Ruby and Blackberry. The crayons come from both Set 1 and Set 2.

Layers of ink - Ombre Art Journal Page Tutorial by Anna-Karin with Dina Wakley / Ranger products

Use a paint brush and clean water to turn the background into watercolor.

Layers of ink - Ombre Art Journal Page Tutorial by Anna-Karin with Dina Wakley Collage Words

I used Dina's Collage Words tissue paper and tore around some of the phrases. The torn edge blends better into the background. Apply a layer of gloss multi-medium where you want to place the tissue, and then another on top of the tissue. On many backgrounds, tissue paper disappears almost completely, particularly on acrylic paint backgrounds. Here you can still see the edges slightly, but it doesn't matter, and the effect is reduced in the following step.

Layers of ink - Ombre Art Journal Page Tutorial by Anna-Karin with Dina Wakley / Ranger products

Sponge white paint through the Alphabetic and the Halves stencil. Also add some white paint around the edges of the tissue paper to make it blend more into the background.

Layers of ink - Ombre Art Journal Page Tutorial by Anna-Karin with Dina Wakley Scribbly Birds

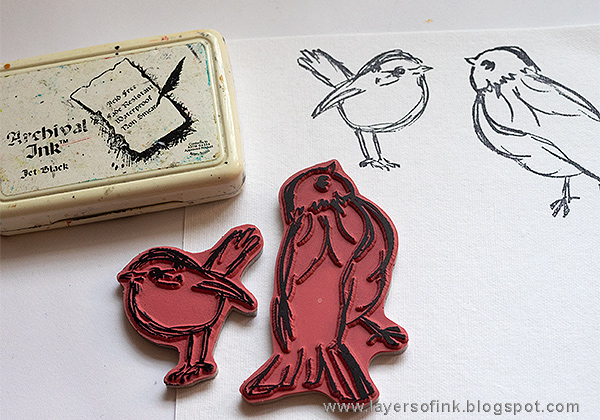
Stamp a bird from Scribbly Birds and Scribbly Small Birdies on a lose sheet of Cotton Watercolor paper. I am happy that this paper comes in lose sheets too now. It has such a nice feel to it, almost like fabric.

Layers of ink - Ombre Art Journal Page Tutorial by Anna-Karin with Dina Wakley / Ranger products

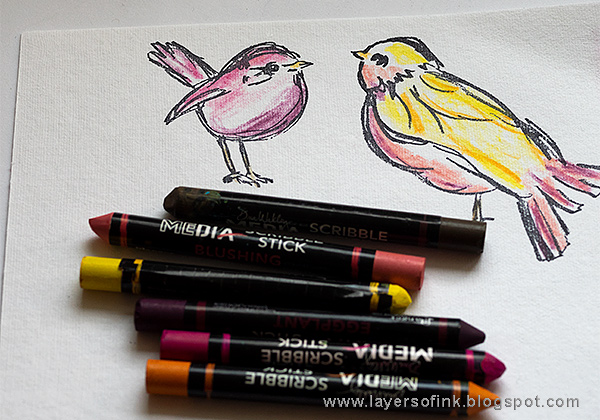
Scribble color on the birds.

Layers of ink - Ombre Art Journal Page Tutorial by Anna-Karin with Dina Wakley / Ranger products

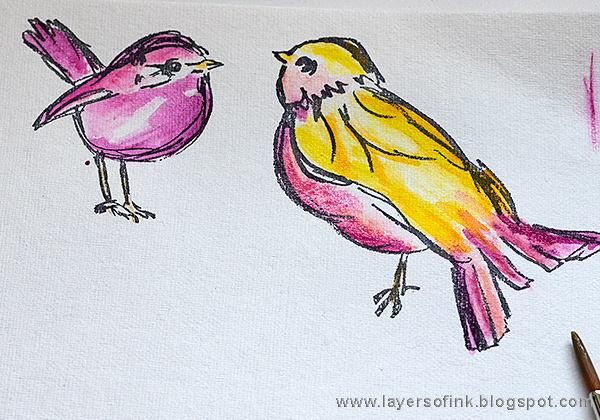
Dissolve with water. If you want a stronger color somewhere, you can pick pigment up with the paint brush directly from the tip of a crayon.

Layers of ink - Ombre Art Journal Page Tutorial by Anna-Karin with Dina Wakley / Ranger products

The Scribble Sticks are also great to splatter with. Dip the tip of the black crayon in water and flick a paint brush against it.

Layers of ink - Ombre Art Journal Page Tutorial by Anna-Karin with Dina Wakley / Ranger products

I used a black pen to add back some of the lines that had been partially covered in the coloring process. The same pen was used to scribble branches for the birds to stand on.

Layers of ink - Ombre Art Journal Page Tutorial by Anna-Karin with Dina Wakley / Ranger products

The white acrylic paint used for the stenciling adds a great effect on top of the Scribble Stick background.

Layers of ink - Ombre Art Journal Page Tutorial by Anna-Karin with Dina Wakley / Ranger products

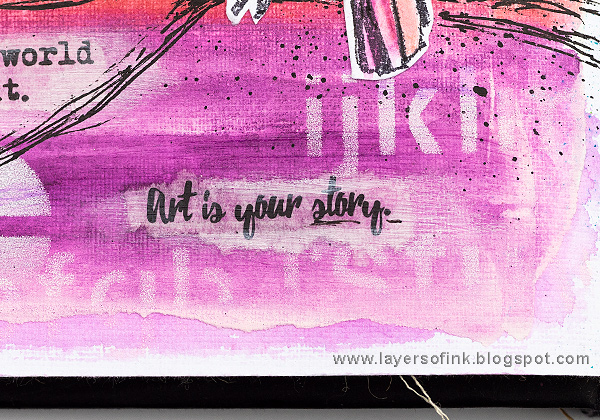
I really like this sentiment.

Layers of ink - Ombre Art Journal Page Tutorial by Anna-Karin with Dina Wakley / Ranger products

The Big Chat and Chit Chat stickers were colored with the yellow Scribble Stick, and turned into watercolor with water.

Layers of ink - Ombre Art Journal Page Tutorial by Anna-Karin with Dina Wakley / Ranger products

This piece of printed tissue paper was the inspiration for my page. I really like the repeated 'be' and all the important messages.

If you want inspiration for the other types of surfaces in the Media Journal, you can check out the following posts:
kraft - Grungy Time
burlap - A Moment in Time
burlap - Magical Butterflies
canvas - Scribble Sticks Journal Page
canvas - Exploration
cotton-rag - Doodled Wildflowers

I hope you will join us this week in our Ombré challenge. As always, you have a chance to win a $50 gift voucher to do some fun shopping at Simon Says Stamp. You have until next Monday 8am Ohio time. 1pm UK time, 2 pm CET to join in.


Don't forget to follow Simon Says Stamp on Instagram, they post great stuff daily. 


Do you use Instagram? If so please add #sssmchallenge so we can see your entries there too.


Thank you for taking the time to stop by my blog today!  

Happy crafting!

Anna-Karin

Supplies

* Please note: the links are affiliate links, for which I receive a small percentage of sales generated by the link, at no extra cost to you.


Thursday, May 3, 2018

Magical Butterflies Journal Page Tutorial

Hello everyone! I am happy to have a guest tutorial on the Simon Says Stamp Store Blog. It's an art journal page with some fun and easy techniques. Here's a little sneak peek:

Layers of ink - Magical Butterflies Journal Page Tutorial by Anna-Karin Evaldsson, in Ranger Dina Wakley Media Journal.

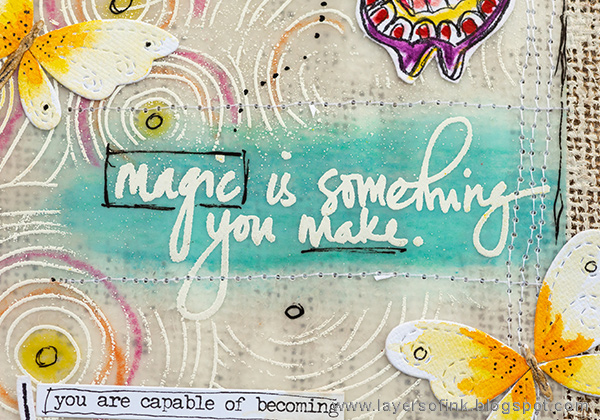
I worked in my Dina Wakley Media Journal on one of the burlap pages and had fun creating magical butterflies with stamps, dies and Scribble Sticks. White embossing on vellum is also one of my all time favorite techniques.

There is a full step-by-step tutorial on the Simon Says Stamp Store blog.

Have a great day and see you soon again!!

Anna-Karin