
Hello all! I have a fun mixed media tutorial to share with you today, for the Tim Holtz Media Team. It involves die cutting, stamping, Distress Paints and various media.

I made a Halloween canvas board (6 x8) for my son's room, but you can really use these techniques for any type of theme. I did a seaside canvas earlier this year, with some of the same techniques, for example, making little houses with the Matchbox die. I love using my dies in ways that they were not originally intended for.
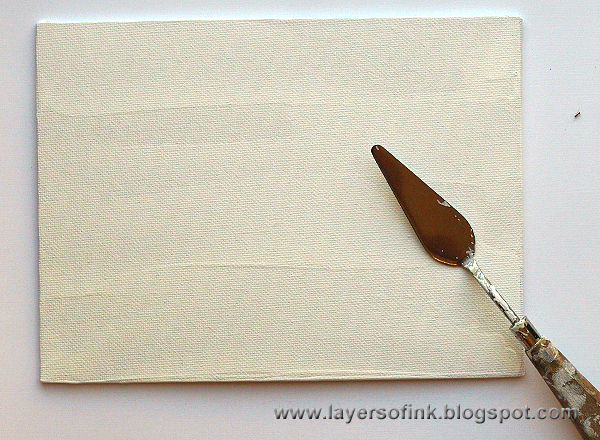
Coat the canvas board with gesso, this gives a better surface for the other mediums to adhere to.
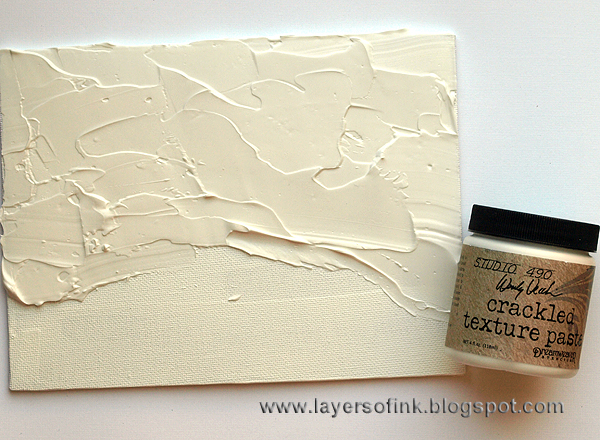
I wanted a scary sky and thought Wendy Vecchi's Crackled Texture Paste would do the trick. Smear a layer where the sky will be with a palette knife, varying thicker and thinner applications. The thicker the paste, the larger the cracks will be.
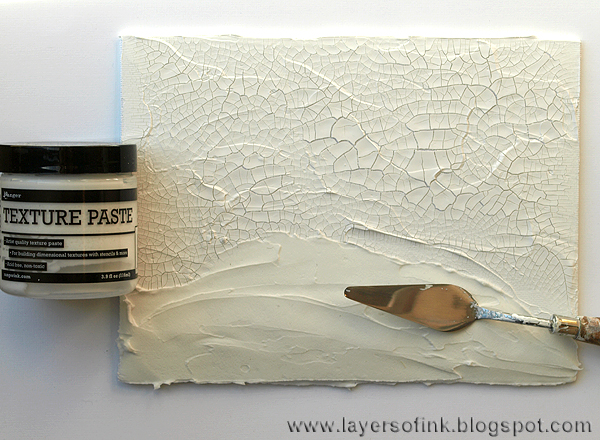
Leave the paste dry and cracks will appear. For the ground, apply a thick layer of Ranger's Texture Paste. Leave to dry.
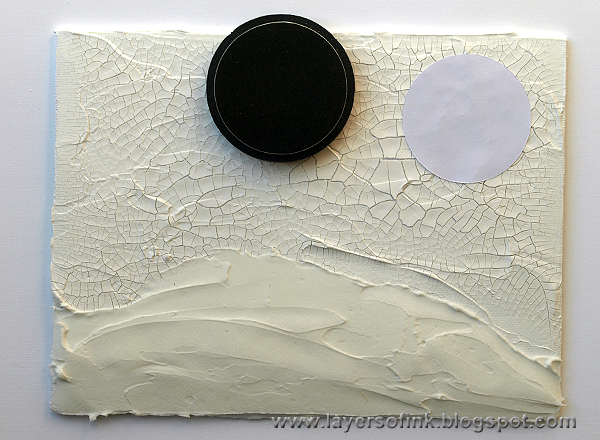
Die cut a mask for the moon using the middle Sized Circles die. It works great if you use Tim Holtz Mask Sheets, but I had run out.
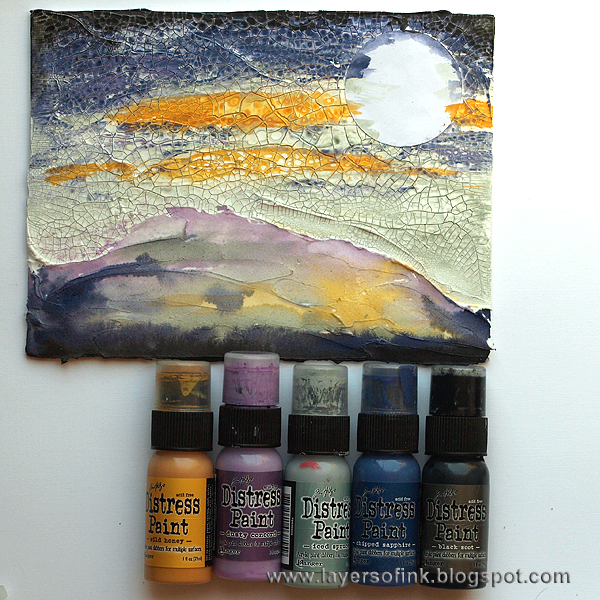
Paint the background with Distress Paint, adding a bit of water to the paint. Remember to always shake the bottles first. Start with Wild Honey, then continue with Iced Spruce, Chipped Sapphire and Black Soot. For the ground, I also used some Dusty Concord. Leave to dry.
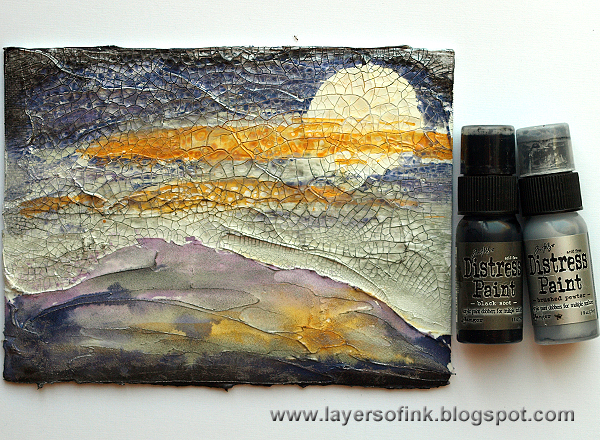
Dry brush Black Soot here and there for a grungy effect. Water down some Brushed Pewter paint and apply over the crackled background, with thicker applications along the edges and in the corners. It is hard to see on the photo, but it adds a real great metallic effect. Paint the moon with very watery Wild Honey, to tone down the white.
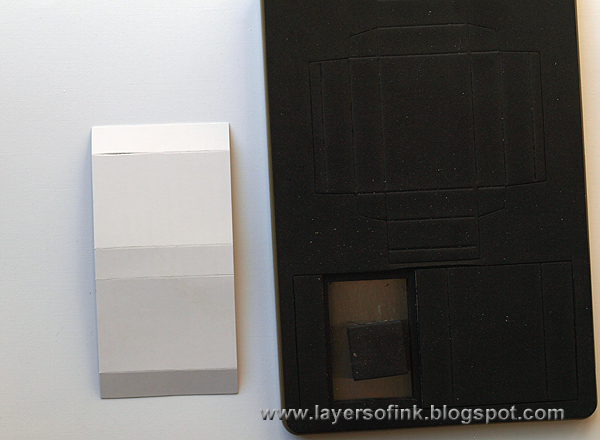
Continuing with the little house, die cut one outer box part using the Matchbox die, from thin chipboard. I used the cover of one of my Tim Holtz paper stashes.
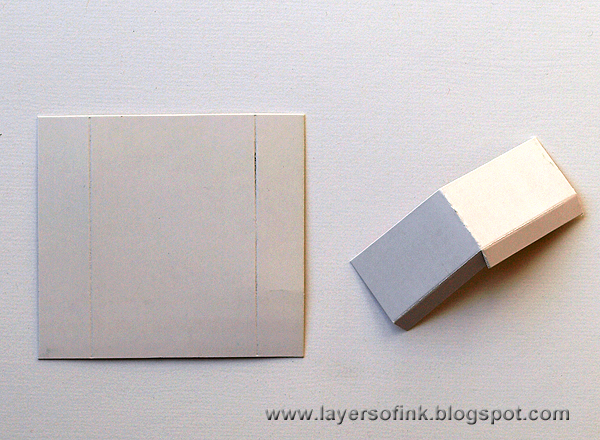
Die cut a second piece to make the roof. Cut it in half, and fold in the middle, as shown on the piece to the right.
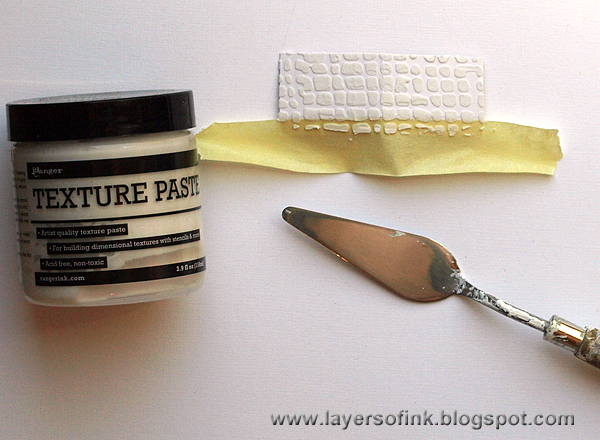
Apply texture paste to the roof through the Burlap stencil, masking the front part of the roof with masking tape.
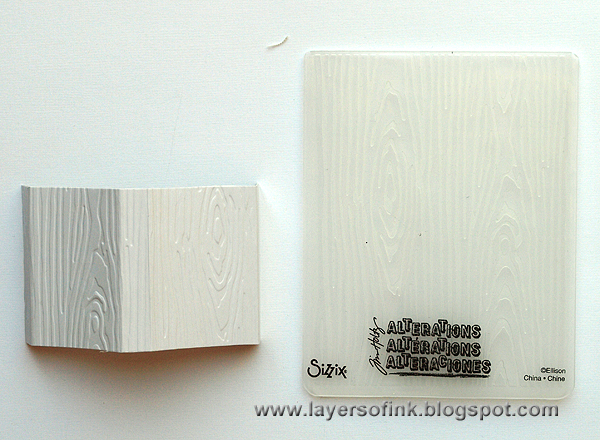
Emboss the house in the woodgrain folder for texture.
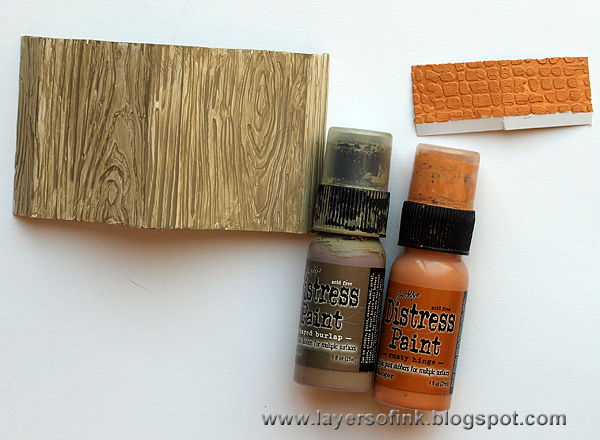
Paint the house with Frayed Burlap and the roof with Rusty Hinge. If you use chipboard, you might want to paint them with white paint or gesso first.
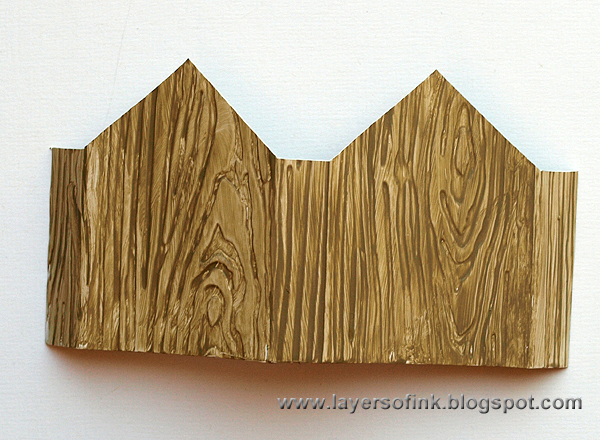
Measure the midpoint on both sides of the house panels and cut with a craft knife. It is easier to do this step before painting, I just forgot.
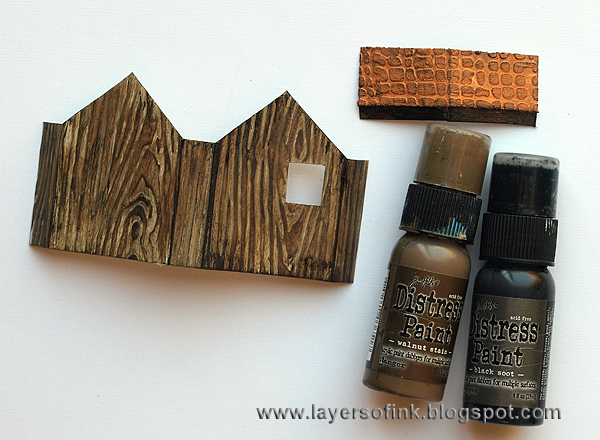
Add some darker brown and black to the house and the roof. Cut a window with a craft knife.
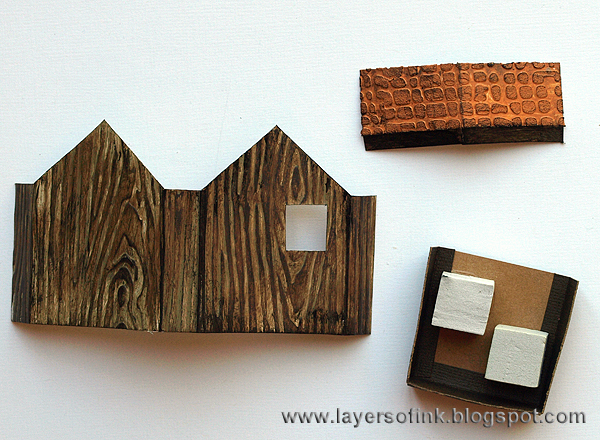
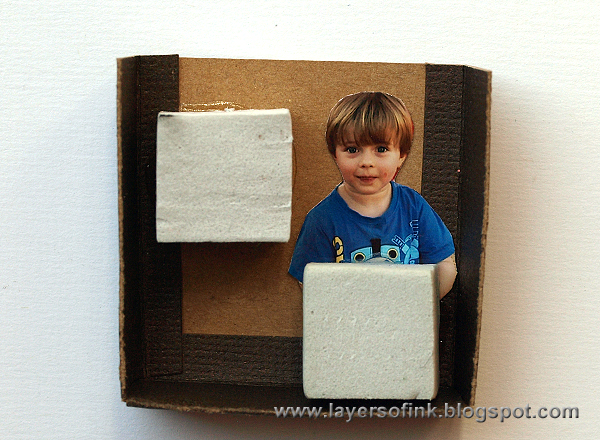
When I was busy assembling the house, Anton came into the room and stated that he had to be inside the house. I moved the one foam square down and glued a cut out photo of him in the house. It is a little out of proportion, but since this is Halloween, that didn't matter much.
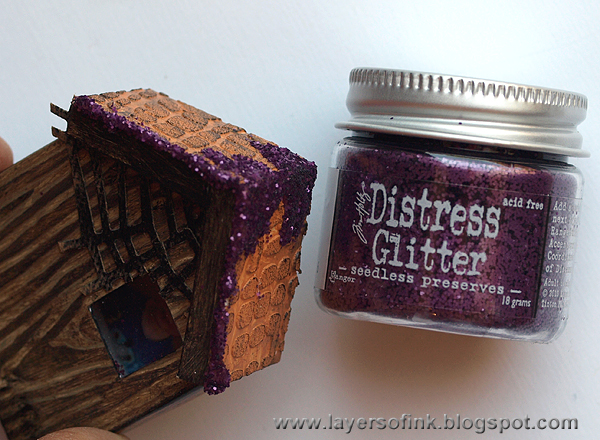
Add a small piece of die cut web to the house and a piece of acetate as a window. Apply Glossy Accents to the roof and sprinkle with Seedless Preserves Distress Glitter.
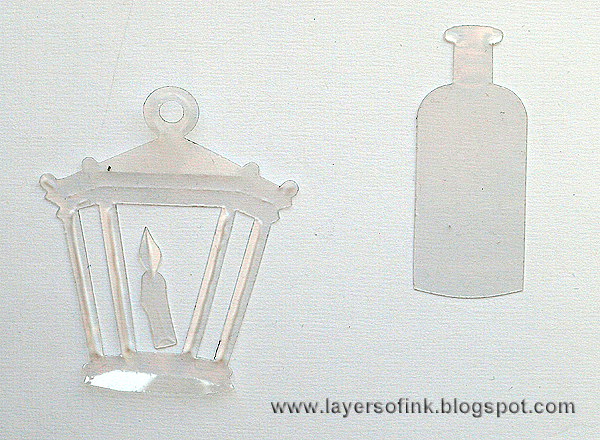
I wanted to use the new Hanging Lantern die, but it was too large for the canvas. The simple solution is to use shrink plastic. I also die cut an Apothecary Bottle from the plastic.
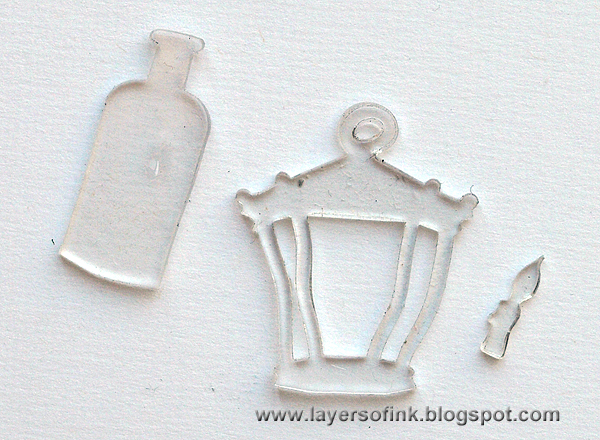
Shrink according to the instructions on the packaging.
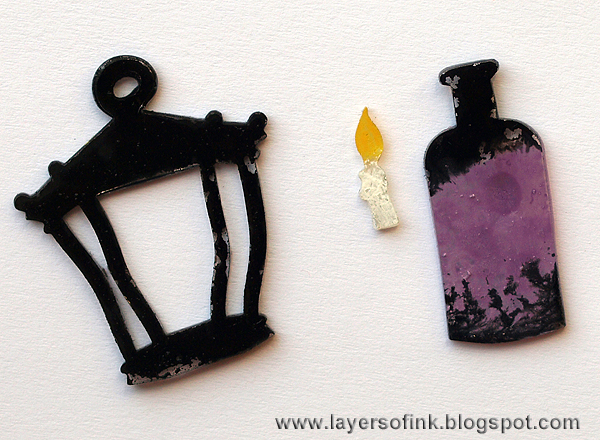
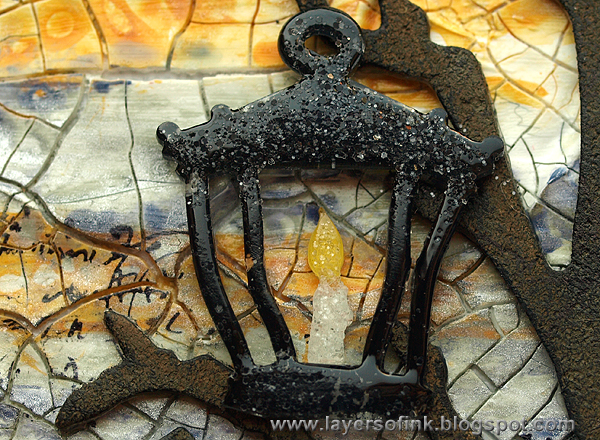
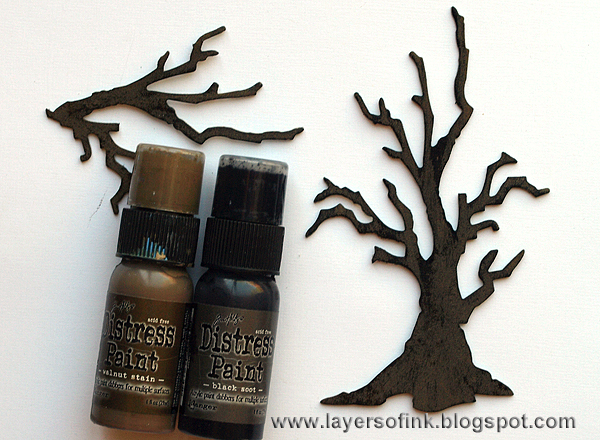
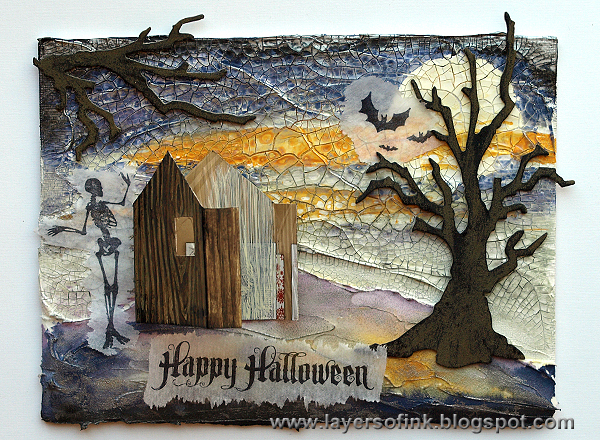
Stamp two images and a sentiment on tissue paper with Archival Ink. Plan the placement of everything.
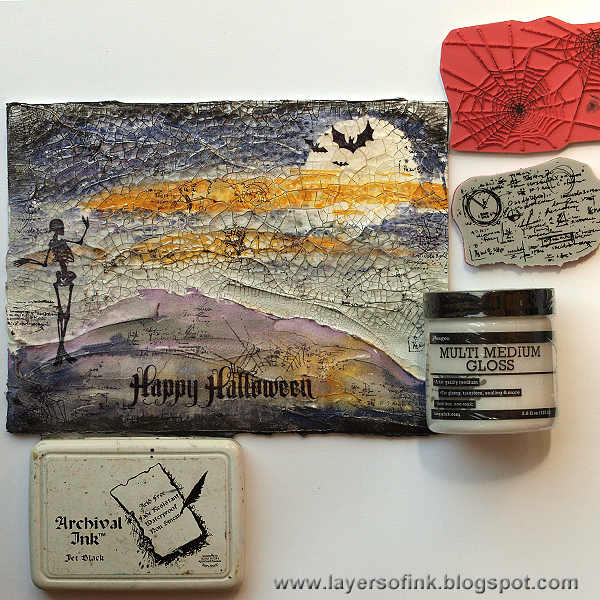
Glue the tissue paper down by first applying a layer of multi medium gloss to the background. Place the tissue paper into the medium, and add another layer on top. The paper basically disappears and you have a perfect stamped impression on an uneven background. I also stamped the canvas here and there with a text and web stamp.
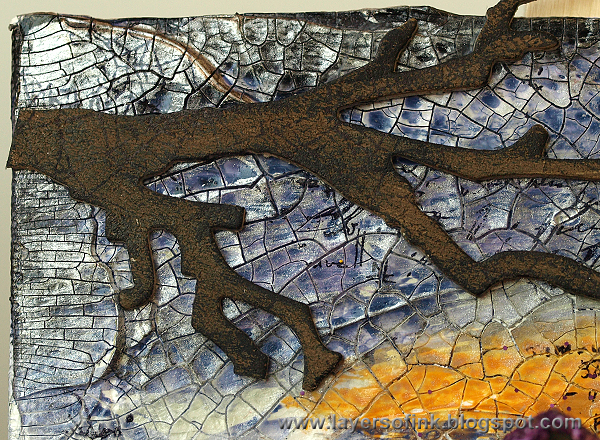
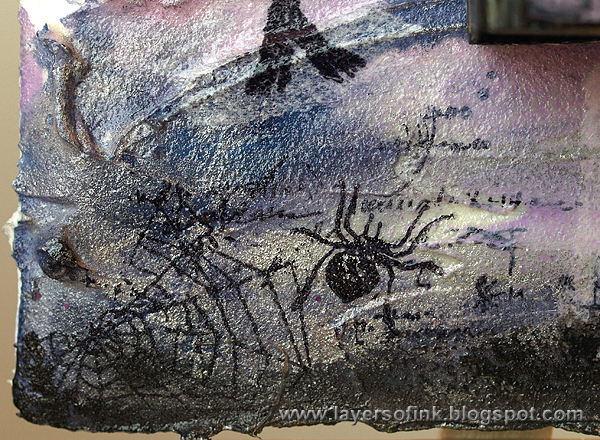
The silver makes for a nice effect. I stamped the branches with the spider web stamp.
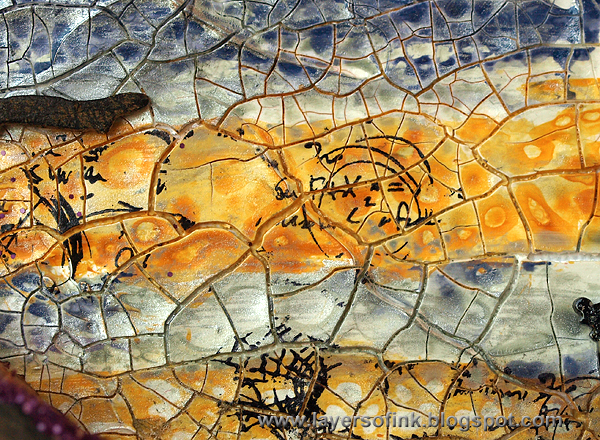
I like the look of the imperfect stamping on the crackled background.
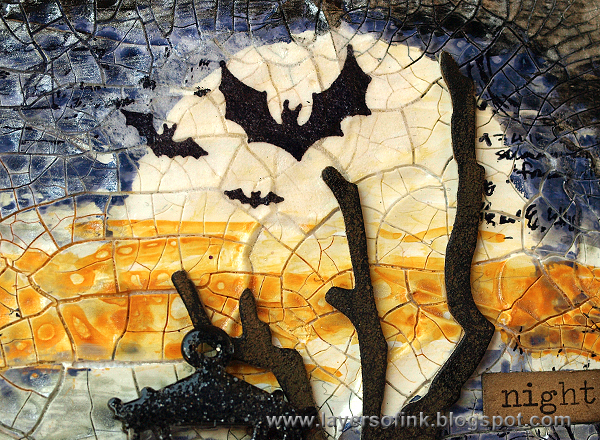
The moon looks nice with the bats and the tree branches in front of it.
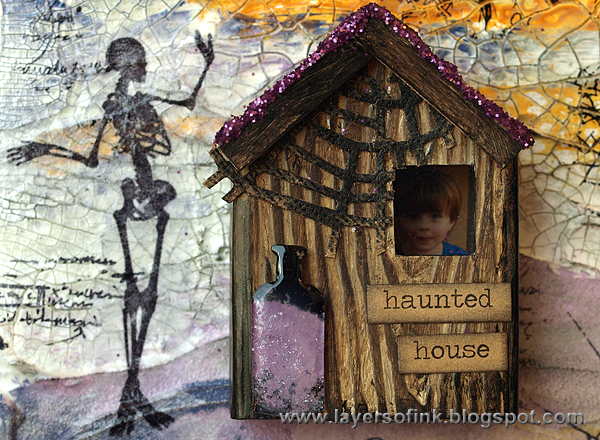
Here you can see Anton peaking out from the haunted house.
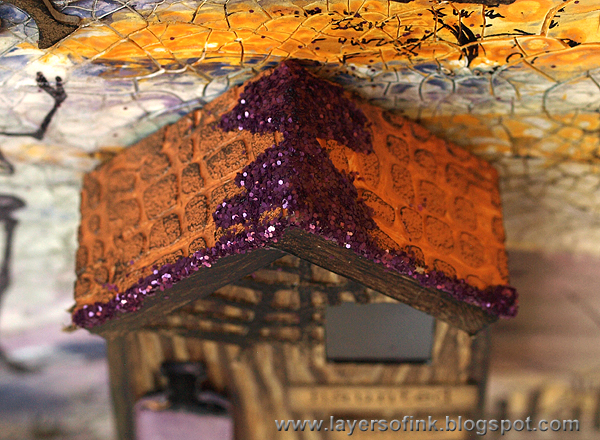
The house is pretty dimensional on the canvas.
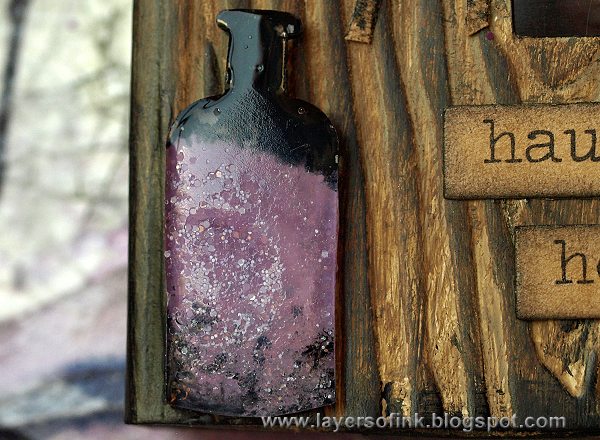
A spooky bottle.
Thank you so much for looking at this long tutorial!!
Happy crafting!!
Anna-Karin
Supplies:
Surfaces: Tim Holtz idea-ology: Grungeboard; Tim Holtz Core'dinations Kraft-Coer cardstock; Ranger: Shrink Plastic
Dies: Sizzix: Hanging Lantern, Matchbox, Branch Tree, Sized Circles, Apothecary Bottles, Cobwebs
Texture Fade: Sizzix: Drapery & Woodgrain
Stamps: Stamper's Anonymous Tim Holtz: Mini Halloween, Mini Halloween 3, Mini Halloween 4,
Ink: Ranger Archival Ink: Jet Black
Paint: Distress Paint: Black Soot, Iced Spruce, Wild Honey, Frayed Burlap, Walnut Stain, Mustard Seed, Picket Fence, Dusty Concord, Brushed Pewter, Rusty Hinge, Chipped Sapphire
Medium: Ranger: Texture Paste, Dina Wakley White Gesso, Multi Medium Gloss, Glossy Accents; Wendy Vecchi: Crackled Texture Paste
Glitter: Distress Glitter: Rock Candy, Seedless Preserves
Stencil: Stamper's Anonymous Tim Holtz: Burlap
Embellishments: Tim Holtz idea-ology: Seasonal Chit Chat stickers


