Monday, September 28, 2026

Sunflower Garden Scene

 Hello stampers! I hope you had a fun weekend with lots of crafty time. 

Please note: this post has affiliate links, for which I receive a small percentage of sales generated by the link, at no extra cost to you.


This week we have a Use more than one stencil theme at the Simon Says Stamp Monday Challenge Blog. I hope you will join us! It is also the last week for our September guest designer Debbie Emmons.

Layers of ink - Sunflower garden scene tutorial by Anna-Karin Evaldsson.

We have an absolutely fantastic sunflower plant and I hope the frost will stay away as long as possible, so that we can enjoy it longer. This page is all about that plant, with the addition of a picket fence (which we do not have unfortunately), greenery and lots of cute mushrooms. I used three stencils for the background.

Coat ledger page with gesso.

Start by coating a page in Dina Wakley's Ledger Journal with gesso. I added a thin coat, since I wanted the text to show through. 

Paint with Distress Paint.

Paint with watered down Mermaid Lagoon and Salvaged Patina and mist with more water to blend. 

Use Tim Holtz Flourish stencil.

When dry, sponge Mermaid Lagoon through Tim Holtz Flourish stencil. 

Apply texture paste through Simon Says Stamp Bubbles.

Mix a little Ripe Persimmon into texture paste and apply with a palette knife through Simon Says Stamp Bubble stencil.

Mist with Distress SPritz.

When the paste is dry, mist Saltwater Taffy Distress Spritz through Tim Holtz Bubble stencil.

Die cut Simon Says Stamp Garden Fence.

Die cut Simon Says Stamp Garden Fence from inky or watercolored papers. 

Mist Simon Says Stamp Small Sunflower with Spritz.

Die cut Simon Says Stamp Little Sunflower Bloom from inky yellow and brown papers. I also die cut some smaller flowers using Wildflower Bucket. Mist with Distress Spritz Squeezed Lemonade and Walnut Stain.

Assemble paper sunflowers.

Ink the edges of the back part of the fence. Shape the sunflowers with Tim Holtz Shaping Kit and assemble.

Die cut and mist leaves.

Die cut lots of leaves from inky papers using Simon Says stamp Lively Leaf Corner. Mist some of the with Distress Spritz. 


Shape the leaves. I made more than I needed and will use these on future projects. 

Die cut Simon Says Stamp Pocketful of Mushrooms.

Die cut Simon Says Stamp Pocket Full of Mushrooms from inky papers. You will see some of these on a project tomorrow too. 

Assemble paper mushrooms.

Shape the mushrooms and assemble. I used Simon Says Stamp Pawsitively Perfect Foam Tape for the larger mushrooms.

Stamp with Tim Holtz Nature's Wonder.

Stamp the sentiment on inky paper with Tim Holtz Nature's Wonder.


Combining stencils with different media adds interest to the background. Here you see Distress Paint, Texture Paste mixed with paint and Distress Spritz. 


The text in the background shows through, but only enough to give texture. The foliage comes from Simon Says Stamp Harvest Heirloom.


I dyed cheese cloth with Distress Ink and glued under the fence. These Pocket Full of Mushrooms are so cute. 


I die cut the stems from Simon Says Stamp Divine Peony.


The flowers are very shimmery from the spritz, but it doesn't show well in the photos.
 
Simon Says Stamp Beautiful die.

The title was die cut with Simon Says Stamp Beautiful from inky paper. The stamped sentiment comes from Tim Holtz Tiny Text. 

Tiny paper mushrooms.

I used mainly neutral mushrooms with the addition of a few colorful ones. Tuck leaves in here and there. 


Don't miss the last days of STAMPtember® at Simon Says Stamp!

Join us this week in our Use More Than One Stencil challenge! You have a chance to win a $25 gift voucher to do some fun shopping at Simon Says Stamp. You have until Monday 8am Ohio time. 1pm UK time, 2 pm CET to join in.


Do you use Instagram? If so please add #sssmchallenge so we can see your entries there too.


Thank you so much for visiting today! 

Happy crafting!

Anna-Karin

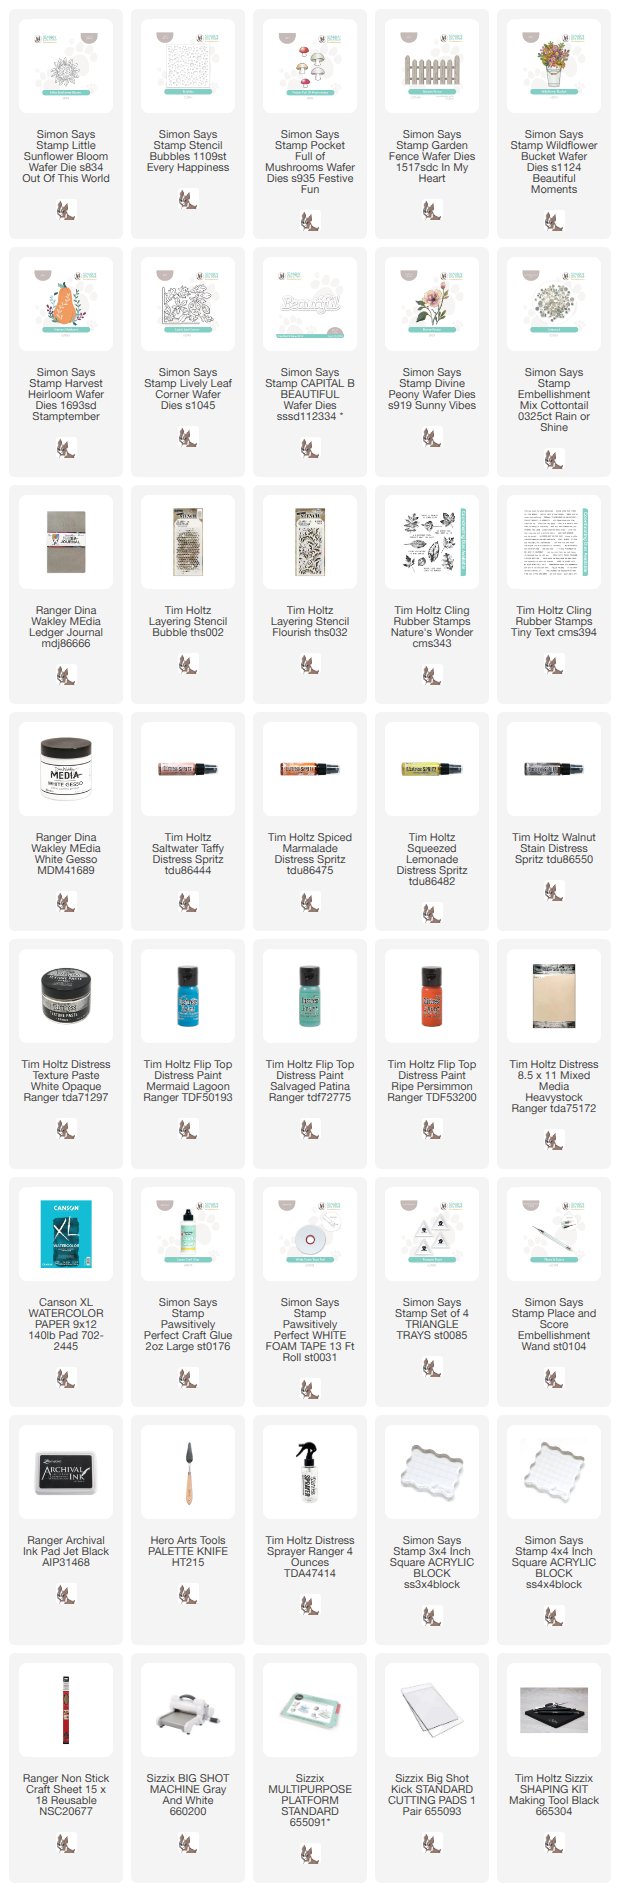
Supplies:

* Please note: the links are affiliate links, for which I receive a small percentage of sales generated by the link, at no extra cost to you.

Thursday, September 24, 2026

Pumpkin Patch Art Journal

Hello stampers! Today I have an art journal page to share, filled with pumpkins. You can also turn it into a card.

Please note: this post has affiliate links, for which I receive a small percentage of sales generated by the link, at no extra cost to you.

Layers of ink - Pumpkin Patch Art Journal tutorial by Anna-Karin Evaldsson.

I really like this Simon Says Stamp Pumpkin to Talk About stamp and wanted it in an art journal. Here I worked in my Stamperia Mixed Media Happiness journal 4x8.5 in. The pumpkins were watercolored and I die cut a large title also from watercolored paper. The title spells 'FALL' in Swedish. 


Start by stamping Simon Says Stamp Pumpkin to Talk About with Archival Ink.

Paint with watercolors.

Watercolor the pumpkins with green, orange, purple and a little pink. I used Daniel Smith watercolors. I painted the bottom part purple, but later changed my mind.

Splatter with gouache.


Die cut the edge.

I had a left-over piece of pink watercolored paper and die cut a scalloped edge with Tim Holtz Vault Edges.

White emboss Tim Holtz Tiny Textures.

White emboss dots with Tim Holtz Tiny Texture.

Die cut with Tim Holtz Alphanumeric Bulletin.

I pained two pieces of watercolor paper in an ombre fashion and die cut Tim Holtz Alphanumeric Bulletin letters. 

Add Clippings stickers.

A few Clippings Stickers serves as sentiments.


Pumpkins are fun to color. 


You can also test making them all the same color, but in different shades.


Leave some of the white showing for highlights.

Tim Holtz Alphanumeric Bulletin.

I really like the Bulletin letters and they have a lot of punch and surface. 


Don't miss all the inspiration during STAMPtember®!


Happy crafting!

Anna-Karin

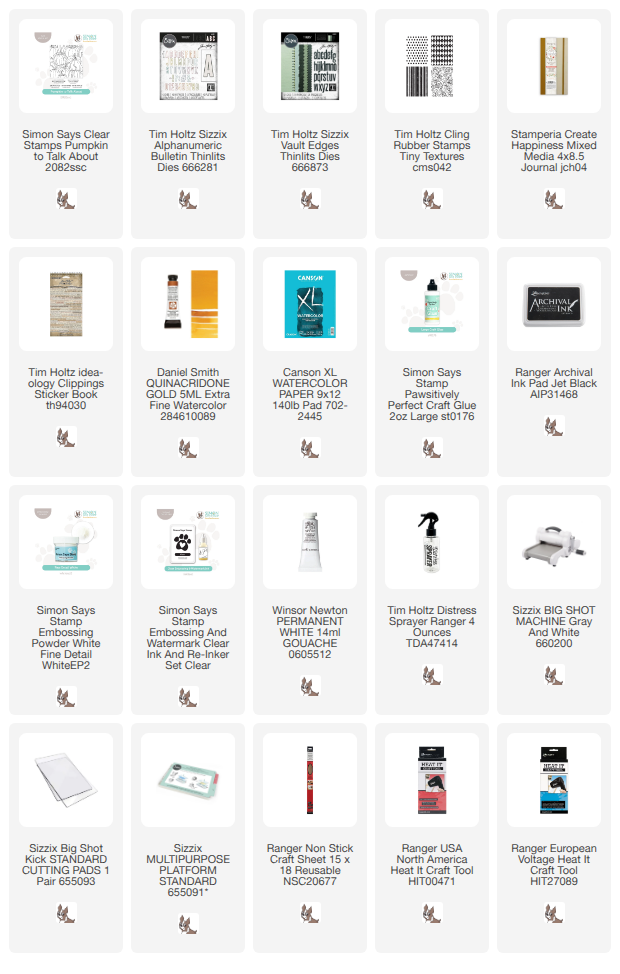
Supplies:

* Please note: the links are affiliate links, for which I receive a small percentage of sales generated by the link, at no extra cost to you.


Tuesday, September 22, 2026

Chilly Ghost Tag Tutorial

Hello friends! Today I have a fun Halloween tag to share with cute ghosts who are a little cold and need hats.

Please note: this post has affiliate links, for which I receive a small percentage of sales generated by the link, at no extra cost to you.

STAMPtember® continues at Simon Says Stamp and here I used one of the STAMPtember® exclusive sets, namely the Swirling Ghosts die set.

Layers of ink - Chilly Ghost Tag Tutorial by Anna-Karin Evaldsson.

The Simon Says Stamp Swirling Ghosts die set contains four different ghosts and four different types of hats. I die cut the hats from different kinds of paper and also from glitter cardstock. The background was done with watercolors and cling wrap.

Die cut Simon Says Stamp Swirling Ghosts.

I had a piece of gessoed paper, which had been painted with leftover Antique Linen and Pumice Stone. I decided to die cut the Swirling Ghosts from that paper. The heats were die cut from left over inky and watercolored papers, from patterned paper and from Simon Says Stamp glitter cardstock in orange and black.

Watercolor and cling wrap.

Cut tags from watercolor paper and paint with watercolors. Scrunch up cling wrap and leave on top until the tags are dry.  It will form interesting textures. 

Add bats with Tim Holtz stencil.

I added the Tim Holtz Batground with dark blue and black ink.

Mist through Tim Holtz Bubble stencil.

For some bling, I misted Peacock Feathers Distress Spritz through Tim Holtz Bubble stencil.

Ink the edges.

Ink the edges with Scorched Timber.


Shape the ghosts a little and adhere with Simon Says Stamp Pawsitively Perfect Foam Tape. Give each ghost a unique hat and mat on a glitter version, off-setting slightly.


I added a piece of black cardstock behind the eyes of each ghost.


The stamped sentiment comes from Tim Holtz Spooky Spirits.


The sentiments were stamped on inky paper. This one also comes from Tim Holtz Spooky Spirits. I also added Simon Says Stamp Pawsitively Dazzling Black Gems.


I had added a pattern into the gesso with a palette knife, giving the ghosts just enough texture.


These hats will be great for winter projects too. 


This sentiment is from Tim Holtz Tiny Text Halloween. 

Layers of ink - Chilly Ghost Tag Tutorial by Anna-Karin Evaldsson.

Don't miss all the inspiration during STAMPtember®!


Happy crafting!

Anna-Karin

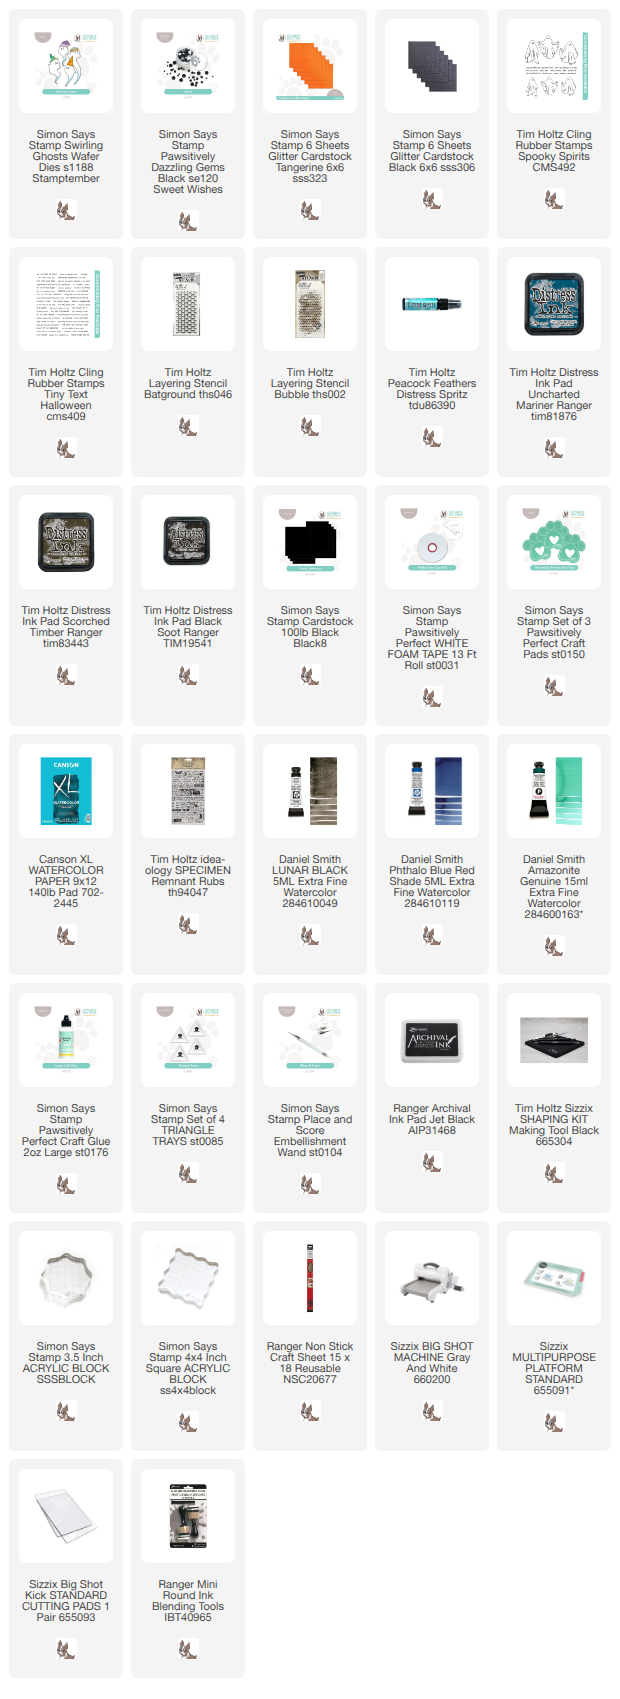
Supplies:

* Please note: the links are affiliate links, for which I receive a small percentage of sales generated by the link, at no extra cost to you.