Hello friends! Autumn is in the air and today I have a card filled with pumpkins and leaves to share.
Please note: this post has affiliate links, for which I receive a small percentage of sales generated by the link, at no extra cost to you.
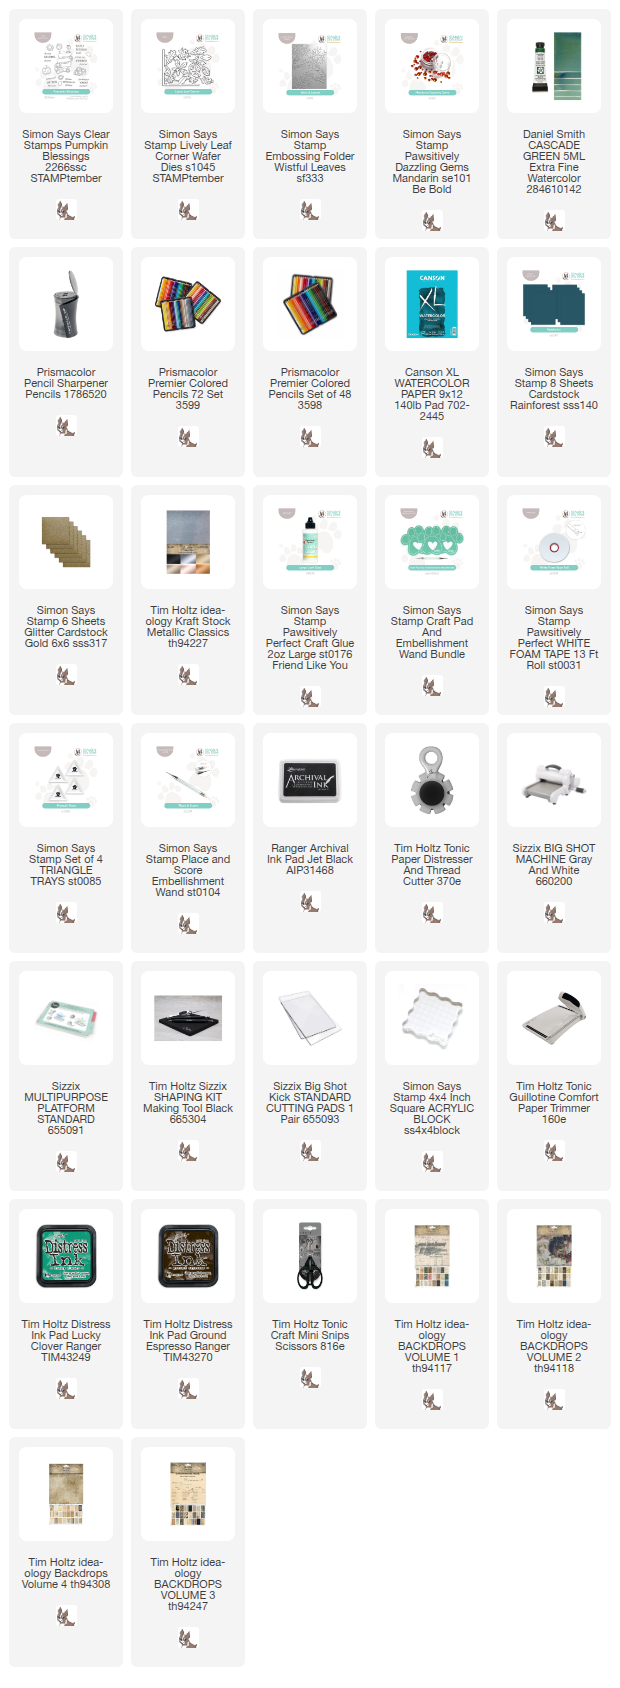
I used new Simon Says Stamp STAMPtember® products for the pumpkins and, leaves and sentiment. The pumpkins were made with one of my favorite techniques, coloring with colored pencils on patterned paper. The background is watercolored and dry embossed.
Start by stamping the Simon Says Stamp Pumpkin Blessings on various Tim Holtz Backdrops papers.
Color the pumpkins with colored pencils. I used Prismacolors.
Cut them out. You can also use the coordinating Pumpkin Blessings dies.
Add shape with Tim Holtz Shaping Tools.
Die cut Simon Says Stamp Lively Leaf Corner from left-over watercolor paper, Simon Says Stamp gold glitter cardstock and Tim Holtz Gold kraft stock.
Ink the edges.
Adhere the pumpkins with Simon Says Stamp Pawsitively Perfect Foam Tape. I used two layers of tape under some of the pumpkins. Glue the leaves to the background. I also added Simon Says Stamp Pawsitively Dazzling Mandarin Gems.
I like how the letters and lines are visible through the coloring on the pumpkins.
The sentiment stamp also comes from Simon Says Stamp Pumpkin Blessings.


Absolutely stunning. I love ❤️ the colours and details. Warm greetings from Montreal, Canada 😊 🇨🇦
ReplyDelete