
Hello crafters! Today I have an altered notebook tutorial to share, made with one of the new large embossing folders by Tim Holtz / Sizzix.
Please note: this post has affiliate links, for which I receive a small percentage of sales generated by the link, at no extra cost to you.

The new large texture fades from Tim Holtz make it possible to emboss a much larger surface in just one go. I have many times wished for larger embossing folders and it is fun to just see such a large dry embossed paper. The design was just large enough for the A5 notebook I altered (5.8x8.3in). I used the Large Typewriter 3-D Texture Fade.

Start by embossing a piece of watercolor paper in the Large Typewriter folder. I misted the paper with water before embossing, since that gives a better result.

Next, I painted the paper with white gesso.

Paint with watered-down Distress Paint and mist with more water to blend.

When the paint is dry (it will take a while), apply white paint to the letters to make them stand out better. Don't aim for a perfect result.

Splatter the background with some more white paint.

Stamp the background here and there with the alphabet stamp from Tim's School Desk set.

Stamp the Tim Holtz Sign Painter letters with Simon Says Stamp Tidepool Pawsitively Saturated ink and then die cut with the coordinating Simon Says Stamp Sign Painter Letters set. I also die cut the letters from black cardstock.

I stamped sentiments from Tim's Tiny Text and also added strips of Design Tape Trims.

The larger butterflies were die cut with Simon Says Stamp Stitching Butterflies and the smaller with Tim Holtz Vault Boutique set. The were die cut from left over inky and watercolored papers. The bodies were die cut from Simon Says Stamp Black Glitter cardstock.

Glue the title as shown, off-setting the black die cuts to create a shadow.

The background is very textured and I like how the paints blend.

If you make a card or tag, you can add more shape to the butterflies, but since journals are meant to be used, carried in bags and so on, I left them fairly flat.

I really like the Thoughts & Theories sentiment from Tim's Noble Gents set.

For the background, I used Distress Ink in the same shades, applied them to a non-stick craft sheet, misted with water and pressed watercolor paper into the ink. You can use watercolor paper, gesso and Distress Paint instead. I just wanted a quicker background.

I glued Design Tape to the spine of the book, to cover up the black cover.

Add some glue under the tape to make sure it sticks well.

I glued everything down with Simon Says Stamp craft glue. If you don't want to alter a notebook, you can also used the embossed panel to make your own notebook, or to create an A5 card.

The notebook happened to match in color to one of my favorite pens.

Thank you for visiting! See you again tomorrow!
Happy crafting!
Anna-Karin
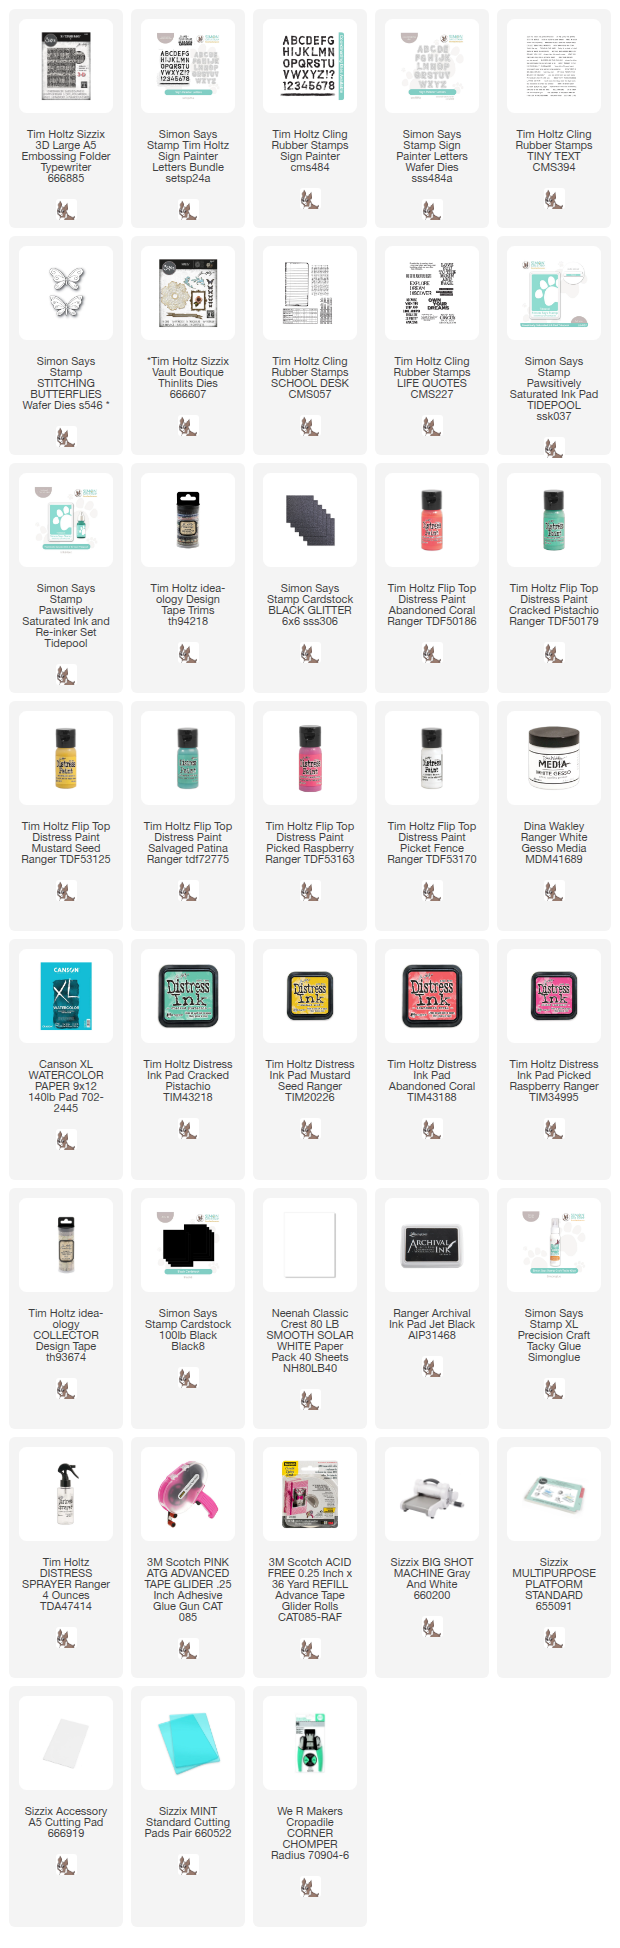
Supplies:
* Please note: the links are affiliate links, for which I receive a small percentage of sales generated by the link, at no extra cost to you.
* Please note: the links are affiliate links, for which I receive a small percentage of sales generated by the link, at no extra cost to you.
Beautiful
ReplyDelete