
Hi stampers! It is a new week and I hope you had a fun weekend.
Please note: this post has affiliate links, for which I receive a small percentage of sales generated by the link, at no extra cost to you.

This week we have a Vacation theme at the Simon Says Stamp Monday Challenge Blog. Remember to check out the project by our June guest designer Wanda Hentges.

I made a tag in memory of last year's vacation, using, stamps, ink and colored pencils. I really enjoy searching for and then using a bunch of different stamps that fit the theme of a project. Colored pencils were used for coloring and at the same time also give a resist effect.

Start by stamping the city from Tim Holtz Rockstar and the plane from Warehouse District with black ink.

Color the plane and the city with pencils. I used Prismacolor pencils. Continue by stamping a compass, a word stamp and numbers.

Color the numbers with a white pencil and use the white pencils in the uncolored areas of the city too. It will protect the background from ink.

Ink the background with Distress Ink.

Stamp here and there with Simon Says Stamp Crackle Background.

Stamp tickets from Tim Holtz Odds & Ends on an inky paper and cut out. Ink the edges. Stamp sentiments from Curiosity Shop.

Stamp stars and numbers using Tim's Correspondence set using Red Geranium Archival Ink.

Add Glossy Accents to the numbers and to the center of the compasses.

When stamping compasses, I try to make sure to stamp them the right way around.

I also glued a few Simon Says Stamp Pawsitively Dazzling Gunmetal Gems to the background.

I used a white gel pen to add some highlights to the plane, since it was looking a little dark and needed to stand out better from the background.

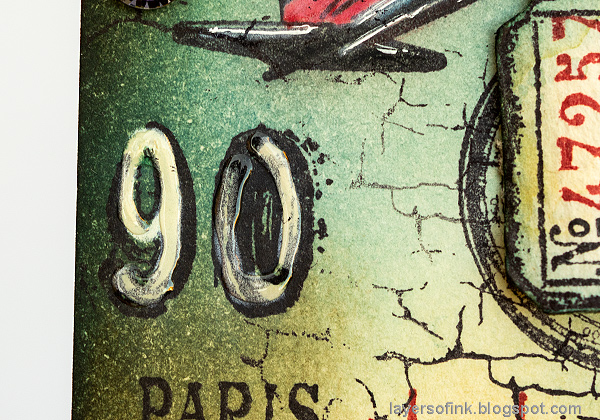
Here you can maybe see the effect of the Glossy Accents on the numbers.

The touches of red work well on the tag.

I used a white gel pen for highlights on the city too. The ticket was folded around the bottom edge of the tag.

%20(1).jpg)
Do you use Instagram? If so please add #sssmchallenge so we can see your entries there too.


Thank you so much for visiting today!
Happy crafting!
Anna-Karin
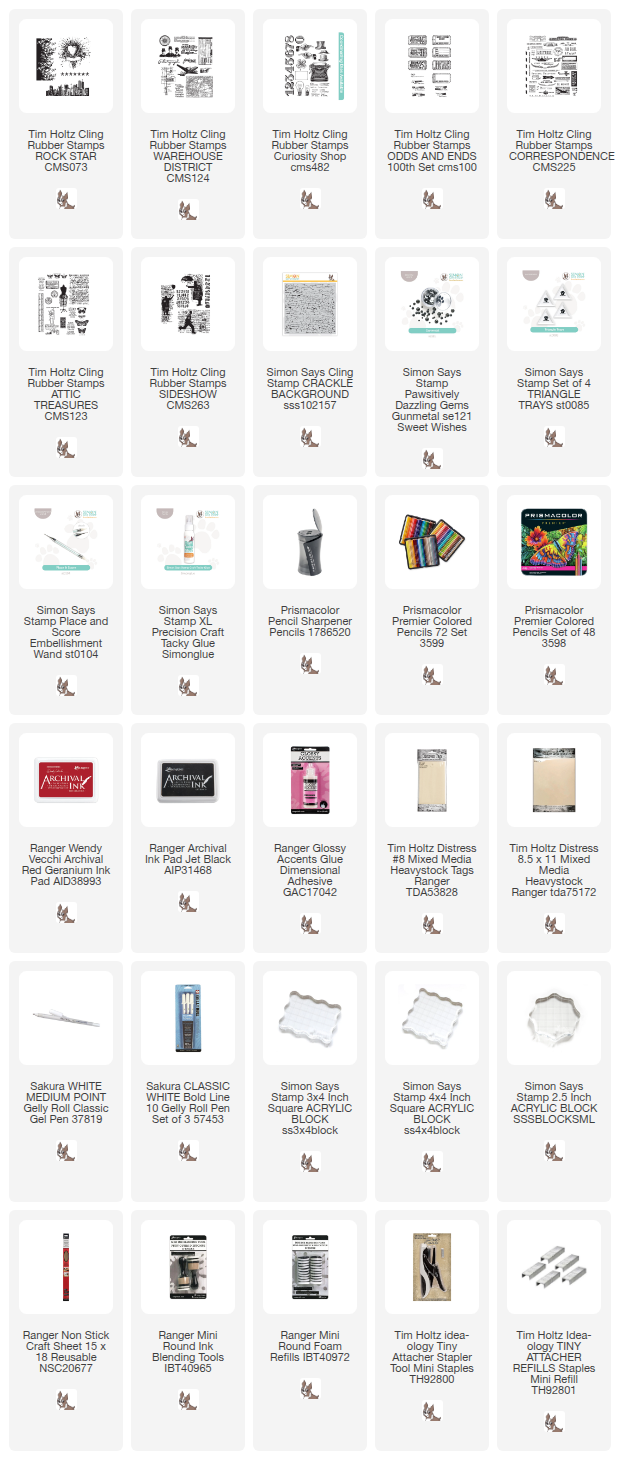
Supplies:
* Please note: the links are affiliate links, for which I receive a small percentage of sales generated by the link, at no extra cost to you.
* Please note: the links are affiliate links, for which I receive a small percentage of sales generated by the link, at no extra cost to you.
Awesome
ReplyDeleteGreat tag! Thank you for your step by step process🙂
ReplyDelete