Friday, January 31, 2025

Winter Plants Tag

Hi friends! It is the last day of January. Normally, I think that the months fly past, but so many things happened this month, that it feels like it has been an unusually long month. 

I have a winter plant tag to share today.

Please note: this post has affiliate links, for which I receive a small percentage of sales generated by the link, at no extra cost to you.
Layers of ink - Winter Plants Tag Tutorial by Anna-Karin Evaldsson.

Plants can be very beautiful in winter too, stark and textured, with or without frost. I wanted a tag that captured that feeling. Most of the stamps come from Paper Artsy Winter Grasses Edition and Winter Umbels Edition by Alison Bomber. 

White emboss the Paper Artsy images.

Start by white embossing three of the flowers on a heavystock tag.

Ink with Distress Ink.

Ink the tag with Distress Ink, using an ink-blending tool. 

Mist with water.

Mist with water droplets.

Stamp with Simon Says Stamp Crackle Background.

Stamp the tag here and there with Simon Says Stamp Crackle Background.

Stamp the winter plants again.

Stamp again with the same flower stamps, but using Uncharted Mariner ink.

Stamp sentiments.

I stamped this sentiment from the Winter Umbels Edition with blue ink on the background first, but decided to stamp it on left over inky paper instead and glue to the background.


Stamped winter plants.

You can also stamp the darker impression close to the white-embossed on, to create a shadow, but that is not what I was aiming for here.


Beautiful sentiments from the Winter Grasses and the Winter Umbels Edition sets.


I made a border from cheese cloth, lace trim and twine and also added some gems.

Layers of ink - Winter Plants Tag Tutorial by Anna-Karin Evaldsson.

I hope this tag inspired you to go out and look at some plants, even though it may be winter.


Thank you for visiting!

Happy Christmas crafting!

Anna-Karin

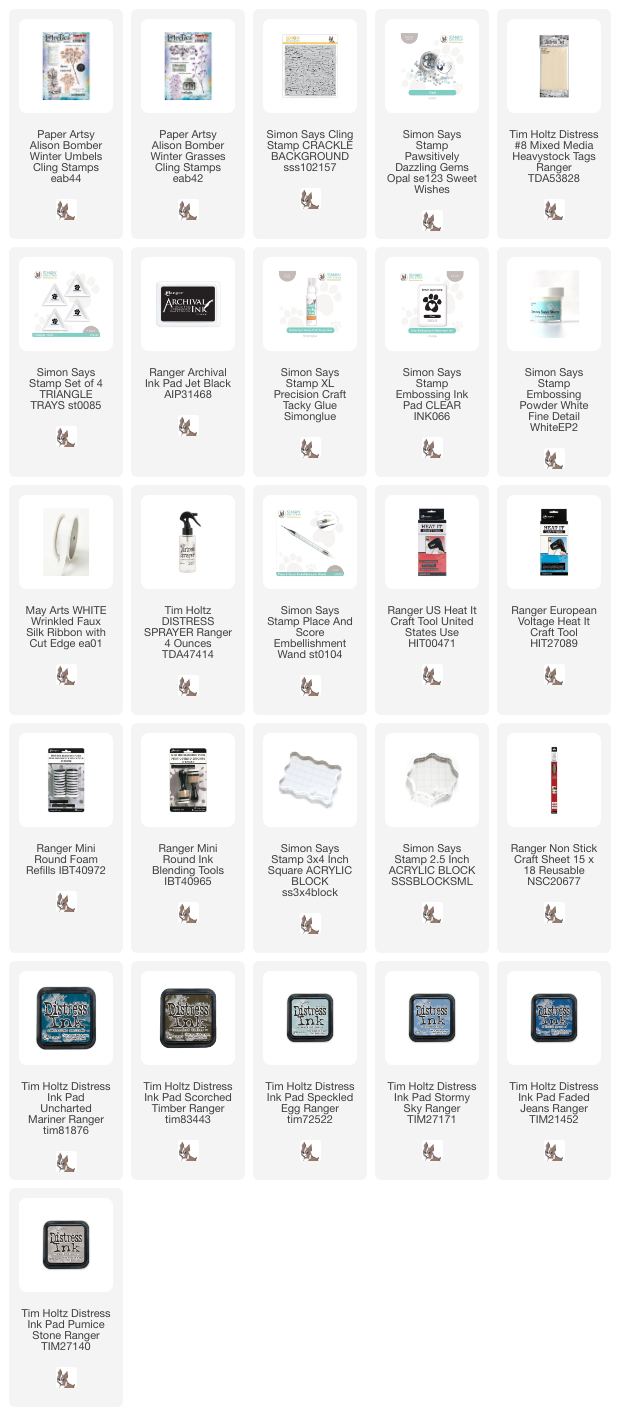
Supplies:

* Please note: the links are affiliate links, for which I receive a small percentage of sales generated by the link, at no extra cost to you.


Thursday, January 30, 2025

Paint Sampler Notebook

Hi friends! I hope you are well! Today I have a notebook tutorial to share using mainly patterned papers. You can easily turn it into a sketchbook instead, by just using different papers for the inside.

Please note: this post has affiliate links, for which I receive a small percentage of sales generated by the link, at no extra cost to you.

Layers of ink - Paint Sampler Notebook Tutorial by Anna-Karin Evaldsson.

I really like the papers in Tim Holtz various Backdrops paper packs and they are great when it comes to making your own notebook or sketchbook. Here I mainly used papers from the Christmas Backdrops pack. The cover was embellished with stamping, sentiments and sequins.

Prepare patterned papers for the journal.

Start by deciding which papers that you want to use. I cut out some of the paint samplers. 

Stamp with Simon Says Stamp Create.


Stamp with Tim Holtz School Desk.

Stamp the cover here and there with the alphabet stamp from Tim Holtz School Desk set and a coffee stain stamp. I stamped both the back and the front cover.

Bind the notebook.

Cut pages for the inserts. One of my favorite things with making my own notebooks is that I can use my favorite papers. Here I used fairly thin notebook paper, but I often use watercolor paper instead. Make a template and attach it to the cover and the inserts as show. Pierce holes.


Stitch the spine with embroidery floss. 

Use your favorite paper for the inserts of the journal.

Tie the floss on the inside and trim the cover with a craft knife.


I distressed and tore some of the edges. 


These paint samples are great. You can also use them to cover the entire notebook. The smaller sentiments come from Simon Says Stamp Create and were stamped with brown ink and die cut with the coordinating dies.

Stamp a sentiment for the notebook.

I like how the patterned paper shows through the stamped title. I also glued a bunch of sequins to the background.


Stamp a ticket from Simon Says Stamp Mixed Labels and die cut with the coordinating die. Fold the ticket over the edge of the cover and add a stamped and die cut sentiment. 


The Backdrops papers are double-sided, so inside covers are patterned too.

Layers of ink - Paint Sampler Notebook Tutorial by Anna-Karin Evaldsson.

Handmade notebooks are great gifts and I like having one in my bag at all times.

Layers of ink - Patterned Paper Notebook Tutorial by Anna-Karin Evaldsson.

I hope this inspired you to make your own notebook. It is a great way to use your favorite patterned papers. 


Thank you for visiting!

Happy Christmas crafting!

Anna-Karin

Supplies:

* Please note: the links are affiliate links, for which I receive a small percentage of sales generated by the link, at no extra cost to you.


Monday, January 27, 2025

Art Journaling Using Layering Stencils

Hi crafters! I am happy to have a tutorial on the Simon Says Stamp store blog today. Here is a sneak peek: 

Please note: this post has affiliate links, for which I receive a small percentage of sales generated by the link, at no extra cost to you.

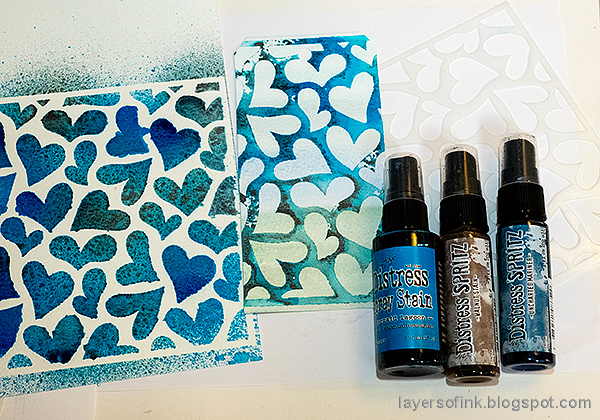
Funky Squares art journal sneak peek.

I made an artjournal page with a fun background technique using Layering Stencils. I used two of four stencils in the Simon Says Stamp Funky Hearts stencil set.

You can find all the details and the tutorial on the Simon Says Stamp Store Blog


Thank you for visiting!

Happy crafting!

Anna-Karin


Butterfly Tag Tutorial

Hi friends! I hope you had a nice weekend and got some crafty time. 

Please note: this post has affiliate links, for which I receive a small percentage of sales generated by the link, at no extra cost to you.


This week we have a Have a Heart theme at the Simon Says Stamp Monday challenge blog. I hope you will join us! Our January guest, Pauline C has made another beautiful project, don't miss checking it out.

Layers of ink - Butterfly Tag Tutorial by Anna-Karin Evaldsson.

I made a butterfly tag with a heart background. The background was stamped with a stencil, which is a fun technique with stencils. The butterfly was watercolored with Distress Ink in a contrasting color so that it would pop.

Watercolor the tag.

I started with a tag that I found in my scrap box. It had been painted with left-over watercolor paint.

Mist with Distress Spritz.

Place the Simon Says Stamp Falling In Love stencil on watercolor paper and mist with Mermaid Lagoon Distress Spray Stain and Distress Spritz Walnut Stain and Uncharted Mariner. Lift the stencil up, turn it around and place it on the tag. Put a printer paper on top and press gently. 

Stamp with Simon Says Stamp Old Letter.

When dry, stamp the background with Simon Says Stamp Old Letter Background.

Stamp with Simon Says Stamp Beautiful Butterflies.

Stamp the large butterfly from Simon Says Stamp Beautiful Butterflies on watercolor paper. 

Watercolor with Distress Ink.

Watercolor the butterfly with Distress Ink. Press the ink on a non-stick craft sheet, mist with water and pick up with a paint brush.

Add Stickles Glitter Gel.

When the ink is dry, add a thin layer of Stickles.


I place cheese cloth under the butterfly for a soft look.


The sentiments come from AALL & Create Mindful Moments. 


The Distress Spritz will form interesting darker areas around the hearts. I added a trail of Simon Says Stamp Pawsitively Dazzling Mandarin Gems along the tag.


Since the background was colored, the hearts also vary in color. 


Fold the wings of the butterfly to add dimension.

Join us this week in our Have a Heart challenge! You have a chance to win a $25 gift voucher to do some fun shopping at Simon Says Stamp. You have until Monday 8am Ohio time. 1pm UK time, 2 pm CET to join in.


Do you use Instagram? If so please add #sssmchallenge so we can see your entries there too.


Thank you so much for visiting today! 

Happy crafting!

Anna-Karin

Supplies:

* Please note: the links are affiliate links, for which I receive a small percentage of sales generated by the link, at no extra cost to you.

Friday, January 24, 2025

Anemone Card Tutorial

Hi stampers! I hope you are well! Today I have a card tutorial to share with stamped and watercolored flowers.

Please note: this post has affiliate links, for which I receive a small percentage of sales generated by the link, at no extra cost to you.

Layers of ink - Anemone Watercolor Card Tutorial by Anna-Karin Evaldsson.

Watercoloring flowers is one of my favorite things and for this card I used Simon Says Stamp Anemone Wreath from the To Love release. These flowers are so pretty and the center of the stamp is a perfect place for a sentiment.

Stamp Simon Says Stamp Anemone Wreath flower.

Stamp the Anemone Wreath on watercolor paper with Ranger Archival Ink Jet Black.

Paint with watercolors.

Watercolor the flowers loosely, leaving areas white for highlights.


Add another layer of watercolor paint, darkening some areas of the flowers and leaves.

Paint the background.

Paint the background with a light brown mix.

Ink edges with Distress Ink.

When dry, ink the edges and splatter some Distress Ink on the paper here and there, for a bit of texture.

Die cut a sentiment from gold paper.

Simon Says Stamp Simple Hello was die cut from gold kraft-stock and black paper. Stamp a sentiment and cut into a strip.


I also added some lines and dots with a white gel pen to the flowers. You can also use the gel pen to whiten areas where you might have forgotten to leave a highlight.

Splatter ink on the background.

I stitched around the panel with embroidery floss.


By varying the amount of water, you can get many shades from one color. I used just one color red here and in one mix I added a tiny bit of yellow.


Thank you for visiting!

Happy crafting!

Anna-Karin


Supplies:

* Please note: the links are affiliate links, for which I receive a small percentage of sales generated by the link, at no extra cost to you.