
Hi friends! Today I have a tag to share, using red and pink flowers on a textured black and white background.
Please note: this post has affiliate links, for which I receive a small percentage of sales generated by the link, at no extra cost to you.

Black and white backgrounds are fun to make and make any color pop. I used Tim Holtz Floral Outline stamps and the coordinating Simon Says Stamp Floral Outline die set. In Tim's Serendipity Collage Paper set there is an image which corresponds with the Floral Outline and I used that in the background here to give the look of the same flowers both in color and in black and white.

I started out with a tag that had been coated with gesso using a palette knife. The lid of a paint bottle had been pressed into the gesso. When dry, paint with watered-down Hickory Smoke.

Here you can see the Serendipity collage paper that is almost the same design as one of the Floral Outline stamps.

Adhere with a layer of Collage Medium under and above the image.

Add more paint to the background.

Stamp the background here and there with Simon Says Stamp Old Letter and black ink.

Splatter with white paint.

Stamp the Floral Outline on watercolor paper. I used all three images from the set.

Die cut with the coordinating dies. In the Simon Says Stamp Floral Outline set there are coordinating dies for both the entire images and a single flower from each stamp. I only used the single flowers.

The May Arts Faux Wrinkled Silk Ribbon were dyed with the same colors Distress Ink that I used for the flowers.

Adhere the flowers with Simon Says Stamp Pawsitively Perfect Foam Tape.

The textured background is accentuated with the black and grey paints.

I used a Tim Holtz Theories Quote Strips for the title. The vellum leaves were die cut with Simon Says Stamp Tattered Leaves.

I added some marks with a black pen and a white gel pen to the flowers.

And a couple of Small Talk stickers.

You can use a black and white background for many types of projects and it will work with any additional color.

Thank you so much for stopping by here today! I will see you again tomorrow!
Anna-Karin
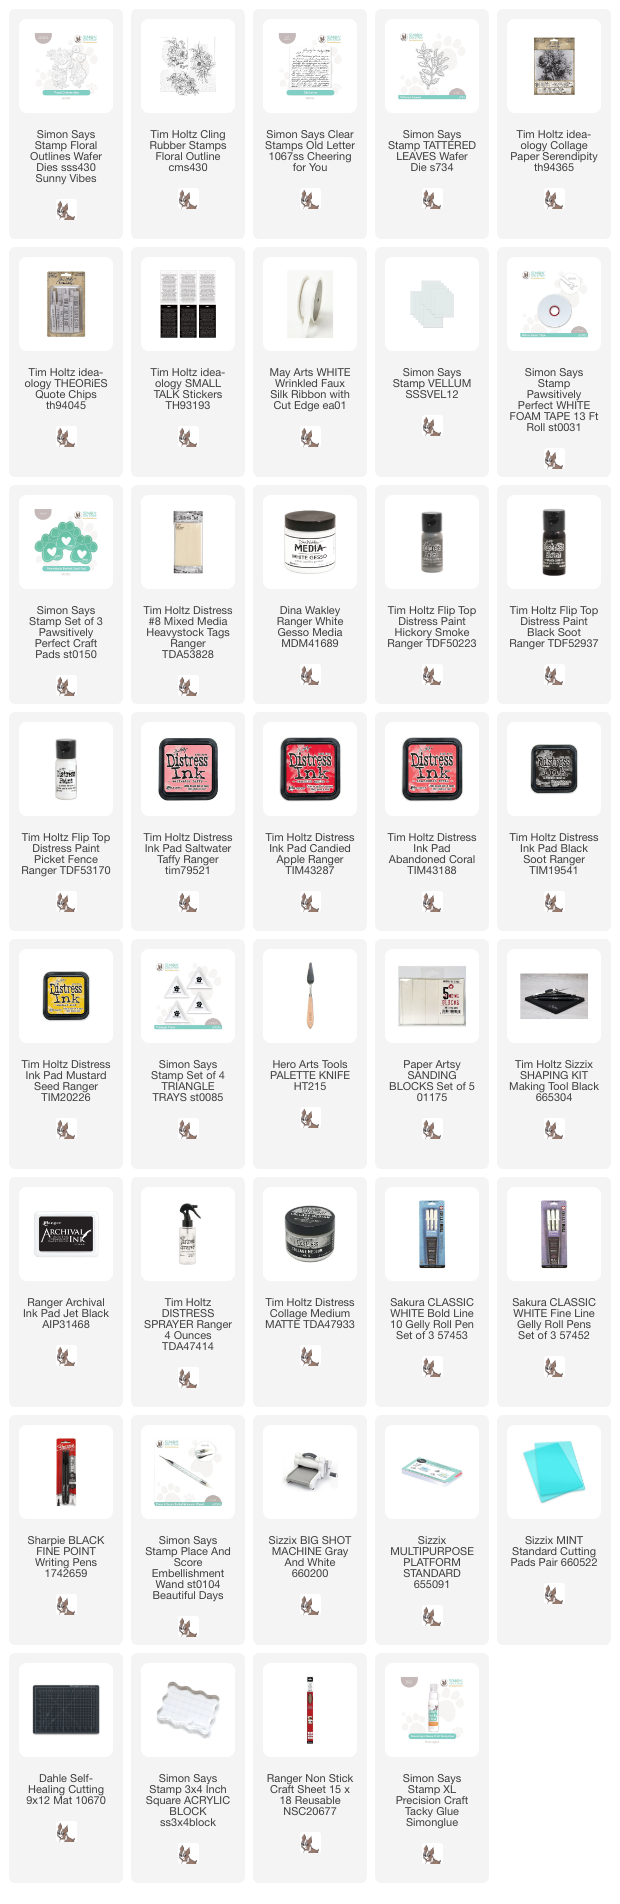
Supplies:
* Please note: the links are affiliate links, for which I receive a small percentage of sales generated by the link, at no extra cost to you.
* Please note: the links are affiliate links, for which I receive a small percentage of sales generated by the link, at no extra cost to you.
No comments:
Post a Comment
Thank you so much for leaving a comment! Happy Crafting!