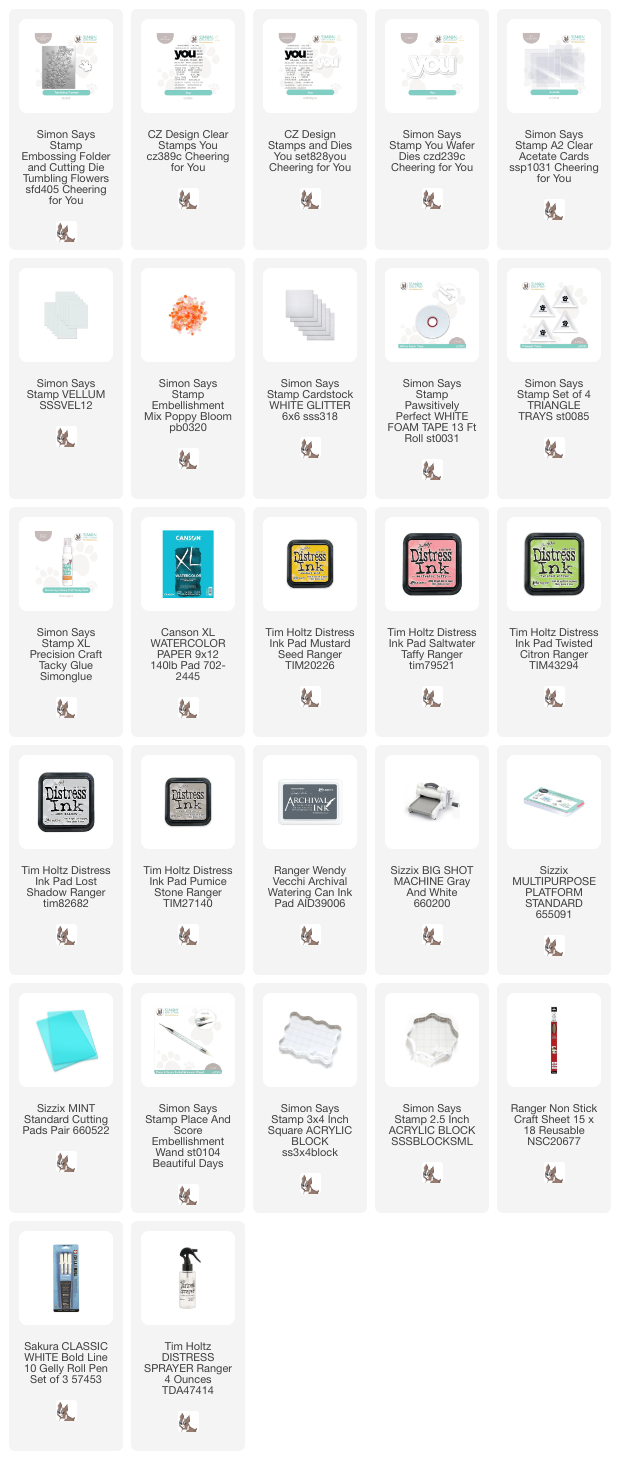
Hi friends! Today Simon Says Stamp has a brand new release called Cheering For You. I have a card to share made with some of the products from the release.
Please note: this post has affiliate links, for which I receive a small percentage of sales generated by the link, at no extra cost to you.
The Cheering for You release is filled with stunning new stamps, dies, embossing folders, stencils and other products. You can find the whole release here.I made a card with a combination of dry embossed acetate and vellum. The Cheering for You release includes Clear Acetate Cards, which inspired my card. I used the Tumbling Flowers Embossing Folder and Cutting Die. The colored flowers were die cut and embossed with the same set.
Start by dry embossing the front of the Simon Says Stamp Clear Acetate Card in the Tumbling Flowers folder.
Next I folded Simon Says Stamp vellum and embossed the front.
Die cut three flowers with the die included in the Tumbling Flowers set, from watercolor paper and emboss in the embossing folder. The coordinating flowers is a little bit below the middle of the folder, to the left.
Smear Distress Inks on a non-stick craft sheet and mist with water. Pick up with a paintbrush and watercolor the flowers.
When the ink is dry, add some lines with a white gel pen.
Ink YOU from the Simon Says Stamp You set with Pumice Stone Distress Ink and mist with water. Stamp on watercolor paper. Repeat with Lost Shadow. Die cut with the coordinating You die. Also die cut from Simon Says Stamp White Glitter cardstock.
Layer the two grey words as shown and then glue to the glitter die cut. Adhere with Simon Says Stamp Pawsitively Perfect Foam tape. The smaller sentiment also comes from the You set and was stamped with grey ink on white paper.
The layered acetate and vellum gives a shiny, yet translucent look to the card. The embossed vellum gives a more defined look to the embossed images. I also added some sequins.
Adhere the flowers with foam tape too.
I pierced holes along the spine and tied with gold DMC floss.
I will see you again tomorrow for more Simon Says Stamp Cheering For You inspiration.


That journal page is amazing, but I would never be able to do it myself. I love your fluidity.
ReplyDelete