
Hi crafters! I hope you are well! Today I have found cards to share. They are small, but with a lot of punch.
Please note: this post has affiliate links, for which I receive a small percentage of sales generated by the link, at no extra cost to you.

The cards were made with Tim Holtz Bold Botanicals and Simon Says Stamp Bold Botanicals die set. The coordinating die set makes it easy to do a whole bunch of techniques with these stamps. The dies are from the Sunny Vibes release. My cards are about 3.2 x 4 in.


Watercolor the flowers with Tsukineko Gansai Tambi watercolors. As you can see, I often test the colors on the parts of the paper that I know will be cut off.

Die cut the old book images with the coordinating Simon Says Stamp Bold Botanicals dies.

Die cut the colored flowers with the same dies. I used a strip of Simon Says Stamp Very Very Low Tack tape to keep the dies in place.

Add details with a white gel pen and a black pen.

I inked the stamps around the edges only and stamped on various papers: Tim Holtz Backdrops paper, inky papers and an old book paper. Die cut with the coordinating frame die. I didn't want the entire black area, but only a distressed frame.

Use Tim Holtz Shaping Kit to add shape to the colored flowers. I used an older shaping kit by Sizzix, Tim's tools are black in color.

Stamp the two inky backgrounds with Simon Says Stamp Old Letter.

Glue the old book paper flower to the background first and then adhere the colored flowers with two layers of Simon Says Stamp Pawsitively Perfect foam tape. Place the tape under the parts that you want to keep the most dimensional. As you might see, I by mistake adhered the yellow flower the wrong way around.

Since I had both stamped the frame and adhered this flower the wrong way around, I decided that it was okay with upside down script text instead. You don't really see it unless you know it. I used different color combinations of cardstock for all the cards.

Here you might be able to see the dimension better.

The white pen adds highlights to the flowers and you can use the black pen to add back details or add new details.

The sentiment sticker was glued to cream cardstock and then adhered with foam tape.


This card also has a lot of dimension. Shaping the colored flowers adds a lot of interest to these cards.

The sentiment was adhered to kraft paper.

And finally, the rose, adhered to the Backdrops paper.

It is difficult to see the dimension added by the shaping tools. But it is there.

The blue flower was also loosely colored, leaving quite a bit of the white of the paper showing. It was adhered to two blue papers and black folded cardstock.

Without the white pen work, the flowers would have looked darker.

The sentiment was again mounted on cream paper.

Don't miss the new Sunny Vibes release.
Thank you so much for stopping by here today!
Anna-Karin
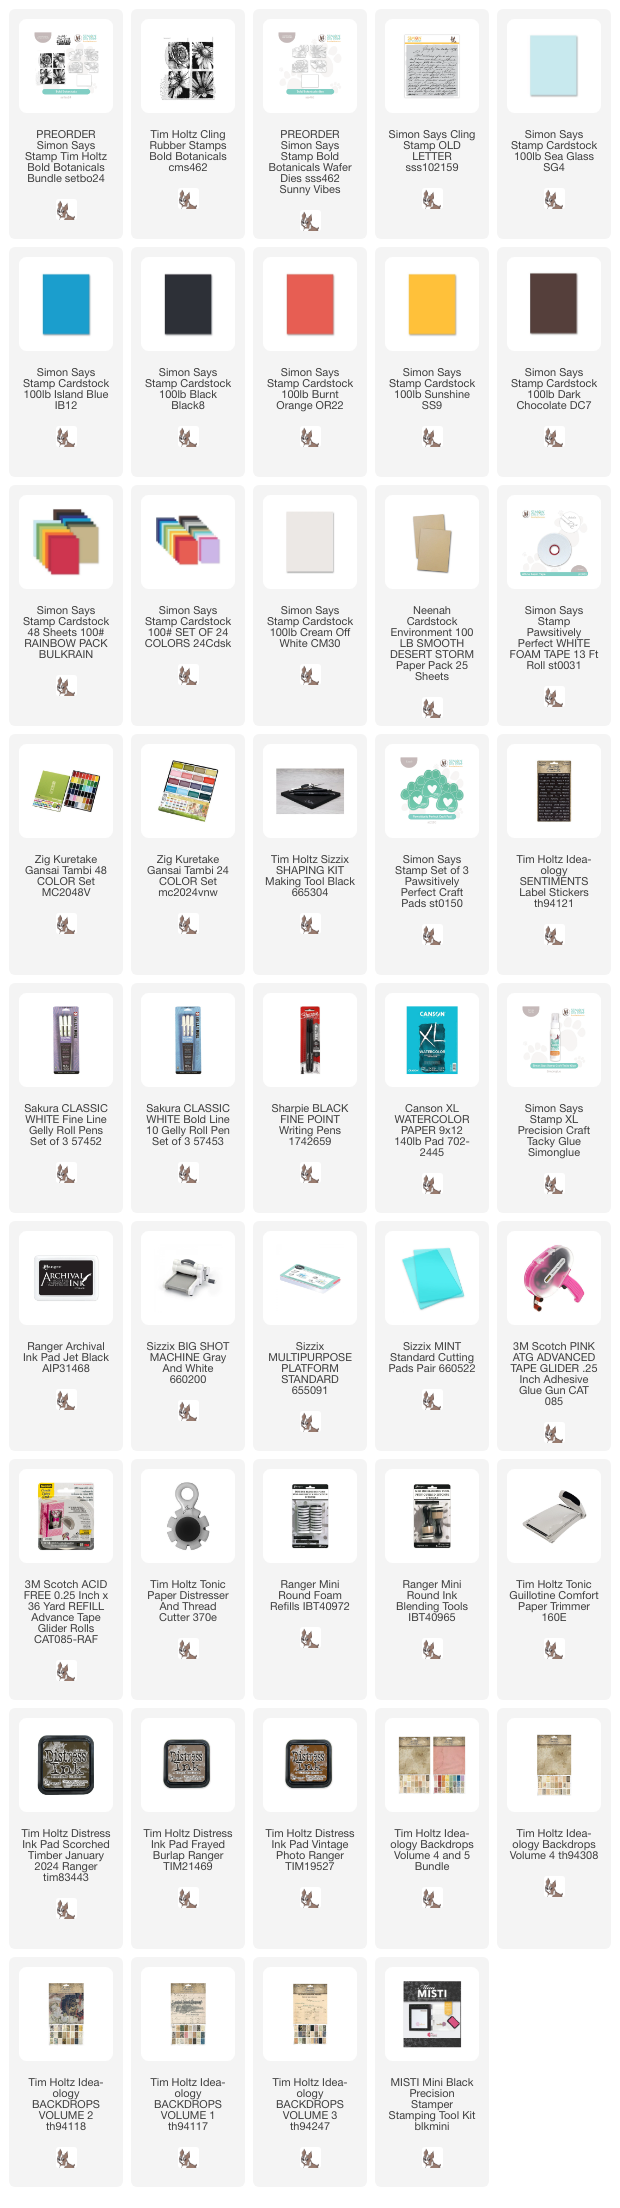
Supplies:
* Please note: the links are affiliate links, for which I receive a small percentage of sales generated by the link, at no extra cost to you.
* Please note: the links are affiliate links, for which I receive a small percentage of sales generated by the link, at no extra cost to you.
No comments:
Post a Comment
Thank you so much for leaving a comment! Happy Crafting!