Friday, May 10, 2024

Typewriter Tag Tutorial

Hello stampers! I tis Friday and today I have a tag to share with some fun and easy techniques. 

Please note: this post has affiliate links, for which I receive a small percentage of sales generated by the link, at no extra cost to you.


Layers of ink - Typewriter tag tutorial by Anna-Karin Evaldsson.

I love old typewriters and wish I had place for one at home. Once upon a time I learnt to type on a typewriter and to this day, I still type the same way. I was happy to make project with Tim Holtz new Curiosity Shop stamp set and the Deco Floral stencil.

Layers of ink - Typewriter tag tutorial by Anna-Karin Evaldsson. Stamp Tim Holtz Curiosity Shop.

I wanted the typewriter to be shiny and stamped it with Versafine Onyx Black and clear embossed the image with Simon Says Stamp clear embossing powder. 

Layers of ink - Typewriter tag tutorial by Anna-Karin Evaldsson. Ink through Tim Holtz Deco Floral stencil.

I masked the paper with Simon Says Stamp Very Very Low Tack Tape. Since I later decided to add a separate paper, this wasn't that necessary, but if you don't add another paper, masking is the best way to accidentally add stenciling on the paper area. Ink through Tim's Deco Floral stencil.

Layers of ink - Typewriter tag tutorial by Anna-Karin Evaldsson. Stamp numbers with black and red ink.

I used the MISTI to stamp the numbers on the tag. The stamp is also from Curiosity Shop. It was stamped with Archival Ink Red Geranium first and then I inked the shadows with Jet Black. Repeat until you are happy with the look.

Layers of ink - Typewriter tag tutorial by Anna-Karin Evaldsson. Stamp with Tim Holtz School Desk.

I used a white Prismacolor pencil to add white to the numbers and to some areas of the typewriter. Stamp here and there with the alphabet stamp from Tim's School Desk set.

Layers of ink - Typewriter tag tutorial by Anna-Karin Evaldsson. Stamp stars.

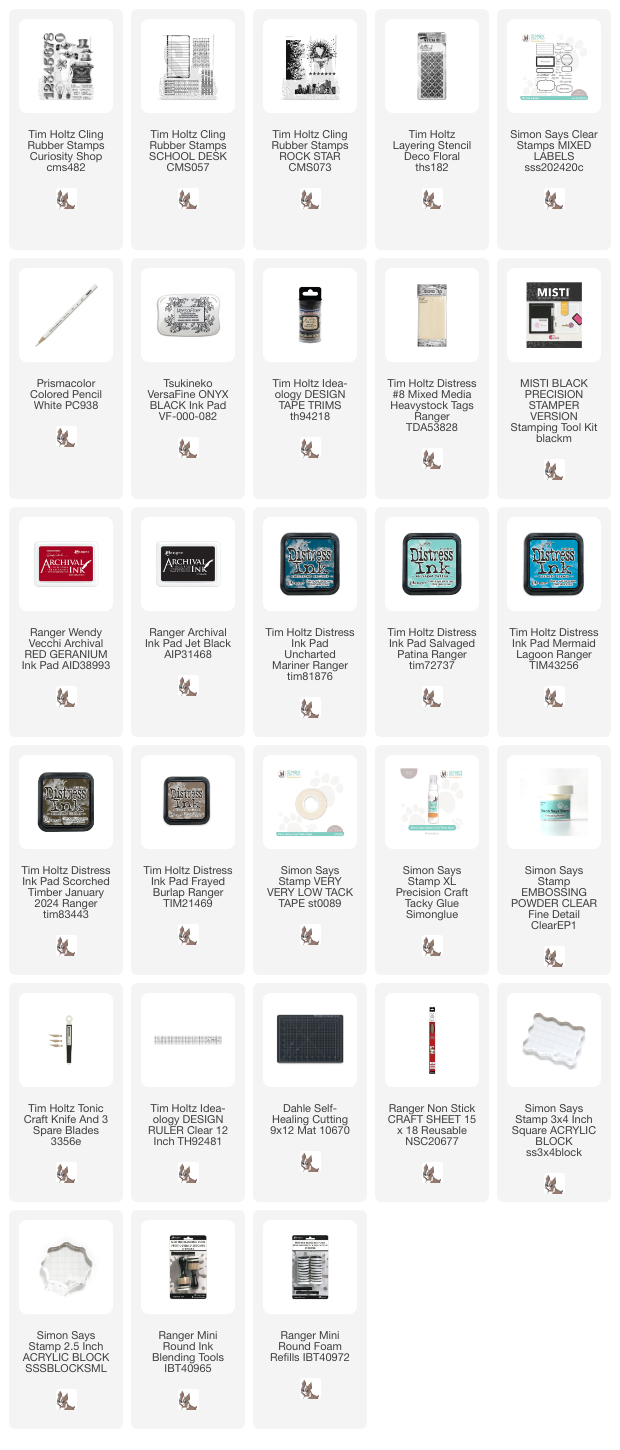
I stamped red stars on the tag with Tim Holtz Rock Star set, and added two strips of Design Tape Trims.

Layers of ink - Typewriter tag tutorial by Anna-Karin Evaldsson. Add fibers.

I tied fibers and organza ribbon to the tag.

Layers of ink - Typewriter tag tutorial by Anna-Karin Evaldsson. Add paper to the typewriter.

Stamp one of the sentiments from Curiosity Shop on thin notebook paper and ink the edges. Cut two slits with a craft knife and thread the paper into the typewriter.

Layers of ink - Typewriter tag tutorial by Anna-Karin Evaldsson.

A sentiment from Simon Says Stamp Mixed Labels was stamped and cut into a strip.

Layers of ink - Typewriter tag tutorial by Anna-Karin Evaldsson. Color the numbers.

The combination of red and black ink adds interest to the numbers, while the white pencil marks makes it stand out better from the background.

Layers of ink - Typewriter tag tutorial by Anna-Karin Evaldsson.

Roll the paper slightly to give it dimension.

Layers of ink - Typewriter tag tutorial by Anna-Karin Evaldsson.

I hope you enjoyed this tutorial! 


Have a great weekend and thank you for stopping by here today!


Anna-Karin

Supplies:

* Please note: the links are affiliate links, for which I receive a small percentage of sales generated by the link, at no extra cost to you.


1 comment:

  1. And for fellow crafters looking to unleash their creativity without breaking the bank, macorner discount code could be a treasure trove of deals on art supplies and materials.

    ReplyDelete

Thank you so much for leaving a comment! Happy Crafting!