
Hi friends! I hope you weekend was good! Here it was Mother's Day yesterday and I got two pretty Lego roses from the boys.
Please note: this post has affiliate links, for which I receive a small percentage of sales generated by the link, at no extra cost to you.

This week we have a Lots of Texture theme at the Simon Says Stamp Monday Challenge Blog. I hope you will join us! I love texture and add a lot of it to most of my projects. There are so many different ways in which you can add texture.
Don't miss the last project by our May guest designer Wanda Hentges.

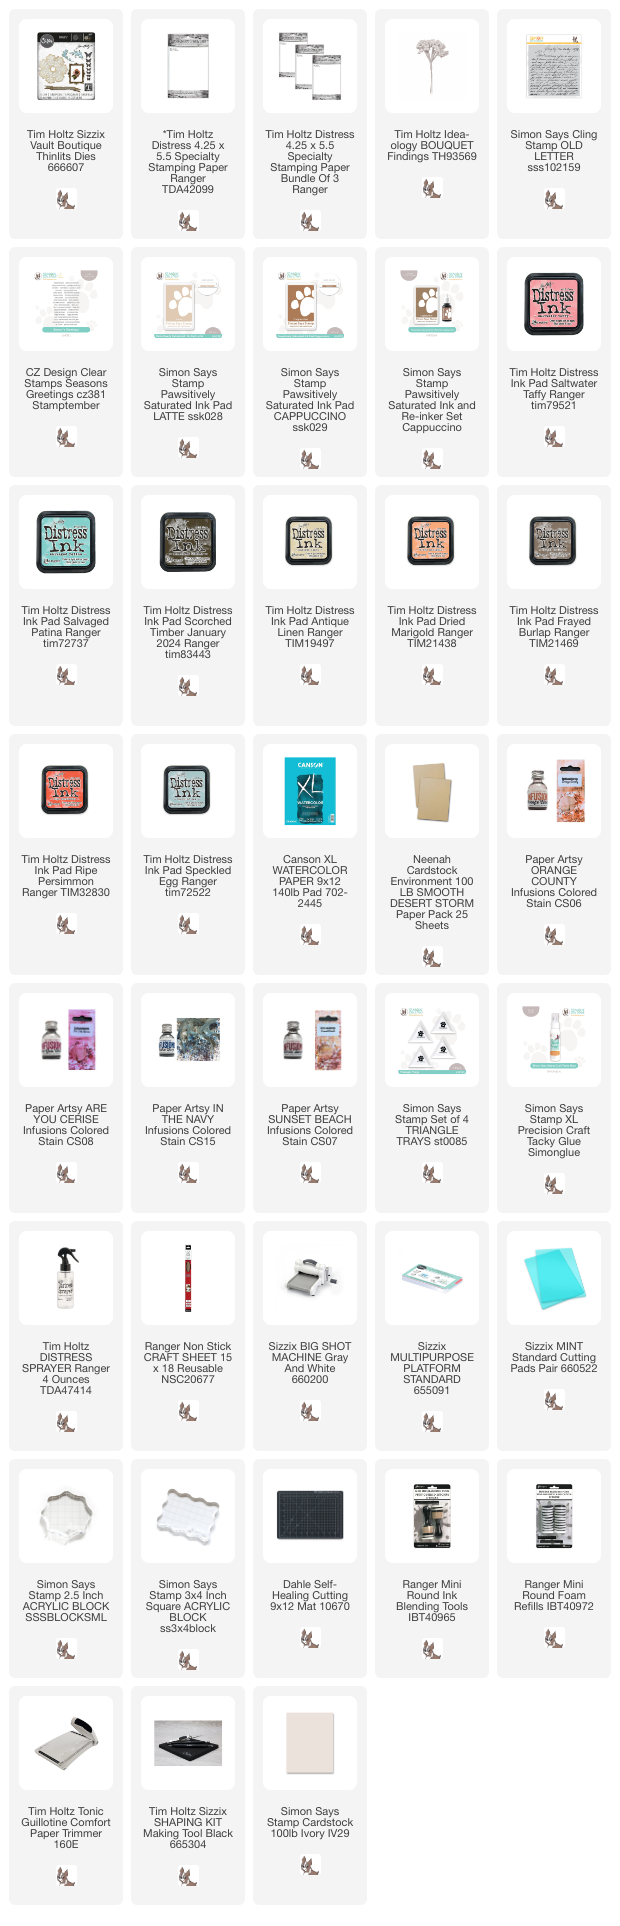
I made a card with more subtle, pastel textures, than what I normally do. Texture was added in different ways: to the background with water and stamping, by using papers with different textures, die cut textures, a ribbon and the texture from the old book paper. The background paper is Ranger's Specialty Stamping Paper which has a lovely matte texture with a very smooth finish.

Start by dragging Distress Ink across the Specialty Stamping Paper. I made several different backgrounds. Smooth the ink out with an ink-blending tool.


Smear Distress Ink on a non-stick craft sheet and mist with water. Press the papers into the ink here and there.


The roses were die cut from left-over watercolor paper that had been colored with Paper Artsy Infusions Colored Stains. The doily was die cut from inky paper. The dies come from Tim Holtz Vault Boutique set.

Assemble the flowers using the tweezers from Tim Holtz Shaping Tool Kit. Fold down the petal with the tweezer once the glue is dry.

Stamp sentiments with Simon Says Stamp Pawsitively Saturated Cappuccino ink and cut into strips. Glue the roses to the background and add idea-ology Bouquet Findings flowers and pearls.

The leaves were die cut from old book paper.

Glue the flowers at an angle to add dimension.

Ink the edges and mount on kraft, peach and cream papers. Here you can see the background texture better, all those little dots and splotches of water and ink.

The second application of ink and water will give interesting and often unexpected results.
Join us this week in our Lots of Texture challenge! You have a chance to win a $25 gift voucher to do some fun shopping at Simon Says Stamp. You have until Monday 8am Ohio time. 1pm UK time, 2 pm CET to join in.


Thank you so much for stopping by here today!
* Please note: the links are affiliate links, for which I receive a small percentage of sales generated by the link, at no extra cost to you.
No comments:
Post a Comment
Thank you so much for leaving a comment! Happy Crafting!