
Hi friends! I hope you are well! We went from autumn to winter in just a day and have the most beautiful snowy landscape now.
Please note: this post has affiliate links, for which I receive a small percentage of sales generated by the link, at no extra cost to you.

This week at the Simon Says Stamp Monday Challenge Blog we have a Tree theme. I love trees and add them to my projects often. Don't miss the last project by Anita Rao who is our guest designer during November.

I was inspired by the falling snow and created a winter pine forest tag, with quick and easy techniques. I was going to add more texture to the sky area, but the misting created such a great pattern that I decided to leave it and just added a few stars.

Die cut a tag from watercolor paper. Ink the Simon Says Stamp Tall Pines folder with embossing ink. Sprinkle with white powder and emboss.

Mist with various Distress Spray Stains.

Die cut Tim Holtz Forest Shadows from watercolor paper. Apply embossing ink here and there and emboss with white powder. Always be very careful when using a heat tool and do not touch the melted powder until it has cooled down completely.

Apply Distress Ink to a non-stick craft sheet, mist with water and press the paper into the ink. Let dry and repeat until you are happy with the look.

Die cut the stars from Tim's Forest Shadows from Simon Says Stamp White Glitter Paper.

Stamp the sentiment from Simon Says Stamp All Season's Tree on white paper and cut into a strip.

Die cut the Forest Shadows from Simon Says Stamp silver glitter paper and place behind the colored die cuts. This adds a glittery shadow to the trees.

I hope you will join us this week in our Trees challenge. You have a chance to win a $25 gift voucher to do some fun shopping at Simon Says Stamp. You have until Monday 8am Ohio time. 1pm UK time, 2 pm CET to join in.

Do you use Instagram? If so please add #sssmchallenge so we can see your entries there too.


Thank you so much for stopping by here today!
Happy crafting!
Anna-Karin
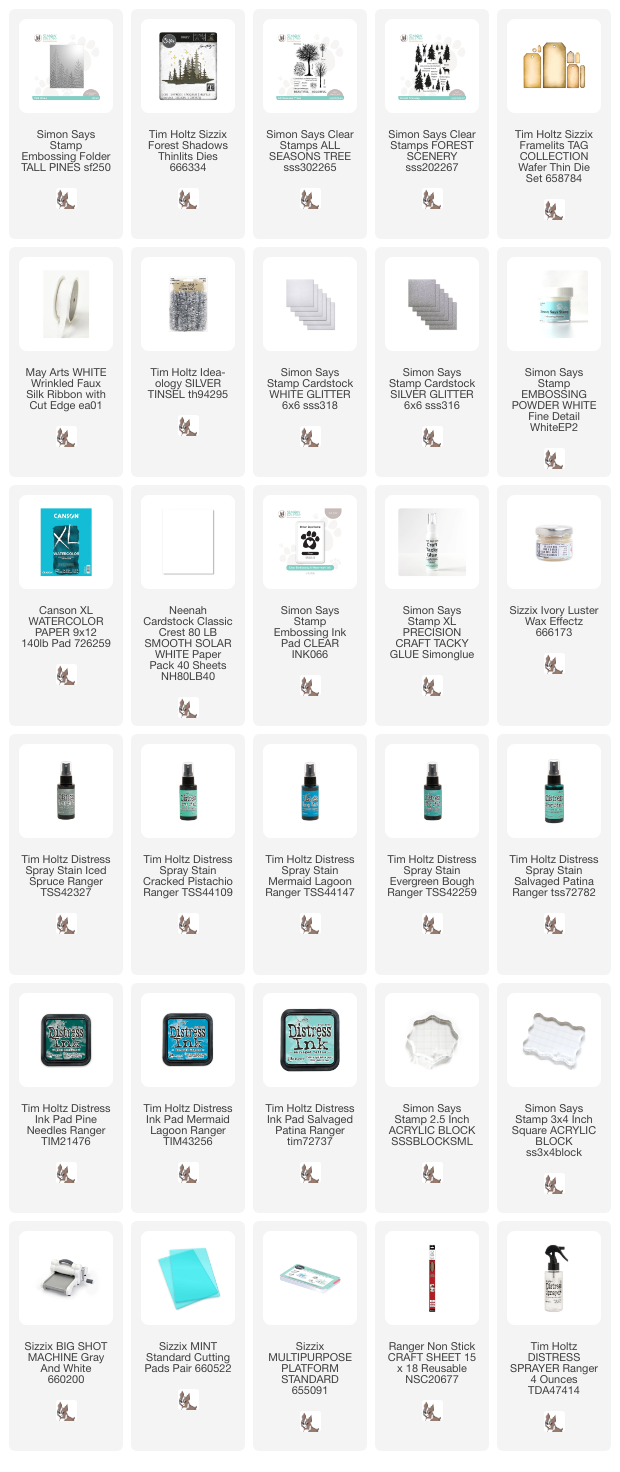
Supplies:
* Please note: the links are affiliate links, for which I receive a small percentage of sales generated by the link, at no extra cost to you.
* Please note: the links are affiliate links, for which I receive a small percentage of sales generated by the link, at no extra cost to you.
Love how you embossed the tag, the colours really do cling and sink into the design, beautifully accompanied by the die cut tree's they really are a favourite of mine. The embossing adds a touch of winter magic.. Such a delicate tag creation. Thank you for the inspiration..Winter wishes Tracey
ReplyDelete