
Hello stampers! Today I have a Christmas tag to share, with a fun retro Santa. It can easily be turned into a Christmas card instead.
Please note: this post has affiliate links, for which I receive a small percentage of sales generated by the link, at no extra cost to you.


I used the MISTI for this, but you can also use a stamp positioner. I always used to do this technique with an old stamp positioner, but the MISTI works great for it too. Stamp the Santa with Red Geranium ink first.

Wipe off the stamp slightly and then add black ink to parts of the stamp. Stamp again. I repeated the step with the black ink once or twice more to add ink in areas where I thought it was missing. Don't worry about perfection.

White emboss stars on the background.

Ink with Distress Ink.

I gold embossed three stars from Tim's Christmas Baseboards and Transparencies set. Be very careful when using a heat gun and never touch the melted powder until it has cooled down completely.

Stamp with a texture stamp from Tim Holtz Ultimate Grunge and red ink. Stamp Simon Says Stamp Old Letter here and there and gold emboss. Add gold embossing powder around the edges. Add Moon Dust Stickles to the jacket, hat, pants and around the edges.

Add some white swirls to his beard with a white gel pen.

Glue the chipboard stars to the tag. Stray gold embossing powder adds a nice texture.

Stamp a sentiment from the same stamp set with black ink.

I also added some Christmas Ephemera.

Add another stamped sentiment and a sentiment sticker.

The Faux Silk ribbon was dyed with Distress ink to match the tag.

Have fun with the overstamping technique! It has so many different uses.

Thank you for visiting my blog!
Happy crafting!
Anna-Karin
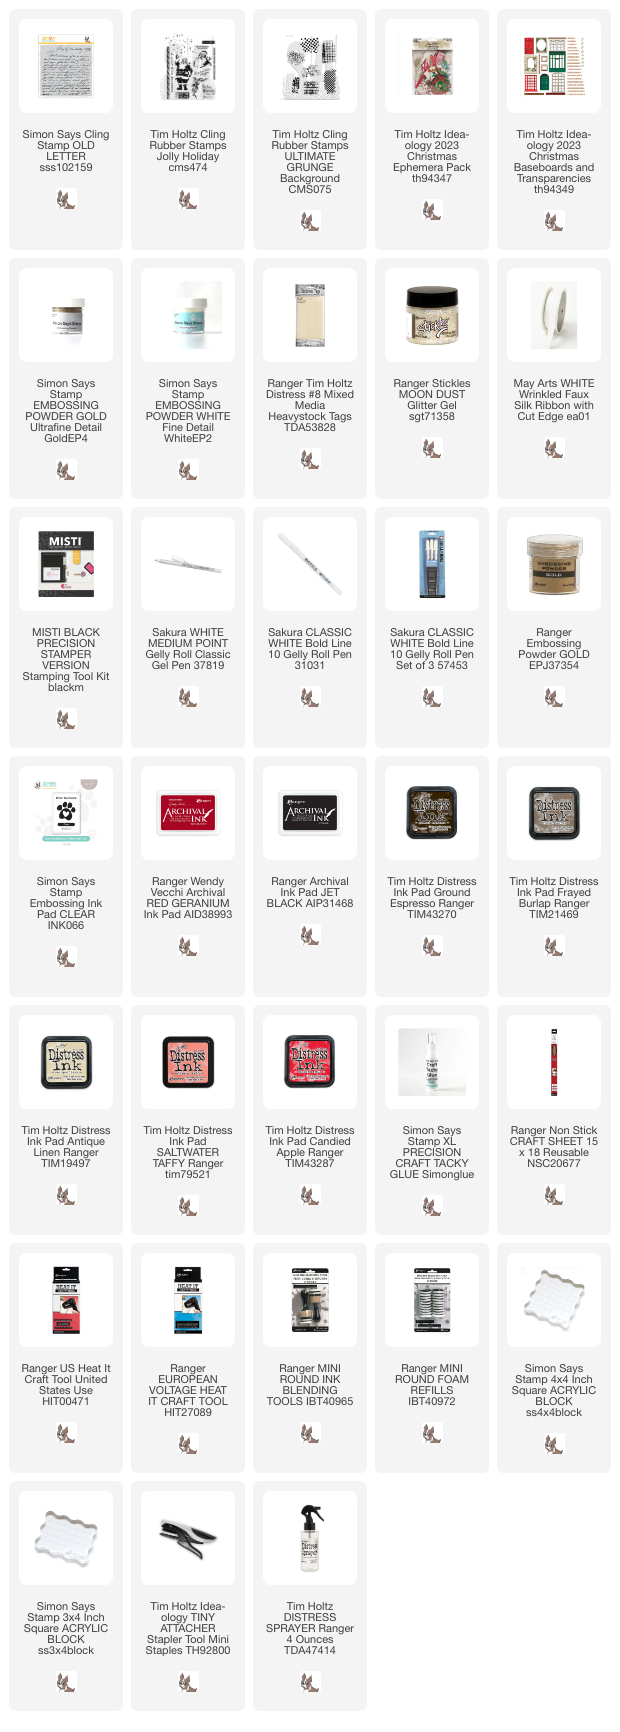
Supplies:
* Please note: the links are affiliate links, for which I receive a small percentage of sales generated by the link, at no extra cost to you.
* Please note: the links are affiliate links, for which I receive a small percentage of sales generated by the link, at no extra cost to you.
No comments:
Post a Comment
Thank you so much for leaving a comment! Happy Crafting!