
Hi crafters! It is Monday and I have a card to share made for this week's Simon Says Stamp Monday challenge.
Please note: this post has affiliate links, for which I receive a small percentage of sales generated by the link, at no extra cost to you.

Our theme this week is Masculine. Don't miss the stunning project by our June guest designer Kerry B.


Apply texture paste through Tim's Bricked stencil, working on heavystock cardstock.

Paint with Distress Paints in red and orange shades. I used Candied Apple, Lumberjack Plaid and Crackling Campfire.

When dry, dry brush with more paint to get a varied look.

Place the stencil back over the design and apply Matte Collage Medium with a palette knife. Don't worry about getting a perfect result.

When dry, mist the entire background with Black Soot Distress Spray Stain. Leave for a while and then wipe off the stain from the areas with matte medium.

Apply foil tape sheets to cardstock and die cut the circle frame from Simon Says Stamp Thin Frames.

Dry emboss the circle with Tim Holtz Mosaic 3-D embossing folder.

Paint with Salvaged Patina.

Before the turquoise paint is completely dry, wipe most of it off with a cloth.

I thought the circles needed a bit more color and colored the thin frames with alcohol ink. I also dropped a little alcohol ink on the embossed circle.


Die cut the letters with Tim Holtz Alphanumeric Emporium dies, from both the colored foil sheet and from black cardstock.

The resist technique leads to distressed looking bricks and the bricks themselves have a slight gloss shine.

I used a thin wire to make one more frame and add movement.

There are strips of Design Tape in the background and across the circle.

At first, I was going to use only black letters, but they disappeared too much on the background.

I hope you enjoyed this project and technique.
I hope you will join us this week in our Masculine challenge. You have a chance to win a $25 gift voucher to do some fun shopping at Simon Says Stamp. You have until Monday 8am Ohio time. 1pm UK time, 2 pm CET to join in.

Do you use Instagram? If so please add #sssmchallenge so we can see your entries there too.


Thank you so much for stopping by here today!
Happy crafting!
Anna-Karin
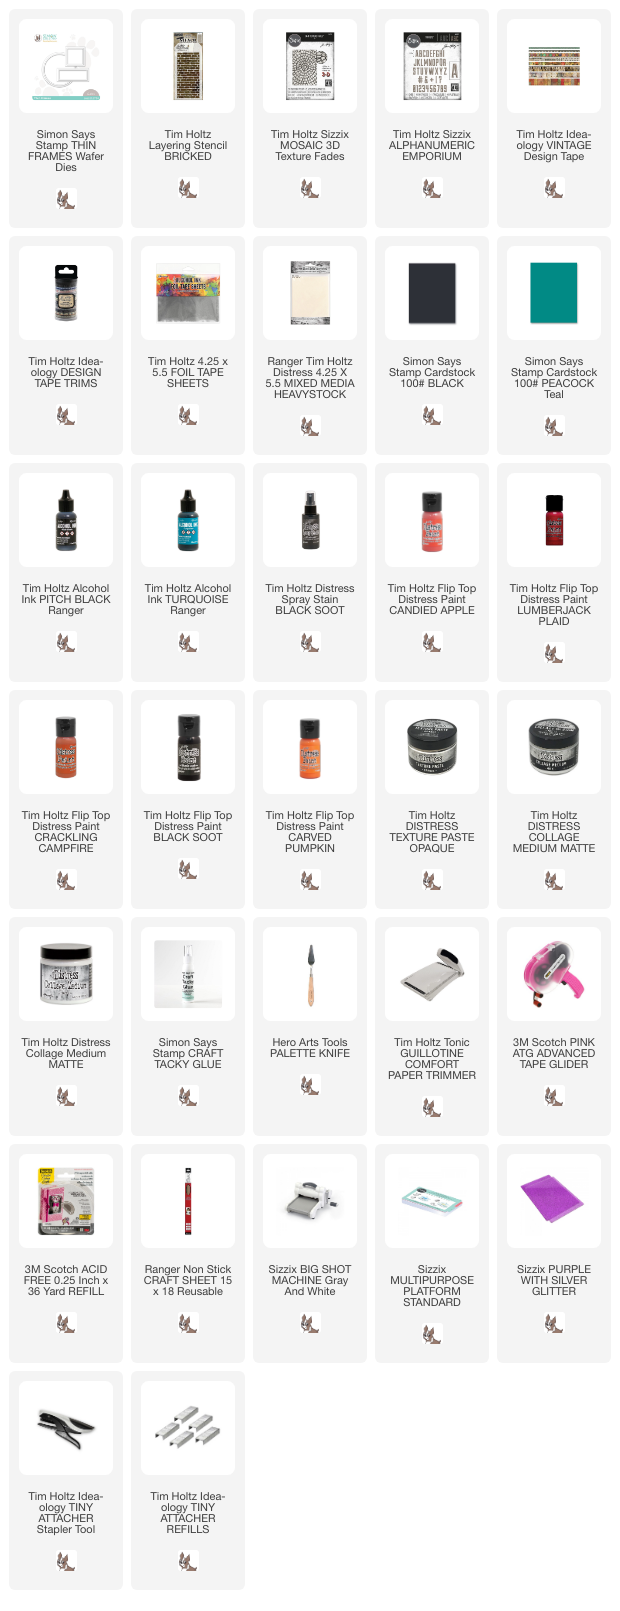
Supplies:
* Please note: the links are affiliate links, for which I receive a small percentage of sales generated by the link, at no extra cost to you.
* Please note: the links are affiliate links, for which I receive a small percentage of sales generated by the link, at no extra cost to you.
Gorgeous card Anna-Karin :-) I love the effect you have on the bricks! I am going to have to try this!! I am sure Anton will love this card, he has been so brave and been through so much xx sending him a hug xx :-)
ReplyDeleteHope you have a great week!
luv
Lols x x x