Hi crafters! This card was inspired by beautiful blue flowers that I have had at home recently. The flowers had lovely shades of blue with a hint of white.
Please note: this post has affiliate links, for which I receive a small percentage of sales generated by the link, at no extra cost to you.
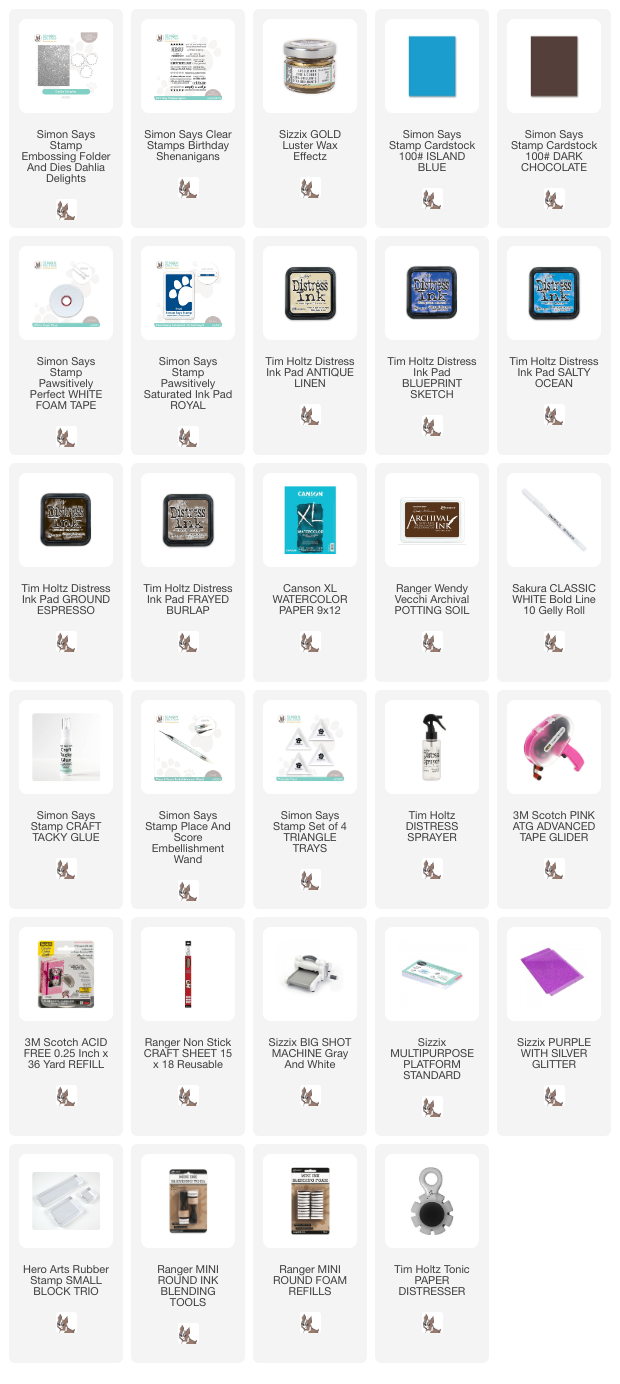
For the background I smeared Distress Inks on a non-stick craft sheet, misted with water and pressed watercolor paper into the ink. Let dry and repeat until you are happy with the look.
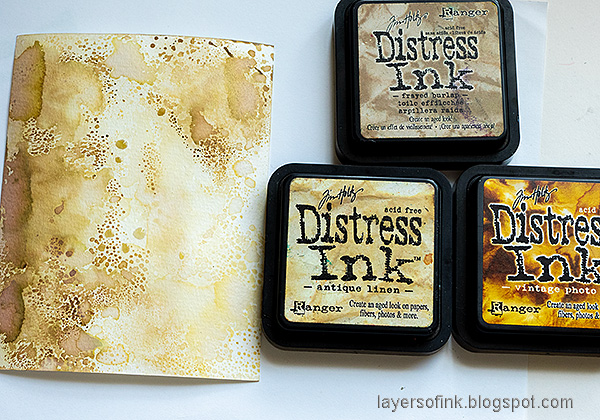
Dry emboss in the Simon Says Stamp Dahlia Delights 3-D embossing folder. Mist the back of the paper with water before embossing.
When dry, ink with Frayed Burlap and Ground Espresso.
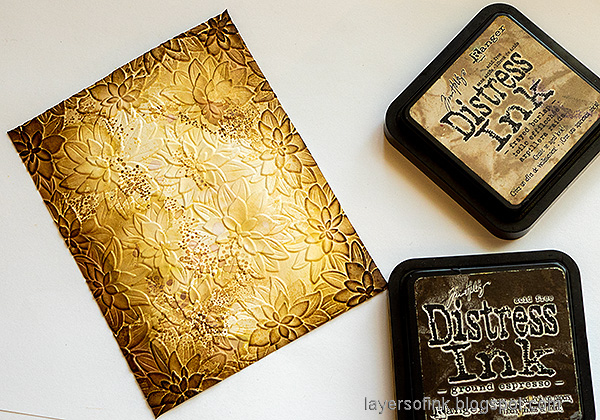
The
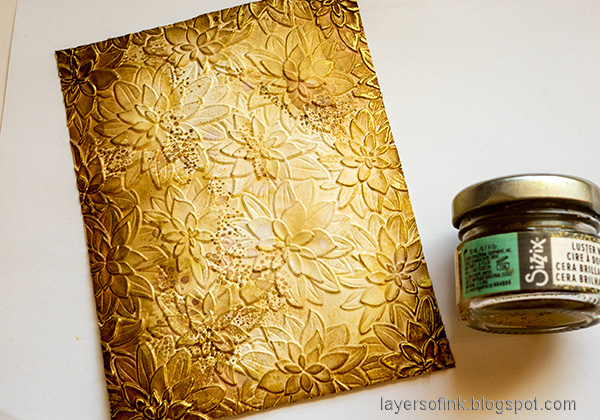
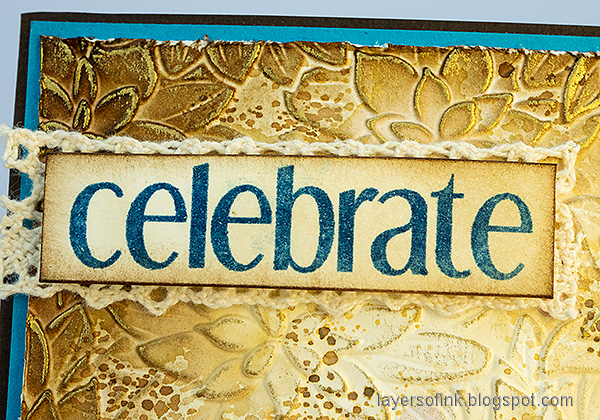
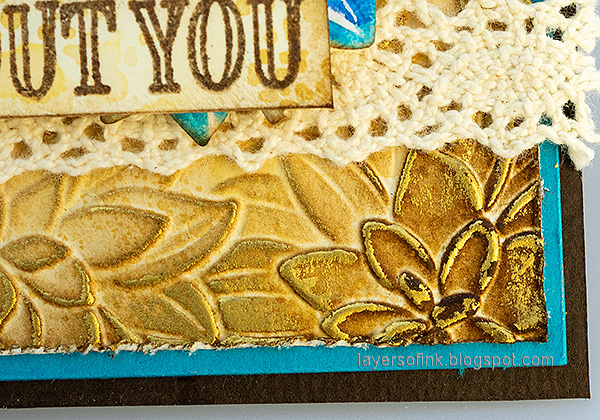
Luster Wax gives a really nice shine to the background. It will mainly get stuck to the embossed areas, which makes them stand out better.
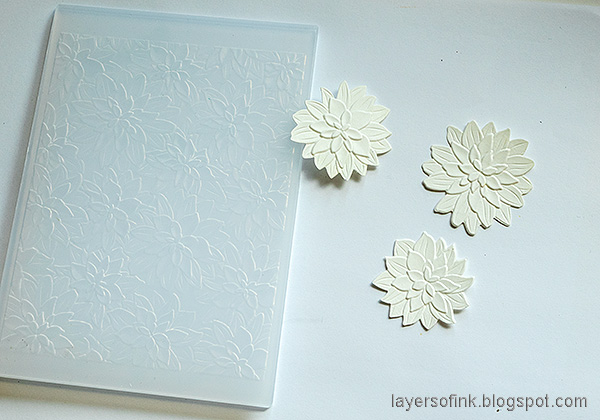
Die cut the three flowers and emboss them in the same
Dahlia Delights folder. It might be a little tricky to find the right position for the flowers in the folder. Try to line them up on the embossed paper first and then place them in the same place in the folder.
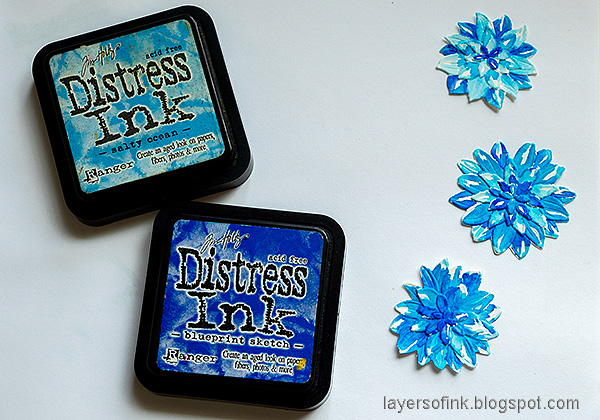
Smear Distress Ink on a non-stick craft sheet, mist with water and pick up with a paint brush. Watercolor the flowers.
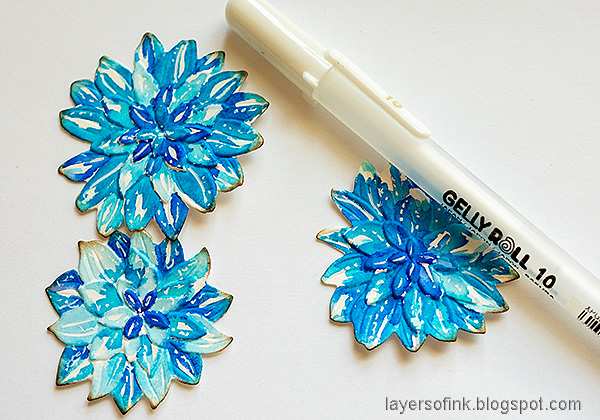
Add highlights with a white gel pen.
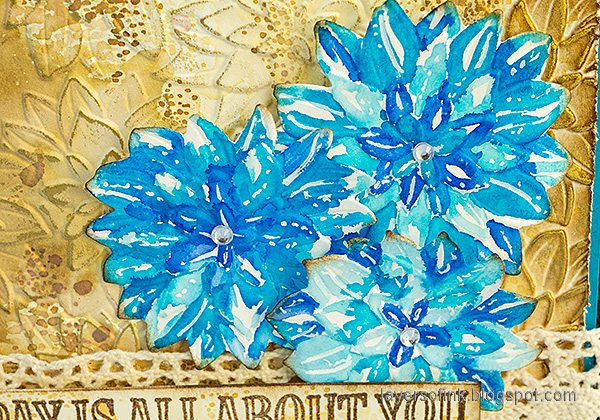
Shape the flowers a little, add a rhinestone to the center, ink the edges and adhere with foam tape.
This sentiment comes from Simon Says Stamp Birthday Shenanigans and was stamped with Simon Says Stamp Royal Pawsitively Saturated ink.
This sentiment is from the same Birthday Shenanigans set and was stamped on left-over inky cardstock.
The ink and Luster Wax adds texture and definition to the background. Distress the edges before assembling the card.
Thank you so much for stopping by here today!
Happy crafting!
Anna-Karin
Supplies:
* Please note: the links are affiliate links, for which I receive a small percentage of sales generated by the link, at no extra cost to you.






No comments:
Post a Comment
Thank you so much for leaving a comment! Happy Crafting!