
Hello friends! Today I have two glossy birthday cards to share, made with two versions of the same technique.
Please note: this post has affiliate links, for which I receive a small percentage of sales generated by the link, at no extra cost to you.


For the first card, I clear embossed sentiments from Simon Says Stamp Beat Year Yet on a Simon Says Stamp Pastel Color Blend glossy card.

For the second card, I stamped the sentiments with various Distress Oxide Inks in turquoise shades and embossed with the clear powder.

Color glossy cardstock with Tidepool and Spring Simon Says Stamp Pawsitively Saturated inks. Die cut the Simon Says Stamp Large Fancy Happy Birthday from the gloss card.

The background is subtle with the glossy shine of the embossing. The letters are less visible on the lighter part of the ombre background.

If you angle the card, you can easily read all the sentiments, even the small ones. I embossed stars here and there too, from the same stamp set.

The sequins come from Simon Says Stamp and I used the Place and Score Embellishment Wand to easily place them down.

The glossy title was matted on turquoise cardstock.

The ribbon was dyed with the Tidepool and Aegean Pawsitively Saturated inks and the sentiment was stamped with Surf ink.

The second card also as a glossy tone-on-tone background, but here the text is more visible since it was stamped with Distress Oxide inks.

The Oxide inks take on a multi-colored look on the Pastel Color Blend cardstock.

The sentiments and fonts used on the Best Year Yet stamp set are just great and I like the mix of larger and small sentiments.

Here's another really pretty sentiment. I twisted the ribbon and adhered it with staples. The staples were covered up with sequins. I normally leave the staples visible, but on this card, I rather wanted a round shape 'holding' down the ribbon.

I stamped stars here and there on this card too.

Thank you so much for stopping by here today!
Happy crafting!
Anna-Karin
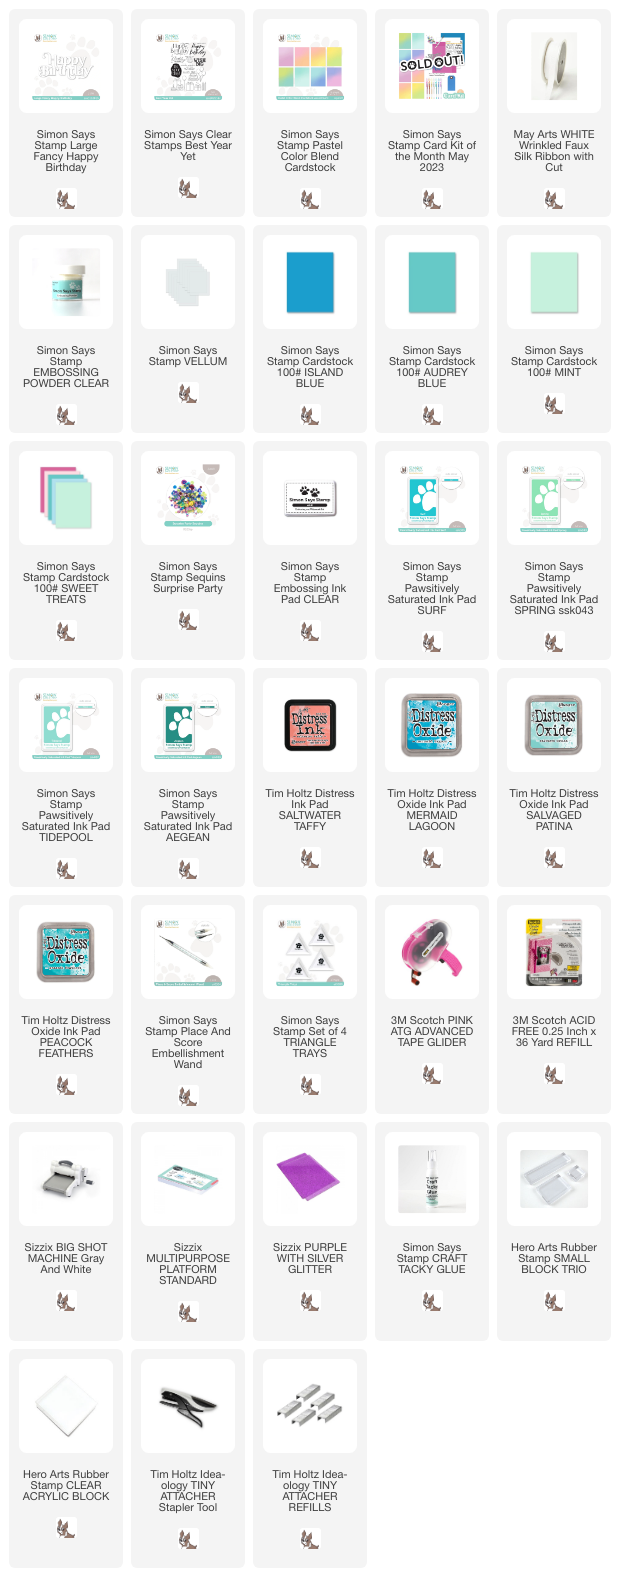
Supplies:
* Please note: the links are affiliate links, for which I receive a small percentage of sales generated by the link, at no extra cost to you.
* Please note: the links are affiliate links, for which I receive a small percentage of sales generated by the link, at no extra cost to you.
No comments:
Post a Comment
Thank you so much for leaving a comment! Happy Crafting!