
Hi friends! I hope you are well! Today I have a card to share with shades of peach and orangey peach.
Please note: this post has affiliate links, for which I receive a small percentage of sales generated by the link, at no extra cost to you.

Lately, I have been drawn to peach and coral shades of pink/orange and I decided to do a project with almost only those colors, with the exception of some green.

White emboss the Simon Says Stamp Old Letter Background stamp on glossy cardstock.

Ink with Melon and Guava Pawsitivily Saturated Ink, using Simon Says Stamp ink-blending brushes. The embossing will resist the ink.

Die cut the Chinese Lantern Stem from white heavystock cardstock and ink with Sherbet and Melon ink. I used Distress Ink for the green parts. The lantern was inked with Simon Says Stamp Detail Blending Brushes which work great for small areas.

Die cut a Tim Holtz Crochet Border and ink with Dried Marigold Distress Ink and Saltwater Taffy Distress Oxide Ink.


The Chinese Lantern Stem is such a lovely die and I like that it also die cuts the back pieces for the flowers. Add a few sequins in matching colors.

I also dyed a piece of lace trim with some of the inks.

Simon Says Stamp Scripty Big Hugs was die cut from glossy paper and inked with the same shades as the background. I also die cut it from white paper an additional four or five times and glued together. I used the new Simon Says Stamp Micro Dot Sheet Adhesive sheets, which were perfect for this.


Thank you so much for stopping by here today!
Happy crafting!
Anna-Karin
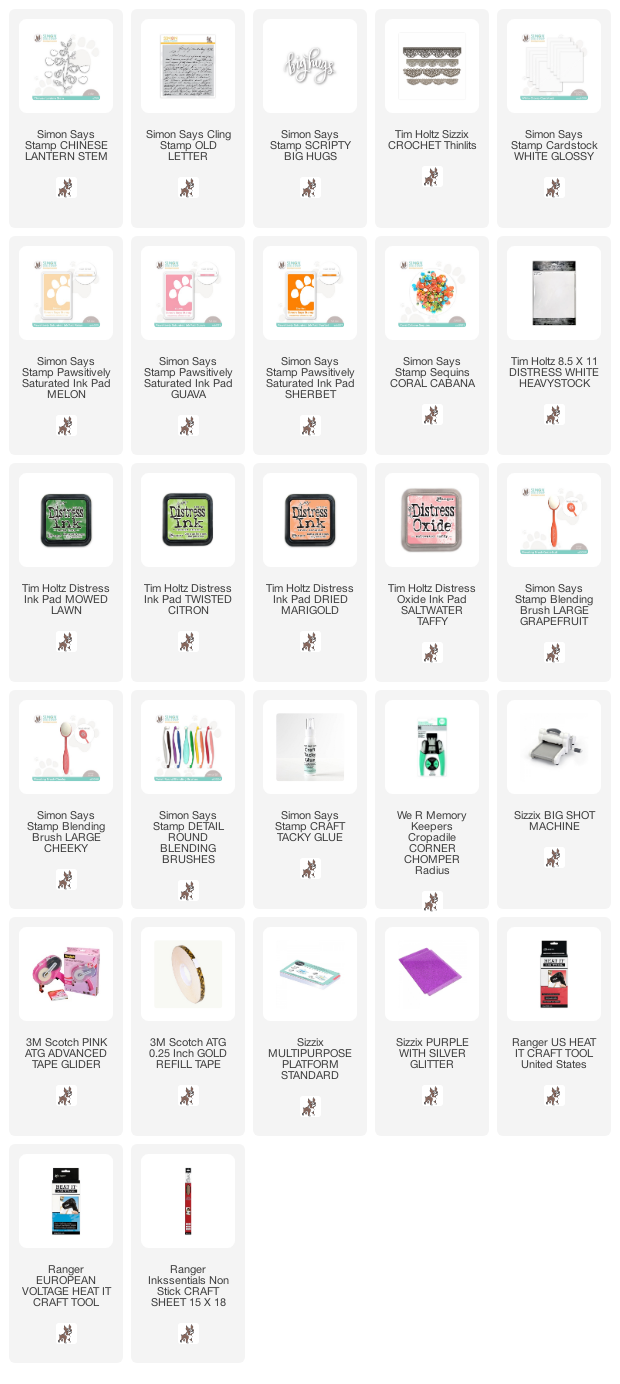
Supplies:
* Please note: the links are affiliate links, for which I receive a small percentage of sales generated by the link, at no extra cost to you.
* Please note: the links are affiliate links, for which I receive a small percentage of sales generated by the link, at no extra cost to you.
No comments:
Post a Comment
Thank you so much for leaving a comment! Happy Crafting!