
Hello stampers! I have a mixed media tag to share today, featuring flowers made with vintage buttons.
Please note: this post has affiliate links, for which I receive a small percentage of sales generated by the link, at no extra cost to you.

We have a 'Recycle' theme at the Simon Says Stamp Monday Challenge Blog this week. I hope you will join us! And don't miss the fantastic project by our March guest designer Deborah Emmons aka designingdiva_73.

I made a tag using a bunch of recycled materials: cardboard from packaging, vintage buttons from a second hand shop, old lace and book paper. It is such fun to mix different things and see what you can come up with and cardboard makes for a very sturdy tag.

Start by cutting a tag from cardboard. You can use the Crop-a-dile Angle Corner Chomper together with the original Crop-a-Dile. Tear some of the upper layer off.

Apply gesso to the tag and let dry.

Apply torn pieces of old book paper to the tag and add a layer of matte medium on top.

Paint with four colors Distress Paint and mist with water. When dry, apply texture paste through Tim Holtz Linen stencil.

I die cut stems for the button flowers with the Simon Says Stamp Etched Evening Blossom and Tender Leaves die sets. Ink with Cracked Pistachio. Later I also added some Lucky Clover.

The buttons were layered together, with the largest flower consisting of three buttons.
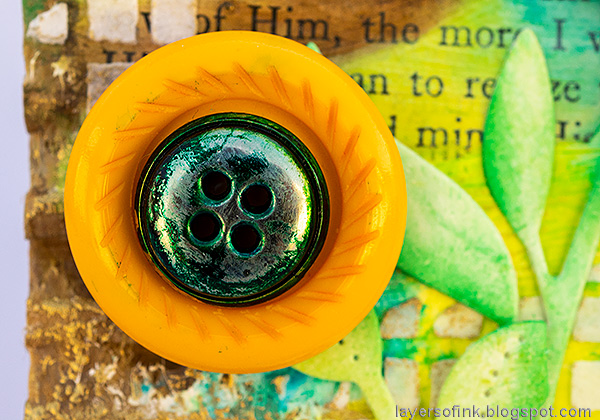
The metallic button in the center was distressed with alcohol ink.

I also added Turquoise alcohol ink to the metallic button.

Apply a little Sizzix Gold Luster Wax around the edges and here and there.

The torn cardboard fibers give a great texture, especially together with the gold wax. This sentiment also comes from an old book.

I circled some of the words in the background and also cut out more words from an old book, to use as sentiments.
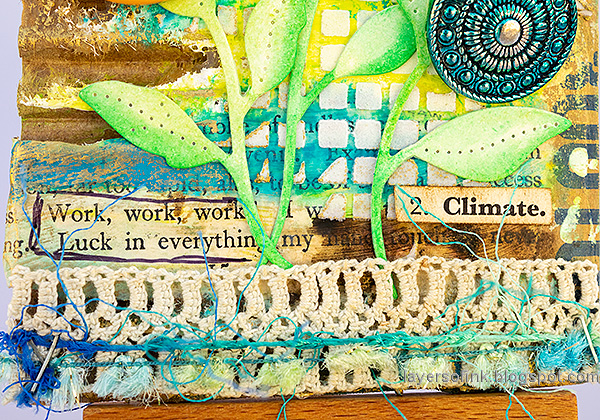
A piece of vintage trim, which I think is handmade, grounds the flowers to the tag and I also added a few strands of fiber.

Button flowers are fun to make and make for quick, colorful and dimensional embellishments.
I hope you will join us this week in our Recycle theme. You have a chance to win a $25 gift voucher to do some fun shopping at Simon Says Stamp. You have until Monday 8am Ohio time. 1pm UK time, 2 pm CET to join in.

Do you use Instagram? If so please add #sssmchallenge so we can see your entries there too.


Thank you so much for visiting my blog today!
Happy crafting!
Anna-Karin
Supplies:
* Please note: the links are affiliate links, for which I receive a small percentage of sales generated by the link, at no extra cost to you.
* Please note: the links are affiliate links, for which I receive a small percentage of sales generated by the link, at no extra cost to you.

No comments:
Post a Comment
Thank you so much for leaving a comment! Happy Crafting!