
Hello stampers! Today I have a no-line stamping tutorial to share using colored pencils. I made three cards, two tall ones and one square card.

It is fun to color on patterned paper, since some of the pattern will show through and if you use vintage papers like these, you get an instant vintage look to the cards. I stamped on Tim Holtz Journal Cards as my base, since they come in many designs and have gorgeous neutral vintage patterns, perfect for coloring. I used the Simon Says Stamp Thoughtful Flowers stamp set from the Send Happiness release, in combination with the SSS Stitching Panel.

Stamp the flowers and butterflies from Thoughtful Flowers on Journal Cards with either Antique Linen or Pumice Stone Distress Ink. The latter is a little darker and works better if the paper is darker or more detailed, and also gives the look of pencil lines.

I used Prismacolor pencils to color the stamps, building up layers of color and adding shading in darker colors. Sometimes it helps to have the stamp packaging in front of you or to stamp the flowers with black ink on a scrap paper, so that you can easier see the lines. A white colored pencil can be used to blend the colors.

Add more shading with a black pencil. I also added some lines and highlights with a white gel pen and some lines with a black pen. I used the black pen especially on the poppy flowers, to darken the center and bring out some of the details.

Stamp grass with some of the grass stamps from Thoughtful Flowers and green ink. This step grounds the flowers to the background.

Ink the edges with Vintage Photo.

Pick three papers from Tim Holtz gorgeous Abandoned Paper Stash and die cut them with the SSS Stitching Panel. I used the Sizzix Chrome Precision Plate when die cutting. I removed most of the the dots on two of the backgrounds, but left quite many on the design in the middle.

Sand the edges and mount the stitching panel on various colors of paper. Here I used cream. Stamp sentiments on the journal cards. The top one comes from the Paper Artsy The Magic And Wonder Edition set and 'grow' comes from Thoughtful Flowers.

I love Crocus flowers, but this flower stamp can be colored in many different colors and you can also turn it into a tulip.

The stitching panel gives a great texture to the background.

I also added a piece of Design Tape and some twine.

For the poppy card, I used a square Journal Card, and cut the other papers square too. Kraft paper was used both for the card base and as a mat for the focal panel. All the corners were rounded with my Corner Chomper. Both sentiments come from Thoughtful Flowers.

The original stamped lines aren't visible at all. Here you can see how the white and black pen work adds details to the flower.

If you need too, you can easily make the stems of the flowers longer. I like the alphabet at the bottom of the patterned paper here, and the way it shows even with the stitching die cut.

The stitching panel was mounted on gold kraft paper, giving a great shine through all those little dots and a warm look to the card.

Next comes the joyful buttercup card with brimstone butterflies. I like all that yellow. It was combined with a kraft cardbase and a paper from the Abandoned paper stash with the word 'flora' at the top. The sentiments come from Thoughtful Flowers.

I left a lot of the little circles in place on this card, giving the stitching panel a different look. All the corners were rounded.

The small little butterfly stamp.

The larger butterfly stamp faces the other way. Here you can see that the Pumice Stone stamping almost looks like pencil marks. Some of the pattern in the background show through.

Use yellow and orange-yellow to color the flowers, with just a little pen work.

The second flower was stamped without inking the flower to the right, giving it a different look. Mix green and yellow for the stems.

I also used two pieces of Design Tape and a piece of twine.

I hope you enjoyed this tutorial. Look at your patterned papers and test stamping and coloring on top of them. It's a lot of fun and can be varied in so many ways. For another example, check out my Vintage Strawberry Tag tutorial on the Simon Says Stamp Store blog. For two more projects using the Thoughtful Flowers set, see my Thoughtful Flowers Watercolor Garden and Distress Ink Blocks tutorials.

Thank you so much for taking the time to visit my blog today!
Happy crafting!
Anna-Karin
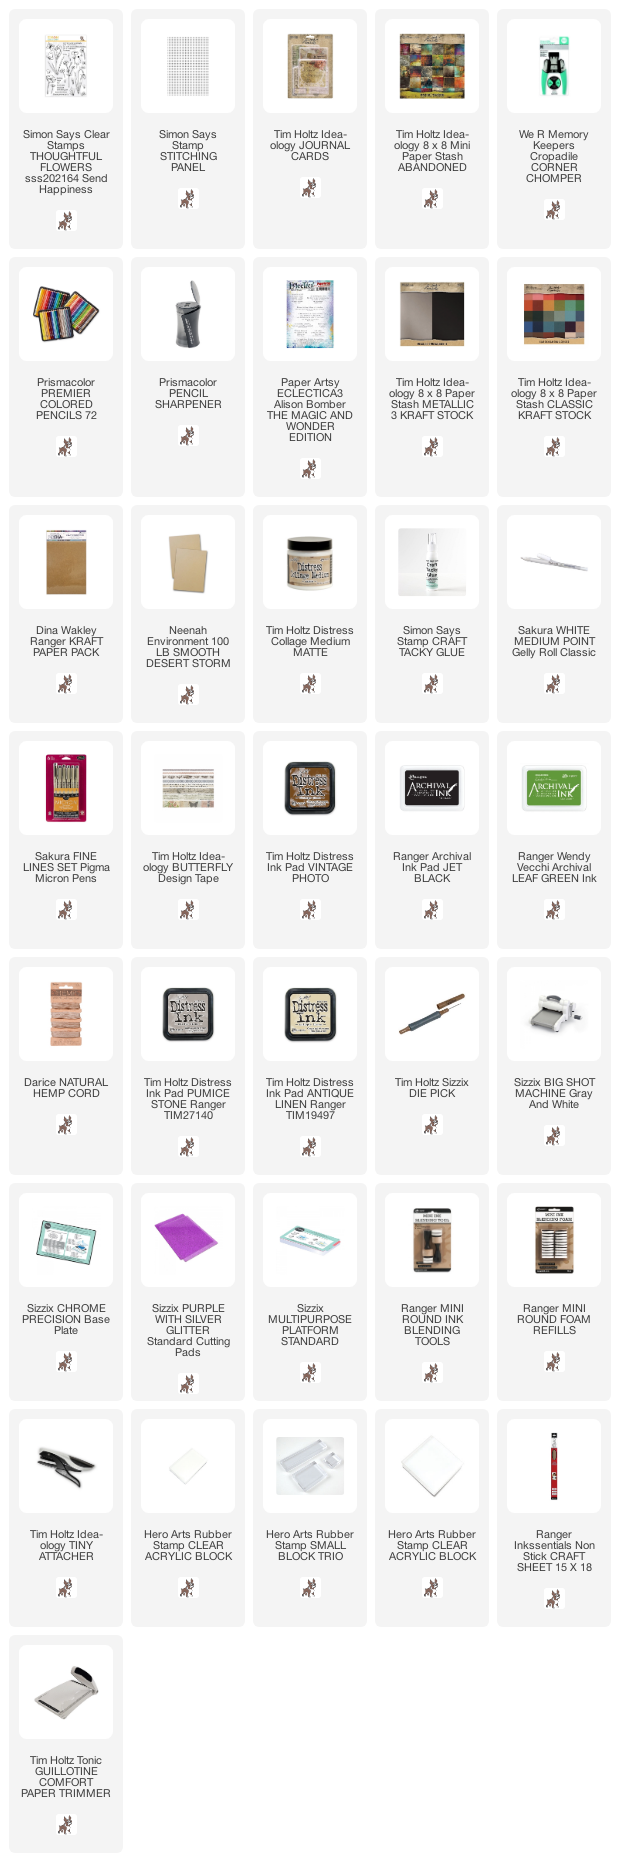
Supplies:
* Please note: the links are affiliate links, for which I receive a small percentage of sales generated by the link, at no extra cost to you.
* Please note: the links are affiliate links, for which I receive a small percentage of sales generated by the link, at no extra cost to you.
Your creations are just lovely! What a versatile stamp set. Thank you.
ReplyDeleteI just love your work. Thanks for sharing your talent and techniques.
ReplyDeletePerfect painting on your flowers - and a great tutorial for getting that hand-drawn look. These are utterly delightful.
ReplyDeleteAlison x
These projects are gorgeous!
ReplyDeleteWonderful set of cards dear Anna-Karin, brilliant work as usual and exquisite, love this!
ReplyDeleteHugs, Corinne X