
Hello friends! I hope you are well and staying healthy. And that you are able to do some crafting, since that helps to deal with the situation. I have a tag tutorial to share with you today made as a bit of an experiment. I recently got a bunch of Tim Holtz's new pastes and I wanted to try all of them at once.

I used four pastes on the tag: Distress Texture Paste Crackle, Distress Texture Paste Matte, Opaque Grit-Paste and Translucent Grit-Paste. I didn't have much of plan for the tag and after having done the background, I added bits and pieces from Tim's Field Notes Ephemera and Junk Drawer Baseboards. There are also some shiny hearts, since I think that at this time, you can't use too many hearts.

Start by inking a tag or a card with Distress Ink, using an ink-blending tool.
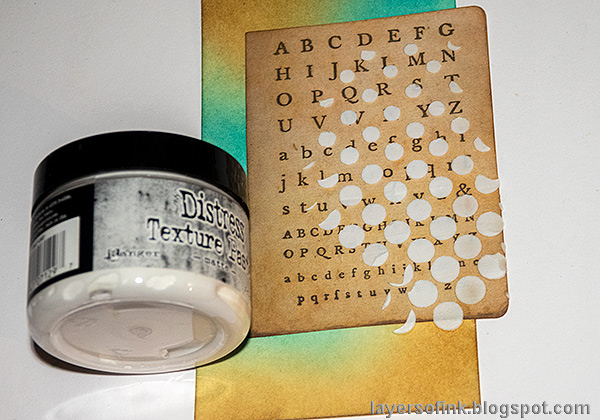
Glue an ephemera card to the tag and apply Distress Texture Paste Matte through the Gradient Dot stencil. Let dry.

At the bottom of the tag, I used Translucent Distress Grit-Paste.

Next came the Opaque Distress Grit-Paste.

And finally some Crackle Distress Texture Paste. As you might know, I love crackle paste.

As it dries you see the qualities of the different pastes better. Since I used Distress Ink for the background, some of the color will bleed through into the pastes, which was my plan, since I wanted the areas to coordinate colorwise. If you don't want the color to bleed, use Distress Paint instead. I particularly like the look of the translucent Grit-Paste, with both the paper and the color shining through.

Add some color with Distress Paint, mainly to make the areas into a unified whole. Mist with water, especially on the crackle areas, so that the paint goes into the crackles. I added less paint to the translucent paste.

Paint the dots orange and add a little orange to the background.

Distress the tag by dry-brushing dark brown paint.

The thicker the paste, the larger the crackles, which you can see here. I like a mix.
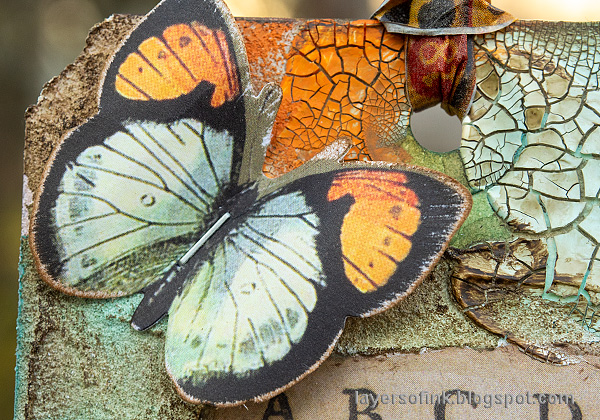
The tag was embellished with ephemera pieces from Tim's Field Notes Ephemera pack.
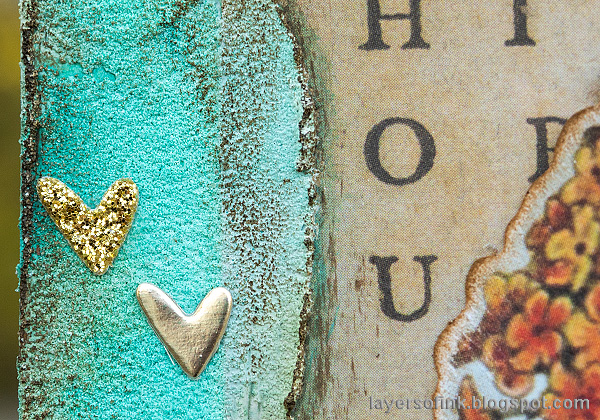
I love the texture of the opaque Grit-Paste with paint on top. The little hearts were die cut from gold metallic and gold glitter paper using Tim Holtz Falling Hearts die.

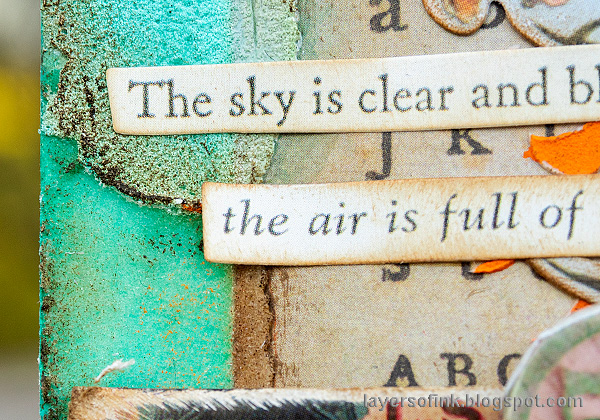
I am very much into messages of hope and happiness at the moment. And today the sky really is clear and blue an the air is full of sunlight. I took a beautiful walk in the forest today, enjoying the sun, bird song and signs of spring. The sentiment comes from Tim's Clippings Sticker book. The flowers are also from the Field Notes ephemera pack. The metallic flower is from the Nature Adornments set.

The sentiment from Simon Says Stamp Just Because Word Mix 2 was stamped on a label from the Field Notes ephemera pack. The baseboard piece in the background and the game piece comes from Tim's Junk Drawer Baseboard set.
I stamped the translucent grit-paste with a crackle stamp, but didn't press heard enough, so it just added a very faint texture.

Add a few pieces of Design Tape too.
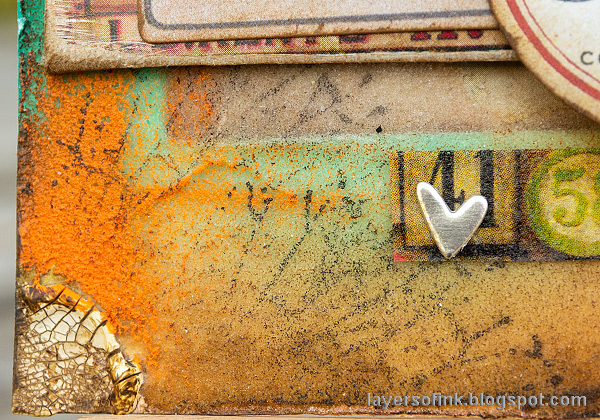
Here you can see the difference between the opaque grit-paste on the top, with paint added once it was dry, and the translucent base below it, where the original Distress Ink shows through. Both are very cool.

Thank you so much for taking the time to visit my blog today!
Happy crafting!
Anna-Karin
Supplies:
* Please note: the links are affiliate links, for which I receive a small percentage of sales generated by the link, at no extra cost to you.
* Please note: the links are affiliate links, for which I receive a small percentage of sales generated by the link, at no extra cost to you.
This tag is just beautiful - I love the warmth of the colours, and so interesting to see all the pastes in action at once. Might have to invest in some of that translucent grit paste! Fabulous crackle too - and all the ephemera you chose are just right for that sunlit feeling.
ReplyDeleteAlison x