
Hello friends! Today I have a watercolor poppy tutorial to share with you, made using one of the beautiful Simon Says Stamp Suzy's Watercolor Prints. The prints are done on watercolor paper, so they are perfect for watercoloring. We will do an easy masking technique and also add some pen work.

This poppy print comes from the Suzy's Spring Flowers Watercolor Prints set and is such a pretty print and I also really like poppies. I turned my project into a wall-panel, but you can of course make a card instead or use it in your art journal. I used watercolor paint, but as an alternative you can use watercolor pencils, or smear Distress Ink on a craft sheet, mist with water and paint with a paint brush.

When you watercolor it is often a good idea to leave some of the paper white, as highlights and to create life. An easy way to do that is to use a masking pen. Add dots and lines with a Molotow Masking Pen and let dry. It dries quickly.
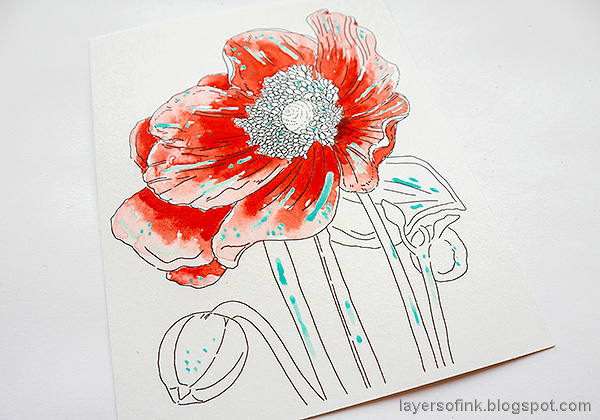
Mix up watercolor paint and start painting the flower. Make the petals darker towards the center.
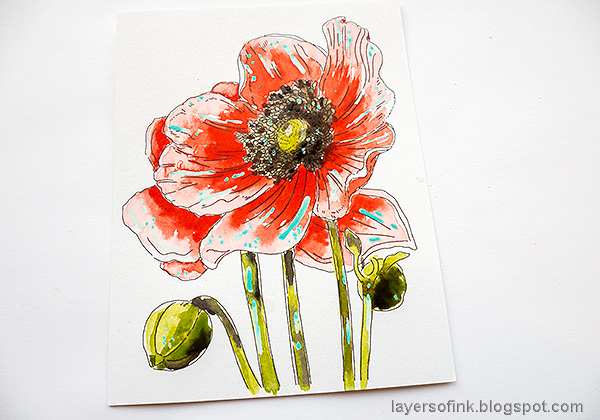
Continue with the rest of the poppy and then paint the stems and bulbs. Use a dark grayish brown mix for the petals, with a lighter green area in the center.

Increase the shading if needed.

Paint the background in springtime shades of green and add darker brown to the ground.
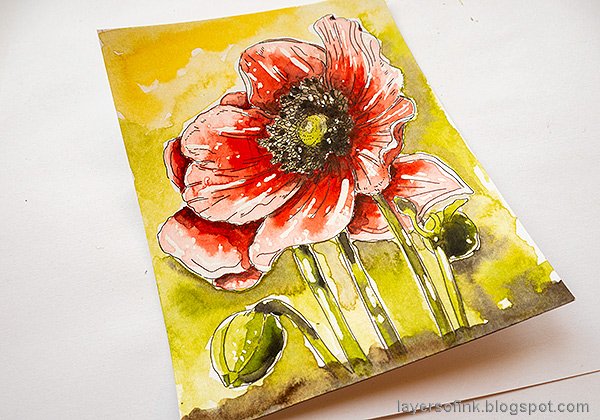
When everything is dry, rub off the masking liquid with your finger to reveal the white areas underneath.

Splatter the page lightly with dark brown paint.
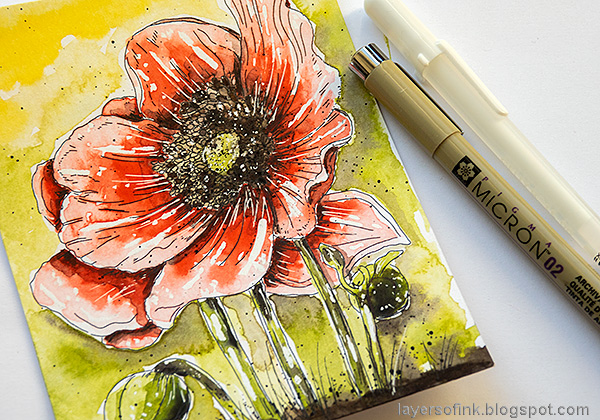
Add details and highlights with a black pen and a white gel pen. I also drew grass at the bottom of the page. If some details have disappeared when you painted, you can add them back with the black pen.

Distress the edges and mount on a second piece of watercolor paper and then on sanded blackout kraft stock paper. Finally everything was adhered to a piece of mat board, for stability.

You can se the pen work clearly in the center of the flower, where some of the lines weren't so visible any more.
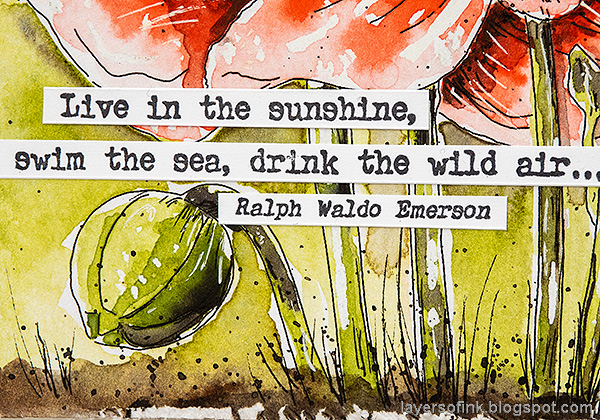
The sentiment comes from the Paper Artsy Sunshine and Rain set by Alison Bomber. It also happens to be one of my favorite quotes.

Concentrate the splatters at the bottom of the page, where the shadows are deeper.

The panel is a great spring gift for someone and can spread some happiness.

Thank you so much for taking the time to visit my blog today!
Happy crafting!
Anna-Karin
Supplies:
* Please note: the links are affiliate links, for which I receive a small percentage of sales generated by the link, at no extra cost to you.
* Please note: the links are affiliate links, for which I receive a small percentage of sales generated by the link, at no extra cost to you.
What a glorious poppy - beautiful watercolouring, and the windswept look of the flower works so well with the words. Gorgeous!
ReplyDeleteAlison x