
Hello crafters! I hope you had a good weekend! We had a relatively quiet weekend here, with some organising at home and some walking. We also worked on a school assignment in family history and my Mom and I figured out that the farm that my grandfather grew up on, is very close to where we live now. The family moved from there when he was in his teens and we always thought the farm was is in another town, and that it was destroyed, but it seems to still be around, so we'll have to go and have a look soon. My great grandfather was a foreman there and took care of the horses. My grandfather told us a lot of stories about it, but no one remembered the precise location.

This week at the Simon Says Stamp Monday Challenge Blog, we have a Spooky theme. I hope you can join us! And don't miss the spooky project by our October guest designer Jo, with her blog Let's Art Journal.

Almost all our Halloween decorations are handmade, either by me or by the kids, and every year we add some new items. For today, I made a wall-hanging of an indoor scene in house occupied by two witches. The witches themselves stand outside the window looking into their home and one of them has the door key in her hand, so they will soon come inside and whoever is lurking about in their home should quickly get out through the back door. The project was inspired by the heavy red curtains in Tim Holtz's Halloween Layers and Baseboard Frames kit. The window piece comes from the same set.
The piece is 5 x 8 inches. This is a long tutorial, so lets start.

Most of the items on the shelf were die cut with Tim's Regions Beyond set, which has so many great details. I die cut them from heavystock cardstock, clear Modeling Film and black cardstock.
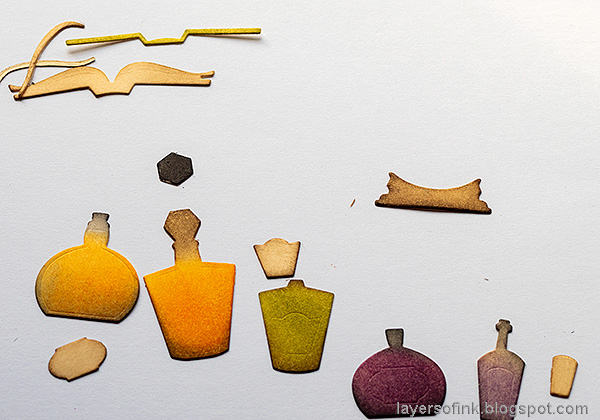
Ink the pieces with Distress Inks.

Apply Rock Candy Crackle Paint to the bottles with a palette knife. Let dry and cracks will appear.

Add a tiny bit of brown Distress Crayon to some of the cracks.

Here are the bottles and the crystal ball were die cut from Clearly For Art Modeling Film.

Heat gently with a heat tool, being careful not to burn yourself, and shape the bottles. They will keep their shapes perfectly. I left the crystal ball flat, but you can shape it too, if you want to.
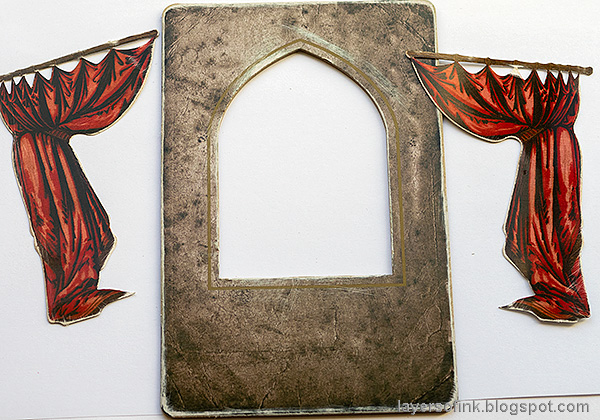
Sand the edges of the window piece and the curtains.

I wanted to have a real looking window, and some dimension, and found a plastic packaging that fit perfectly with the window baseboard. It was colored with alcohol ink. If you can't find a piece that fits so well, you can use a larger piece and cut it smaller.
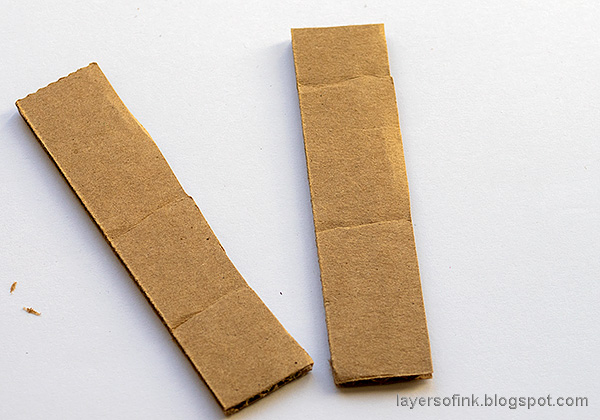
I found a piece of cardboard on my desk and cut it into two to create a shelf.

Glue the two pieces together.

Coat the shelf with texture paste, on all sides except for the one that will be glued to the window.
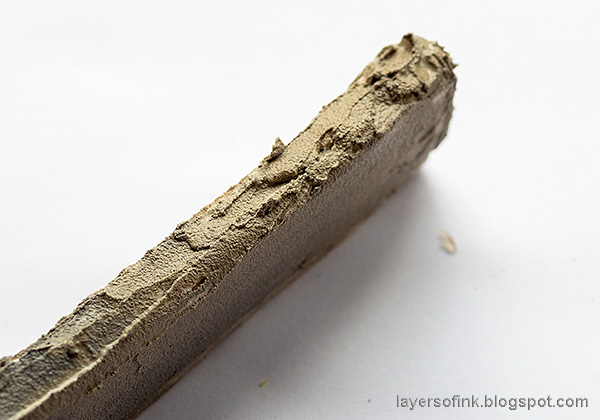
When dry, paint with Distress Paints.
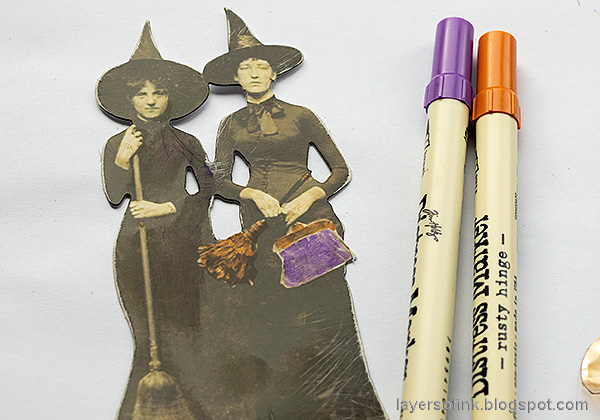
Sand the ladies a bit and color some areas with Distress Markers.

It is dusk outside the window when the witches arrive back home and I colored a piece of watercolor paper with Distress Inks, smearing them on a craft sheet and misting with water first.

Ink the tree from Mr Bones with Black Soot Distress Ink, mist with water about four times and stamp on the background, repeat until you are happy with the result. Adhere the witches with foam tape and add a silver key to the hand of one of them. For stability, I glued the paper to mat board.
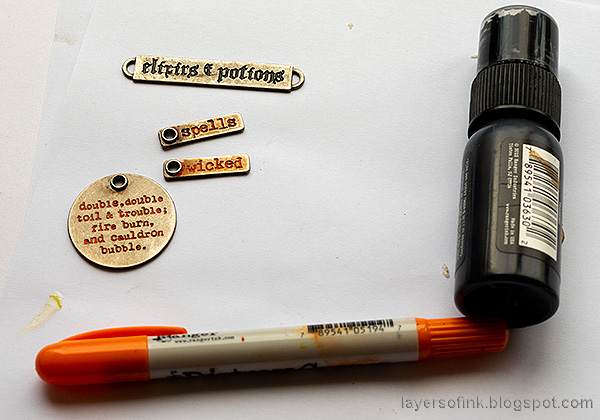
Color the metal piece with a Carved Pumpkin Distress Crayon and Black Soot paint.
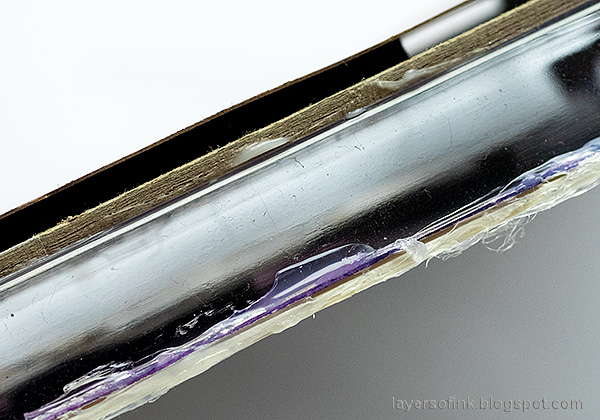
Cut off the overhanging parts of the packaging and don't forget to make holes and add a string at the top before assembly. I used matte medium to attach the baseboard to the plastic packagin, and hot glue to attach the packaging to the background.I used hot glue to assemble the piece. Be very careful when using hot glue since it is super hot, and never ever touch it until it is completely cool.

Cover the glue up with Design Tape. I decided not to cover up all the plastic along the edges since I wanted some light to come in, so that the background/outdoor part of the scene would not be too dark.

On the shelf below the window, there are all kinds of interesting little items: pumpkins, a skull, the crystal ball, candles, and vials, bottles and jars of mysterious content. Dye a piece of cheese cloth with Distress ink and glue to the shelf.

Add several layers of foam adhesive behind the pieces to get dimension.

I used Clippings stickers from the Curiosities set for the content of some of the vials, and a stamp from Mr Bones for the others.

Glue a key and a word at the front of the shelf.

Under the shelf, you can find a book of spells, hidden from nosy, uninvited guests.

And more stickers from the Curiosities book. The plastic packaging is visible a little bit around the edges, but it doesn't bother me. If you want to, you can cover it up with Design Tape.

The curtains were sanded and inked and adhered with foam tape.
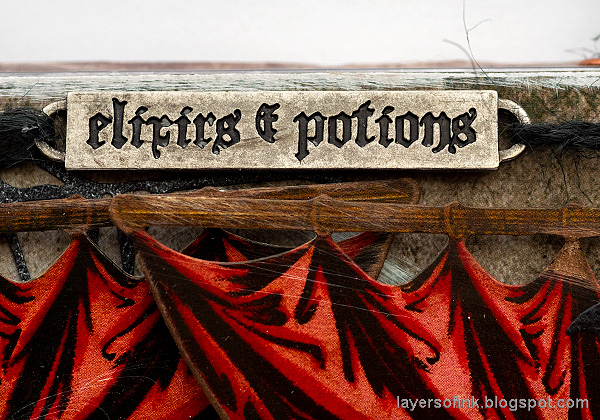
Tie the title with string.

It is easy to give color to the text with Distress Crayons, but you can also use paint.
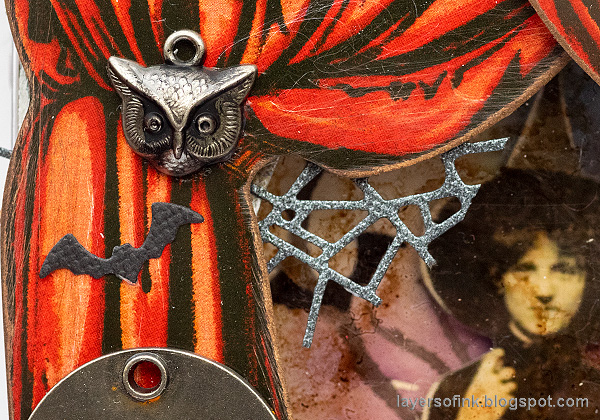
Interesting items hangs from the curtains.
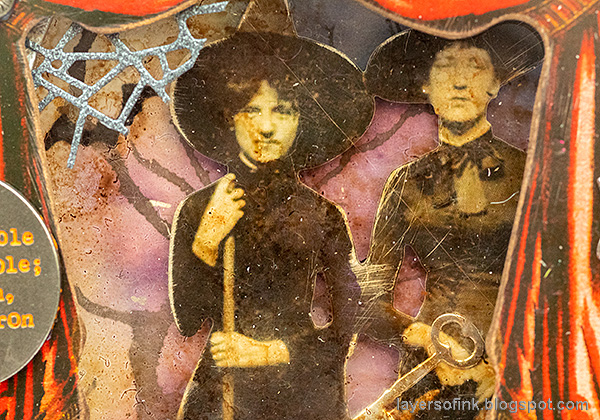
It is hard to photograph the witches through the inky and scratchy plastic, but here you can see their serious faces.

From above, the shelf looks like this.

I hope you will join us this week in our Spooky challenge. As always, you have a chance to win a $50 gift voucher to do some fun shopping at Simon Says Stamp. You have until next Monday 8am Ohio time. 1pm UK time, 2 pm CET to join in.


Do you use Instagram? If so please add #sssmchallenge so we can see your entries there too.


Thank you so much for taking the time to visit my blog today!
Happy crafting!
Anna-Karin
Supplies:
* Please note: the links are affiliate links, for which I receive a small percentage of sales generated by the link, at no extra cost to you.
* Please note: the links are affiliate links, for which I receive a small percentage of sales generated by the link, at no extra cost to you.
Oh excellent! So many utterly fabulous details... the crackled bottles, the vivid orange lettering on the metal tokens, and all those wonderful Shakespearean ingredients. I love a touch of theatre, so the red curtain swept back to reveal all also delights me. Spooktacular!
ReplyDeleteAlison x
Wow, what an amazing make! Those curtains are deliciously spooky and I was mesmerised by all the beautiful details that you created - stunning 😀. Wishing you a happy new week! Hugs, Jo x
ReplyDeleteSo what a fantastic creation. Well done.
ReplyDelete