
Hello friends! I hope your weekend was a nice one. We did our usual things this weekend: playgrounds, autumn walks, soccer and playing with friends.

This week at the Simon Says Stamp Monday Challenge Blog, we have a Monochrome challenge. I love to to a monochrome project now and then. It is really fun to see how many shades of one color that you can achieve. Don't miss the very inventive project by our September guest designer Terelisa Agosti.

Orange is one of those colors that not everybody likes, but I always liked orange and thought it had an unfair bad reputation. So, for this week, I decided to go with an all orange project and I was happy with how it turned out. I was also excited to try the Ranger Alcohol Lift-Ink for the first time and loved the background effect. I've done alcohol ink lifting before, but with Jet Black Archival Ink, and I thought the Alcohol Lift-Ink was very easy to work with in comparison. It also allows for additional techniques, since the lifted ink remains on the stamp.

Working on Yupo, apply Butterscotch and Valencia alcohol ink, with a felt applicator. Add layers until you are happy with the look. I also dripped a few drops of alcohol ink blending solution on the background. Pounce the felt applicator here and there, to create the smaller dots that you see.

Ink a stamp with Alcohol Lift-Ink and stamp on the surface. Dab off the ink from the surface, to prevent smearing it, and then wipe with a paper towel. Make sure that you use a clean part of the paper towel the whole time. The amount of detail you get is amazing. I used leaf stamps and sentiments from the lovely Nature's Wonder set.

Keep a piece of paper next to you, and each time you lift up an image, stamp it on the second paper. I used glossy cardstock. Look at these very detailed alcohol ink stamped leaves. We couldn't stamp with alcohol inks before, so this is a really cool technique. And the impressions are permanent, so you can use other techniques on top. I am looking forward to using this piece on a project.

Mist a piece of watercolor paper with Distress Spray Stains and finish with a layer of Buttercup Mica Spray.
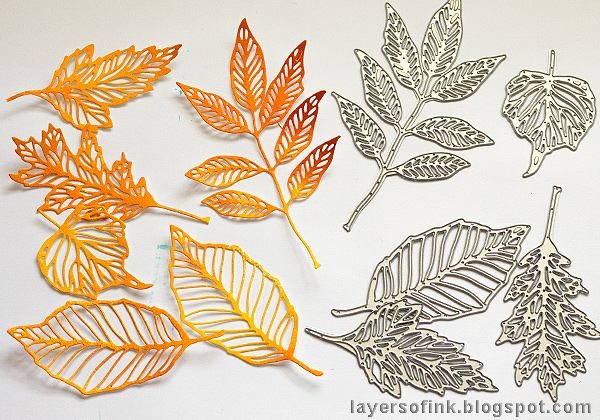
When dry, die cut Skeleton Leaves from the piece. I love the wonderful details on these leaves. It is a good idea to use the Sizzix Chrome Precision Base Plate to get a perfect cut.

For my roses, I used an old favorite, namely Tim's Tattered Pinecone die, and die cut two roses from orange classic kraft paper.

Sand the edges and roll into roses. I also added some Rock Candy Glitter by first applying Glossy Accents here and there.

For the base of my wall-hanger, I used mat board and covered the edges with orange Deco Tape.

The detailed ghost images of leaves and words in the background are really cool.
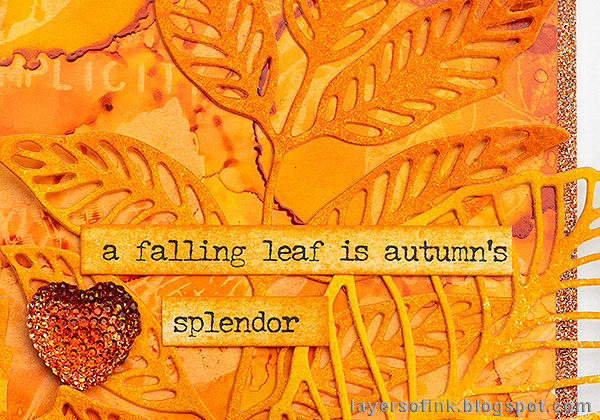
The skeleton leaves are very shiny because of the mica spray, a look that works well with autumn projects. I inked the Small Talk stickers with Spiced Marmalade.

The Gumdrop Hearts were colored with orange alcohol ink, so that everything would be orange.

Behind the roses there is a piece of lace which was dyed orange, orange twine and a Mini Provincial border die cut from Sizzix foil and also colored with alcohol ink.

Here'a look at the dimension of the roses.

The STAMPtember® celebrations are continuing at Simon Says Stamp, with surprises and happenings almost every day. You can see the whole wonderful STAMPtember® release here.
I hope you will join us this week in our Monochrome challenge. As always, you have a chance to win a $50 gift voucher to do some fun shopping at Simon Says Stamp. You have until next Monday 8am Ohio time. 1pm UK time, 2 pm CET to join in.


Do you use Instagram? If so please add #sssmchallenge so we can see your entries there too.


Thank you so much for taking the time to visit my blog today!
Happy stamping!
Anna-Karin
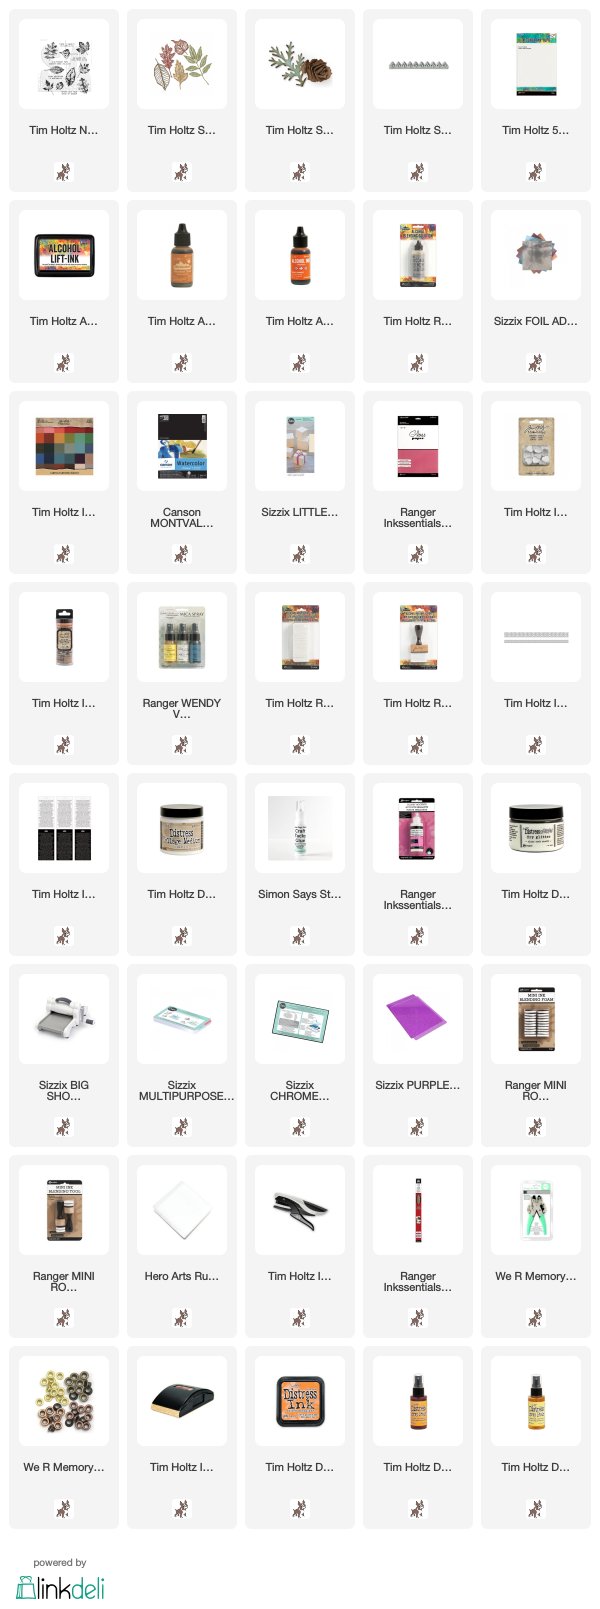
Supplies:
* Please note: the links are affiliate links, for which I receive a small percentage of sales generated by the link, at no extra cost to you.
* Please note: the links are affiliate links, for which I receive a small percentage of sales generated by the link, at no extra cost to you.
What a fabulous warmth especially those days when the temperature dropped so much down. Lovely shades of yellows and oranges and the patterns made with alkohol inks are so interesting. I really need to start my inks collection. Hugs, Macarena
ReplyDeleteI can't stop to look at it and say OOOOOHHHH and AWWWWW.....!!!!! :D I Absolutely ADORE this wall hanger!!! There are a lot of great techniques and details on it!!! The orange shades are really wonderful and any detail adds beauty on beauty! Thanks very much for the step by step and the marvellous photos!
ReplyDeletePinned here
https://www.pinterest.it/pin/534802524498818791/
I love you beautiful colors and layers. Alcohol lift ink is so perfect Monochromatic cards
ReplyDeleteGorgeous plaque Anna-Karin :-) I love orange, such a cheerful colour and perfect for autumn projects! the ghost like effect of the leaves is awesome! I can't wait to have a play with the lift ink! :-)
ReplyDeleteHope you have a great weekend!
luv
Lols x x x
such a beautiful panel Anna-Karin, love the orange and oh boy you nailed the lift ink technique, hugs kath xxx
ReplyDeleteWow, Anna-Karin! Way to rock the orange! So many great techniques, as usual. I always learn so much form your posts! Thank you!
ReplyDeleteAs always you're so brilliant! love love love this project, Alcohol lift ink create fabulous effect with these stamps, really gorgeous! barbara
ReplyDeleteSuch a gorgeous layout!!! so vibrant!!! i love it! I also love that we both choose the same color!!!
ReplyDeleteWow beautiful. I like orange, it always represents fall to me. Thanks for sharing your beautiful wall hanging. I may give it a try in a smaller scale for a card. Thanks again.
ReplyDelete