
Hello everyone! I hope you had a good weekend! Here, things are returning to our normal routine. It is surprising how much longer it takes to pack school bags when you didn't have to do it for quite some time. I am so glad I don't need to pack lunch in the mornings, since they get food at school.

This week at the Simon Says Stamp Monday Challenge Blog we have a Back to School theme, very fitting for this time of the year. Don't miss the wonderful project by our August guest designer Anne Redfern.

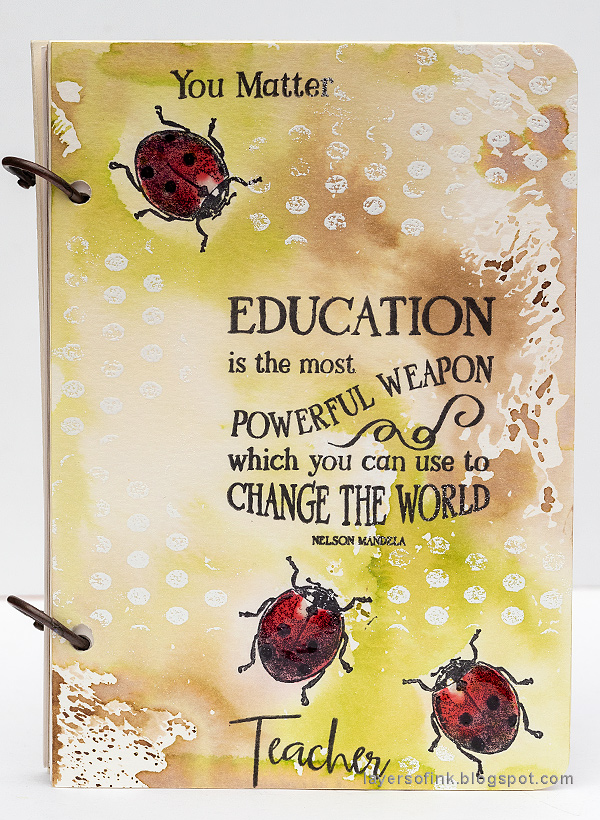
I made four notebooks, which have already been given away as teacher's gifts. Handmade notebooks are such great little gifts, and you can easily make them fit a certain person, interest or occasion. Since I made four of these books, I kept the design pretty simple, with the focus on a very true quote by Nelson Mandela from the SSS Thank You Teacher set, and a beautiful ladybug stamp.

I used watercolor paper for the covers and stamped the ladybug from Tim Holtz's Entomology set in three places and once on the back cover.

Smear Candied Apple Distress Ink on a craft sheet, mist with water and watercolor the ladybugs. Leave a white highlight.

I wanted the ladybugs to keep both their bright red color and the white highlight and protected them with a thin layer of Distress Micro Glaze. The glaze is waterproof and protects the ladybugs in the following step.
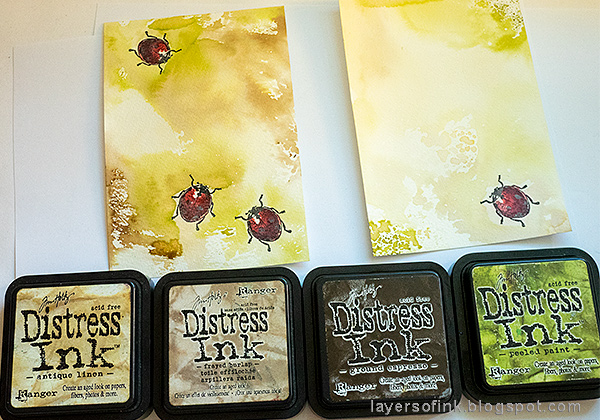
Smear Distress Inks on the craft sheet, mist with water and press the papers into the ink. This is such a quick way of coloring paper and as you can see, the ladybugs stayed just as they were.

Stamp sentiments with black ink.

For a little texture, stamp the dot stamp from Tim's Tiny Textures set here and there and emboss with white ink. Cut Sizzix Little Sizzles Mat Board to the same size as your watercolor paper. Mine were 4 x 6 in (10.5 x 15 cm). Adhere the watercolor paper with Matte Medium and place under a heavy book. Round the outer corners when dry.

The final touch on these covers is Glossy Accents on top of the ladybugs - put aside to dry.

Use a Crop-A-Dile to punch holes in the covers and cut papers for the inside, slightly smaller than the covers. Bind with Tim Holtz Mini Book Rings.

For the inside, I used a mix of white and kraft papers, rounding the outer corners for a finished look. You can also use patterned paper, or maybe watercolor paper. One of the great things with making your own notebooks, is that you get to pick the inside paper yourself. I am not very fond of the lined, often flimsy paper, you find in a lot of store bought notebooks.
These are quick to make, and if you want more details on the cover, you can just add more stamping. I like to keep notebooks quite flat and rarely use dimensional items, but you can of course add embellishments such as flowers too.

Don't worry if the embossing powder strays, it leaves additional texture. I didn't remove any stray powder on purpose.

This is such a great quote, and a little extra special for us because of our South African connection. I have even seen Nelson Mandela in real life twice, albeit from a distance.

On the back cover, I just stamped a single ladybug.
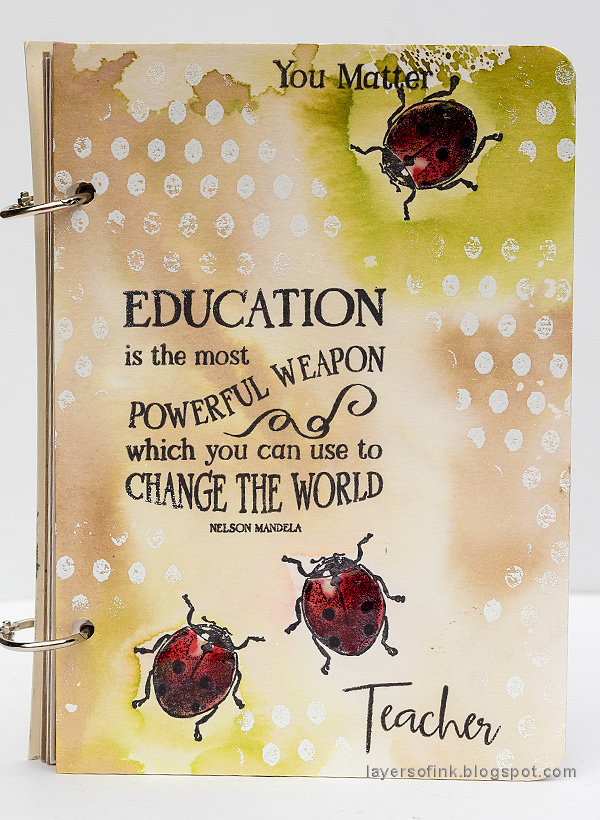
The covers are pretty similar, except for that I placed the stamps a little differently on this one.

The Glossy Accents gives a really nice look to the ladybugs and make them look and feel dimensional.

I just had to add one more photo of the ladybugs with their glossy surface.
I hope you will join us this week in our Back to School challenge. As always, you have a chance to win a $50 gift voucher to do some fun shopping at Simon Says Stamp. You have until next Monday 8am Ohio time. 1pm UK time, 2 pm CET to join in.


Do you use Instagram? If so please add #sssmchallenge so we can see your entries there too.


Thank you so much for taking the time to visit my blog today!
Happy crafting!
Anna-Karin
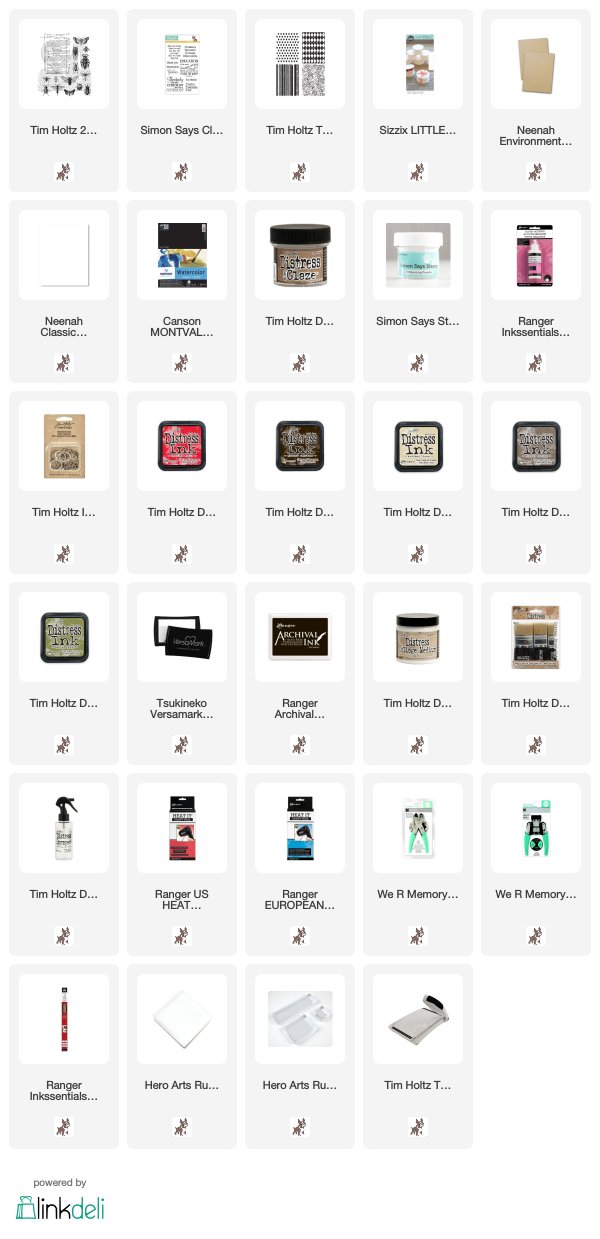
Supplies:
* Please note: the links are affiliate links, for which I receive a small percentage of sales generated by the link, at no extra cost to you.
* Please note: the links are affiliate links, for which I receive a small percentage of sales generated by the link, at no extra cost to you.
There must be three very happy teachers at that school, these are not only beautiful but useful too. I love the ladybird, they look so realistic and that Nelson Mandela quote is wonderful. That stamp set really has some great quotes on it! Love these! Hugs, Anne xx
ReplyDeleteI love the lady bug design that you used on the journal pages. This is such a clever idea, loved seeing this. Thanks for the share, hope you had a fantastic weekend. Keep up the posts.
ReplyDeleteWorld of Animals
Wow!!! Such amazing design! (I'm a teacher and )absolutely LOVE this! :) Thanks for sharing!
ReplyDeleteThese are Gorgeous!
ReplyDeleteWhat wonderful little notebooks, Anna-Karin! I know the teachers are loving these! The saying is so powerful, and the ladybug is a fun touch. I am sure it is nice to have one less thing to do getting everyone ready for school days. Both boys are going now? Wow, time sure flies! hugs, Maura
ReplyDeleteOh what lucky teachers! These notebooks are just wonderful & work for male or female--love them! Your instructions are always so clear--might even be able to do something like this. Wish you were here to do a class, Anna-Karin! Extra special that you actually saw Mandela in person--wonderful quote! I hadn't gotten to the blog yet when I saw your email--such an unexpected happy start to my day!
ReplyDeleteThis set is so pretty! I love the soft watercolor background with browns and greens blended so well. The ladybugs are beautiful and match so great with the covers. I need to order this stamp set asap! Hugs, Marzena
ReplyDeleteThese are so lovely, Anna-Karin! I have thought many times over the years how lucky your boys' school teachers are! They always get the best homemade gifts from you! These are no exception. I especially like how they include a variety of different kinds of paper inside.
ReplyDeleteyour notebooks are just adorable and love that wonderful sentiment, Mr Mandela was a very wise man, hugs kath xxx
ReplyDeleteThese notebooks are so cute, Anna-Karin! The ladybugs are really adorable and look so dimensional the way you've colored them and used Glossy Accents on them. Hugs, Sandra
ReplyDeleteGorgeous notebook! Love so much your use of Entomology set! barbara
ReplyDelete